
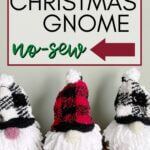


DIY Dollar Tree Gnomes for Christmas! And you can make three of these holiday gnomes for under 10 dollars. In addition to your Dollar Tree supplies, all you’ll need is a glue gun and just a few other household materials.
The Christmas season is right around the corner, so today let’s talk about a quick and simple holiday DIY. And what could be more fun than a Dollar Tree gnome DIY? Am I right?
This Christmas gnome DIY is super budget-friendly, and you can easily create 3 Christmas gnomes for under $10.00 for your holiday decor!
But first off, a bit about gnomes. Did you know gnomes can represent good luck… we all need a little of that every once in a while! They also symbolize protection, which is why people like to keep a few gnomes in the garden to ward off pests and predators.
Oh, and don’t forget books that talk about gnomes. Who can forget the lovable Bilbo Baggins in the book, The Hobbit? One of my all-time favorites!
And there’s also a Goosebumps book called Revenge of the Lawn Gnomes. My kids just recently watched this funny and a bit creepy Netflix movie on TV!
Anyhow enough with the gnome fun facts. Without further ado, on to the meat of the post on how to make gnomes with Dollar Tree supplies.
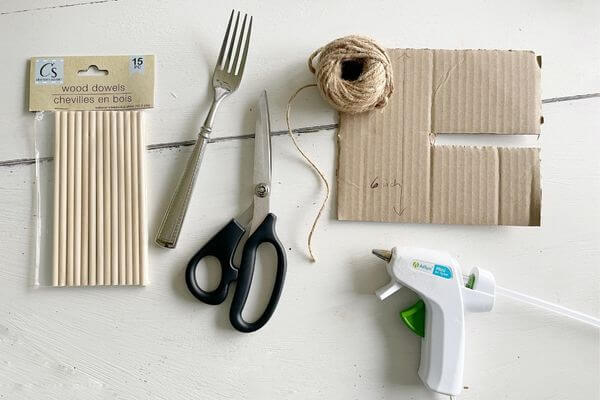
All you’ll need to have on hand are a few other simple materials including a glue gun, scissors, a fork, and a bit of cardboard.
Supplies for Dollar Tree Gnome DIY
This post contains affiliate links. As an Amazon Associate, I earn from qualifying purchases. This means when you click a link, I may earn a small commission at no cost to you. This helps me to run this website. Thanks in advance for your support!
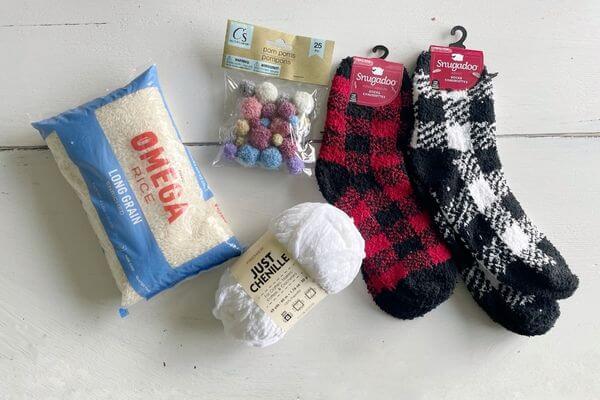
All from the Dollar Tree
- Rice
- Pom-poms
- Just Chenille Yarn
- Snugadoo Socks
- Dowel Rods
- Jute Twine
Other Materials
- Fork
- Scissors
- Cardboard
- Glue Gun
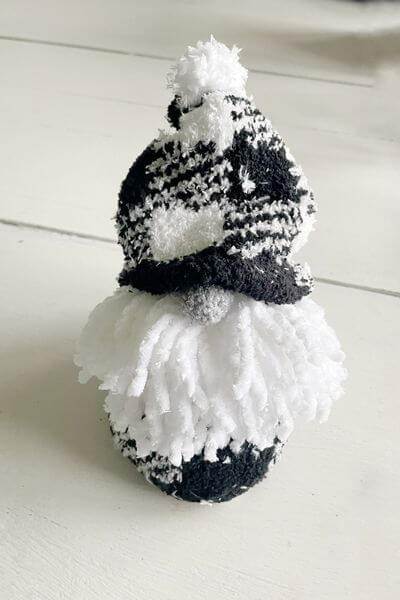
Cut Sock and Fill with Rice for Gnome Body
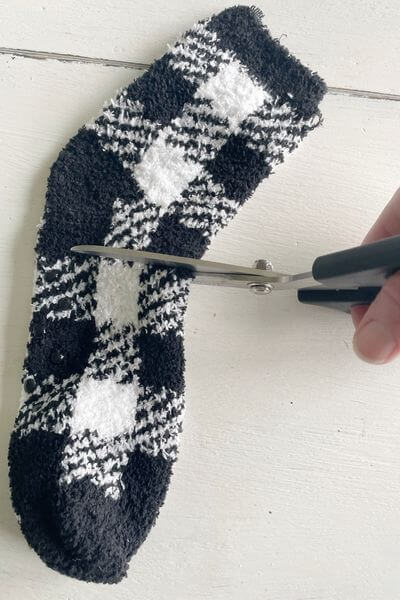
First up, cut the sock below the heel as shown in the above picture.
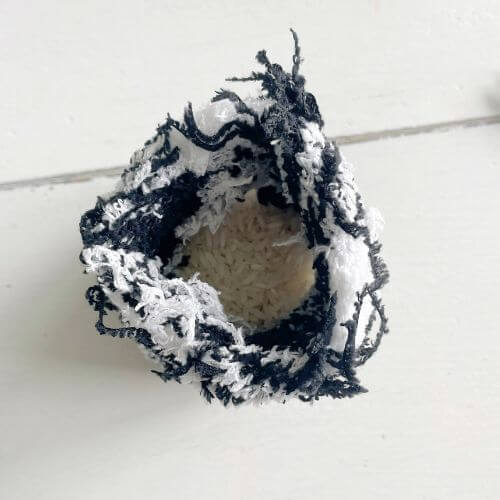
Next, fill the toe part of the sock with about 1 cup of rice. Tuck the excess sock fabric in toward the inside of the sock (or you can leave it out too because it will be covered by the yarn beard). This will make up your gnome body.
Next, Create Your Gnome Yarn Beard DIY

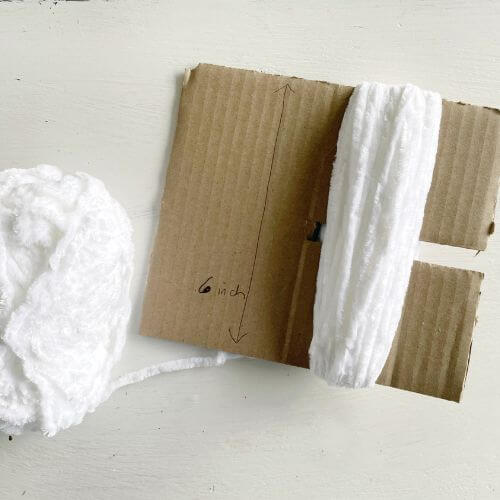
Grab a piece of cardboard and cut it to 6 inches in width, then put a rectangular hole in the middle of it. Wrap your chenille yarn around it about 55 times. Seems like a lot but don’t worry! We’ll be able to make 3 gnomes out of one skein of yarn.
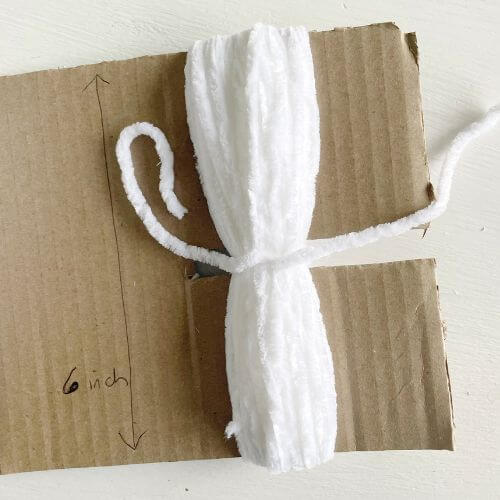
Take another piece of yarn and tie off the middle tightly! This is where that neat rectangular hole in the cardboard comes in handy!
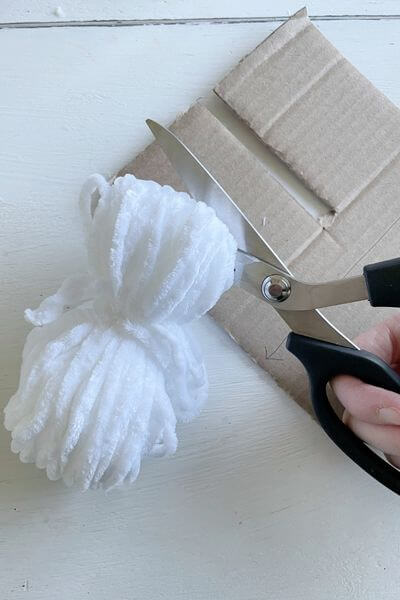
Next up, use your scissors to cut both ends of your yarn beard with a good pair of scissors. This chenille yarn sheds just a bit, but the fluffiness works really well for yarn gnome beards.
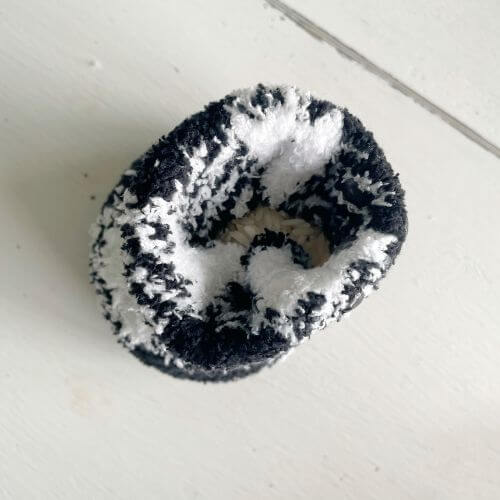
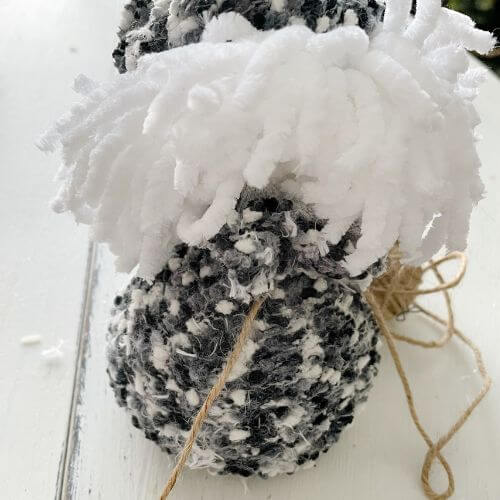
Connect Your Yarn Gnome Beard to Sock Body
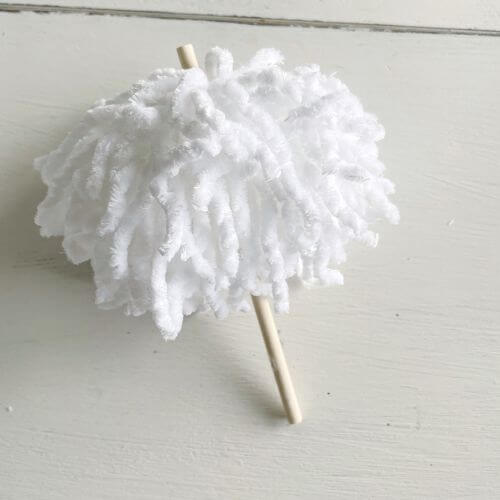
Poke your dowel rod through the middle of the yarn pom-pom. Make sure you put the dowel rod through where you tied the middle of the pom-pom.
Then place the dowel rod down into the rice in the sock body. Use the jute twine to tie off the body to hold the dowel rod and prevent the rice from escaping out of your gnome.
Finally, trim the twine and then fluff the yarn around the gnome’s body.
Okay, just a few more steps. Now, on to the gnome hat!
Now Craft Your Gnome Hat with a Pom-Pom on the End
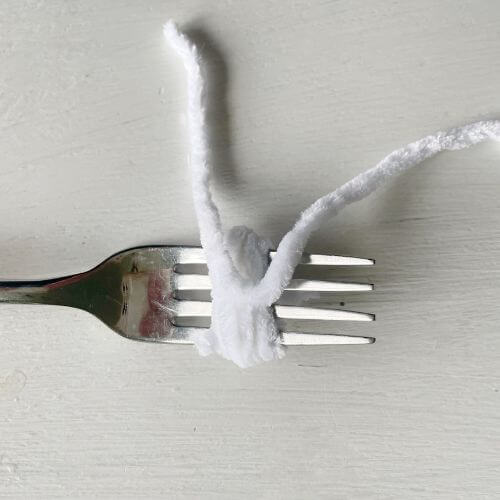
Take your fork and wrap the yarn around about 20 times. Tie it off with another piece of yarn leaving two long ends.
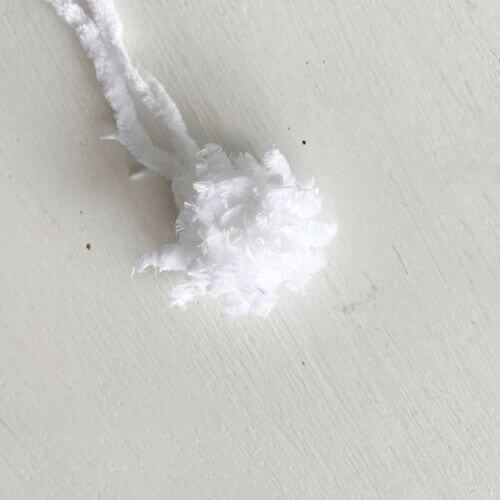
Clip both ends of the wrapped yarn to create a little pom-pom for the gnome hat.
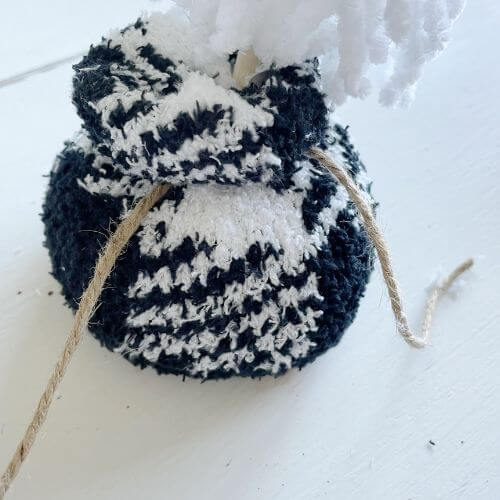
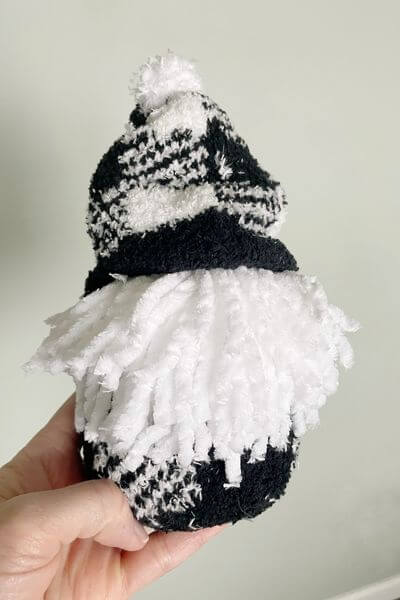
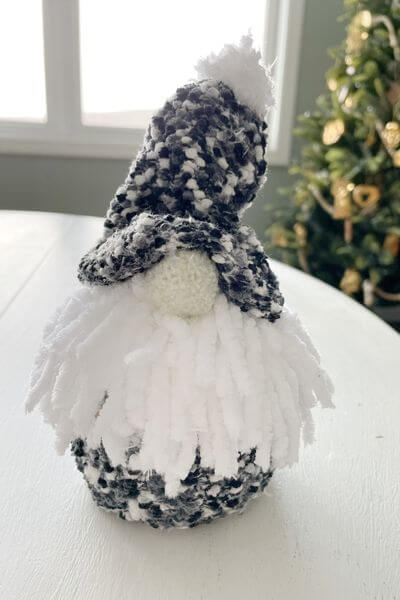
Tuck the heel part under to create a hat brim of sorts. This will be the front of the gnome’s hat. Then place it onto the skewer.
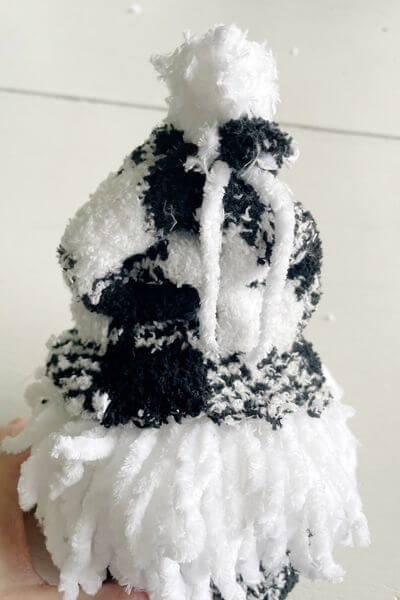
Pinch the top of the gnome hat together at the tip. Then tie the little pom-pom to the gnome hat with the long ends of the string. Make sure the pom-pom is facing forward, then trim the string.

This is a top view (left) and a front view (right) of the DIY gnome hat.
Phew almost there, I promise!
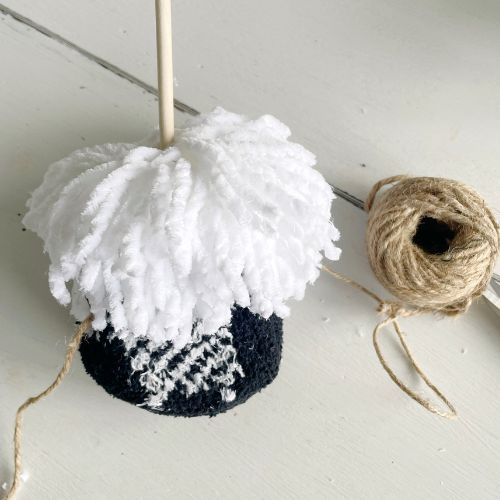
Hot Glue the Gnome Hat to the Yarn Beard
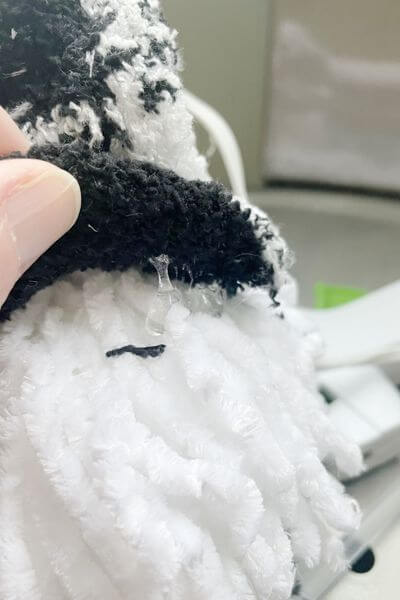
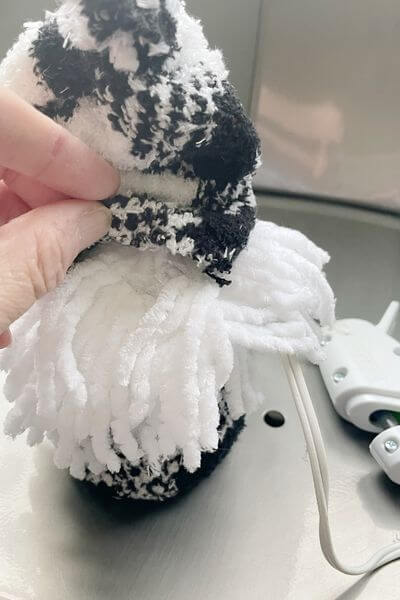
Hot glue the sides and rear of your gnome hat to the yarn beard. Tuck the sock ends under and then press the hat down firmly on the beard to secure it.
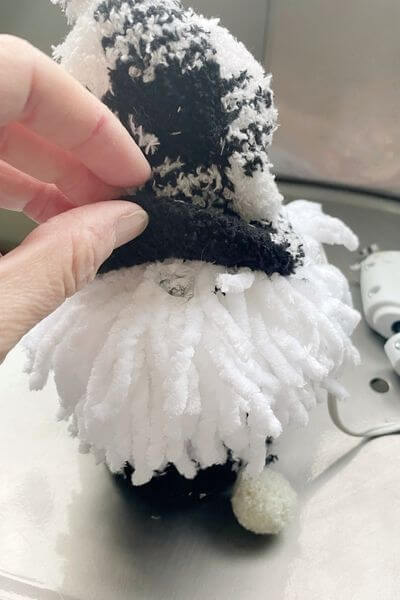
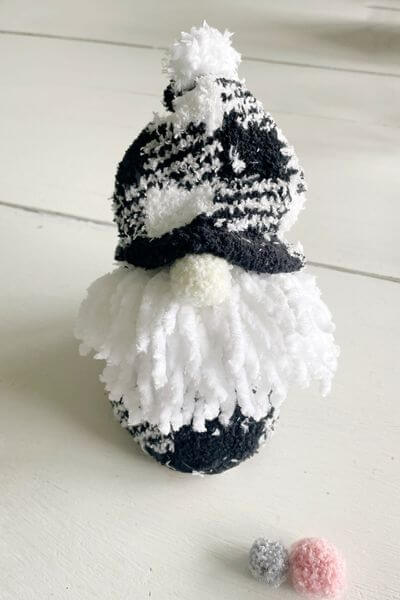
At the front of the gnome’s hat, place a dab of hot glue onto the yarn. Then secure the pom-pom creating your gnome nose. I used the cream-colored pom-pom for my gnome.
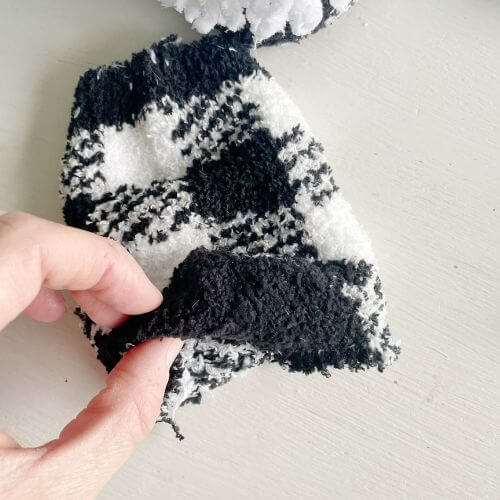
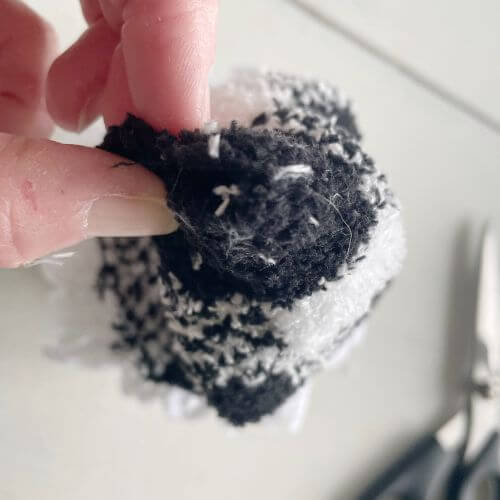
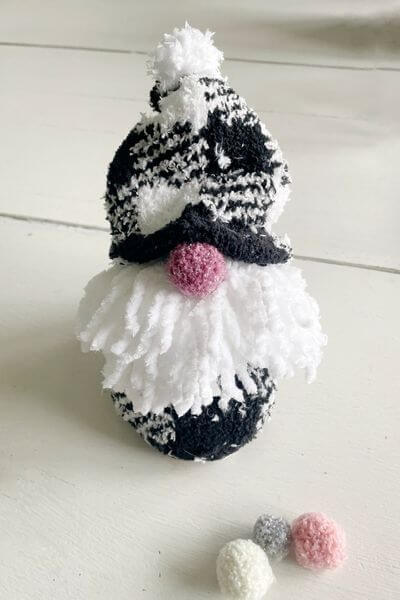
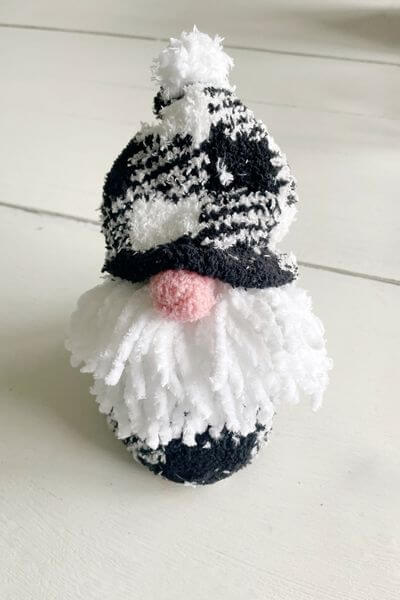
But I tried out a few other pom-pom noses as shown below. This just gives you all an idea of what other colors were in the pack from Dollar Tree.
UPDATE: If Rice is Leaking Out of Your Sock Gnome
Just wanted to hop back on and do a quick update!
One reader mentioned that rice was leaking out of their sock. I didn’t have trouble with rice sneaking out of the buffalo plaid socks that I used in this tutorial, but that may vary depending on how much you fill it.
However, I did buy a few more Snugadoo sock designs to try out, and this multi-colored (black, white, grey) sock gave me some rice leaking issues. 😉 Here’s what I did to fix it!

I had a grey crew sock on hand, that I had purchased in a pack from the Dollar Tree for another craft project, so I put it to use!
You could also just use an old sock that lost its match in the dryer, or a nylon as a reader mentioned!

First, I popped the head off this gnomie with the dowel rod attached (although you can’t see it in the picture, it’s under his beard!)

I then untied the jute twine from my Snugadoo sock.
I stretched the crew sock over a measuring cup. Then I poured the rice from the Snugadoo sock into my crew sock.

Next, I placed the crew sock into the Snugadoo sock, and trimmed off the excess.
Now, place your dowel rod back into your double sock keeping the gnome head attached. Secure the dowel rod with jute twine.
Smooth out your yarn beard after securing it with the jute twine.
All finished up! And no more rice sneaking out of this cute sock gnome!
Wrapping Up This DIY Dollar Tree Christmas Gnome Post
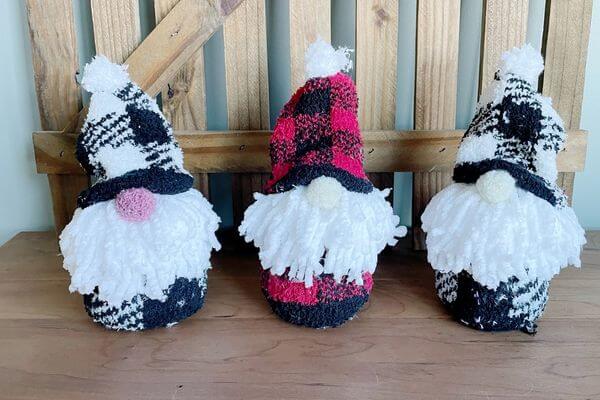
How stinkin’ cute are gnomes? And you can easily make 3 gnomes for under 10 dollars using 1 skein of yarn and the other Dollar Tree supplies that I listed at the top of this post.
There are a bunch of different designs of Snugadoo brand Dollar Tree fuzzy socks as well, so you can make gnomes with all different patterns.
The kids can even help out with this DIY Christmas project! Just be careful with the hot glue gun! 🙂
As always, happy crafting!
Related DIY Gnome Posts
Now head out to your local Dollar Tree and grab your supplies including a few different designs of fuzzy socks. Get out the glue gun and make some cute and inexpensive DIY Christmas gnomes!
Pin me on Pinterest! ⬇️

Please consider subscribing to my email newsletter below for more DIYs delivered right to your inbox! 👇
Super cute and easy but the rice comes out through the sock. need to be in something else first I think I will try nylons. Thanks for sharing 🙂
Hi there! Thanks so much for your kind words! Nylons are a great idea! I didn’t have trouble with the rice coming out of the plaid ones that I made; however, I did try out a different sock that was spotted (grey, black and white) in the same brand and the rice did seep out of that one. A nylon could definitely help! 🙂