
Ready to make a jute rope bowl that fits right in with all styles of home decor? Well, it’s super easy and you only need a few supplies to complete this jute rope craft.
The inspiration for this craft came about when I was making DIY decoupaged eggs for spring decor with vintage rabbit cut-outs.
I was looking for a way to make a nest to place the eggs in so they wouldn’t roll all over the place. I had a few rolls of jute rope that I had found at the dollar store.
And I also had mod podge on hand from the egg craft that I mentioned before.
The only other supplies needed were plastic wrap, a bowl, and a craft paintbrush. So, this DIY is super easy and super inexpensive to create.
The beginning of this tutorial shows the steps to create the jute bowl with pictures.
Then, the next sections will discuss two different ideas to style it. And one of the ideas includes a free printable!
Read on for the simple tutorial for a jute rope bowl DIY that you can make with just a few supplies. Let’s get started!
This post contains affiliate links. As an Amazon Associate, I earn from qualifying purchases. This means when you click a link, I may earn a small commission at no cost to you. This helps me to run this website. Thanks in advance for your support!
Supplies for Jute Rope Bowl DIY
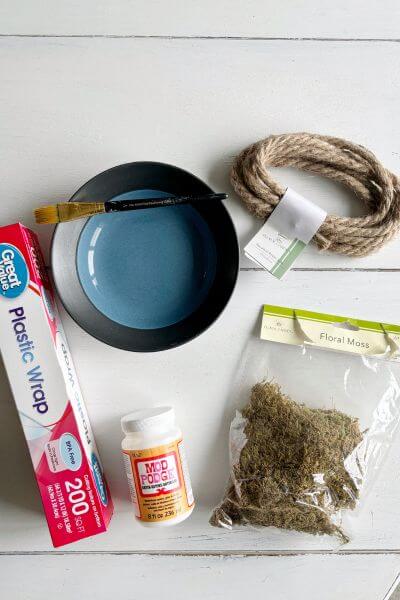
- 8 ft. Jute Rope – 2 rolls (Dollar Tree)
- Mod Podge
- Bowl (I used one of my salad bowls)
- Plastic Wrap
- Craft Paintbrush
Ignore the floral moss for now, that’s used later when we make this bowl into a nest.
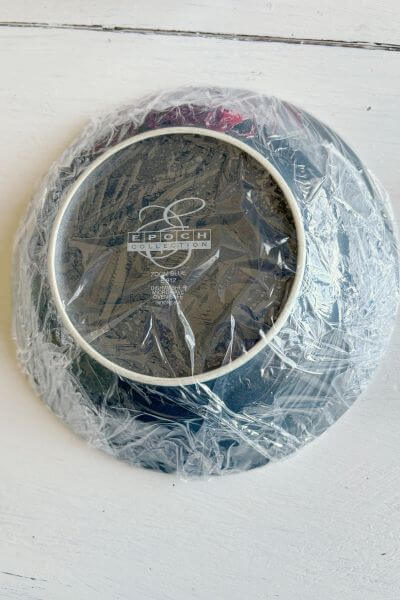
Wrap the Bowl with Plastic Wrap
First things first, simply wrap up your bowl with plastic wrap. You can use any bowl that suits, however depending on the size of the bowl you may need more jute rope.
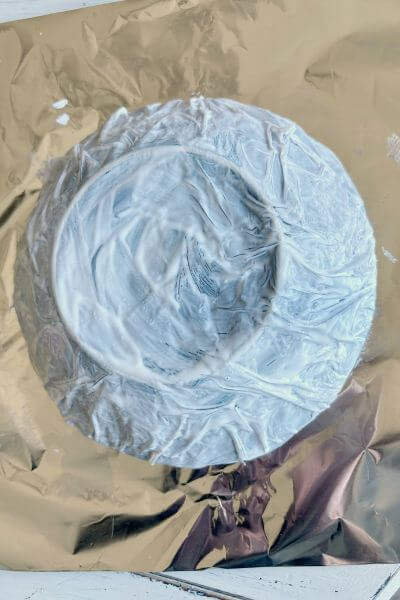
Coat the Plastic Wrap with Mod Podge
Now, simply apply a good layer of mod podge to the plastic wrap with the craft paintbrush. You can use tin foil to protect your work surface.
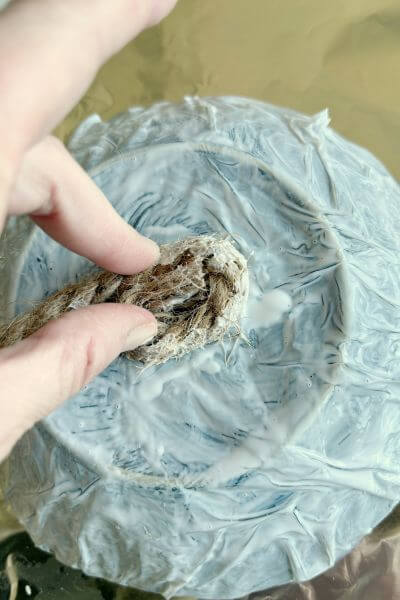
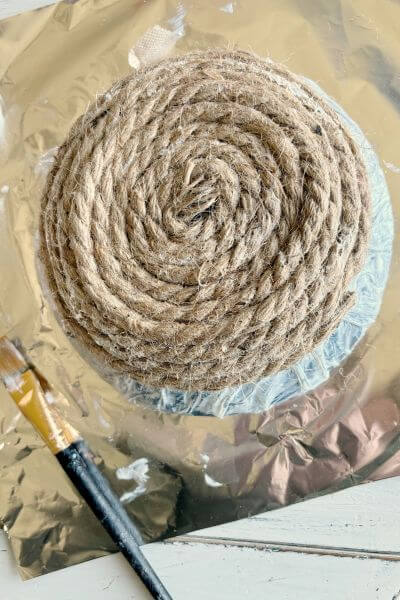
Start Rope in Center of the Bowl’s Bottom
Beginning in the central portion of the bowl’s bottom, begin wrapping your rope. I cut the small piece of plastic that’s on the end of the rope off before beginning.
You’ll have to hold in in place for a bit until it starts to stick. You’ll also need to use the paintbrush to put mod podge on the sides of the rope so that it sticks to itself.
The first little loop is the hardest, but the remaining ones are a lot easier!
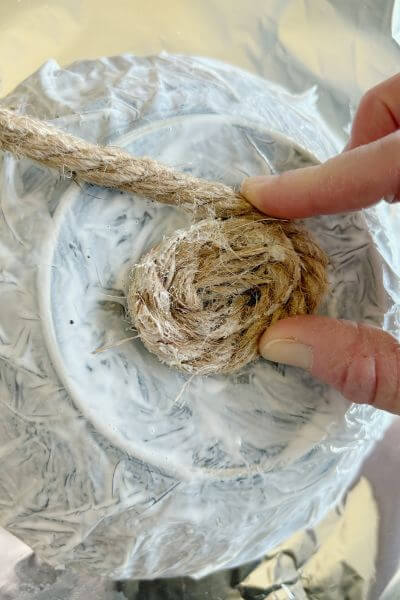
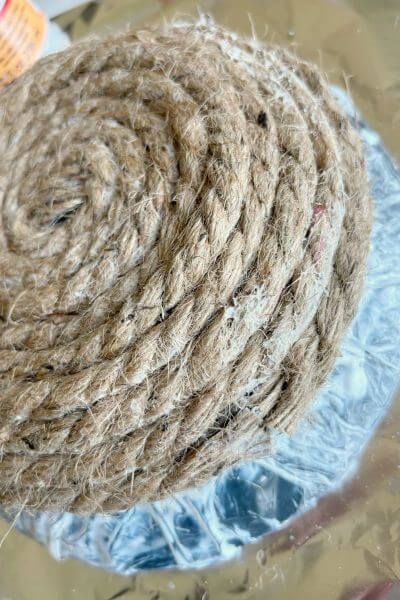
Continue Wrapping Your Rope Securing with Mod Podge
Continue to wrap the jute rope in circles.
Apply mod podge in small sections to the sides of the rope, so that the next circle sticks to the previous one.
Finish Up the First Roll of Rope
When you get to the end of the first roll, snip the little piece of plastic off the end with a pair of scissors.
Stick the end of the rope to the bowl.
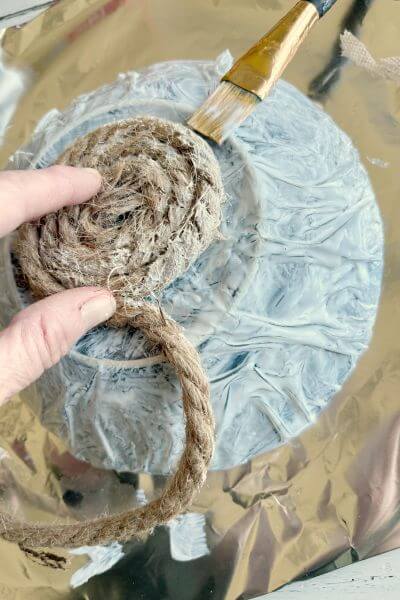
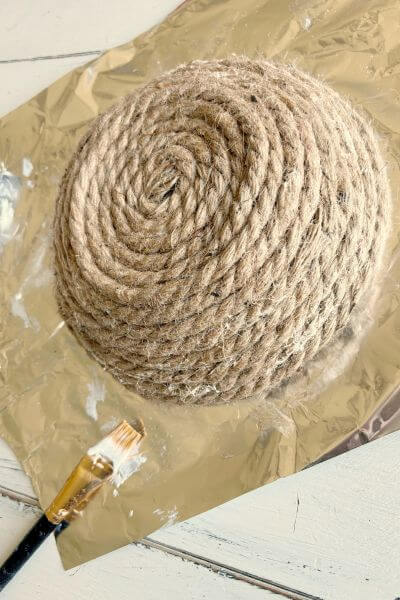
Begin the Second Roll of Rope
Apply the mod podge to the previous rope strand, and then butt the beginning of the second roll up against the end of the first roll. Then, begin looping the second roll of rope.
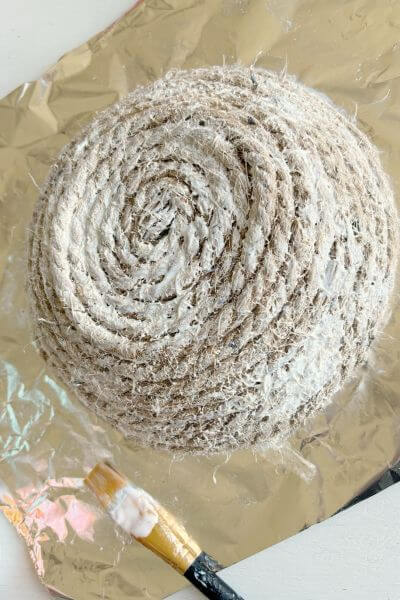
And here’s the bowl with two rolls of rope applied to it.
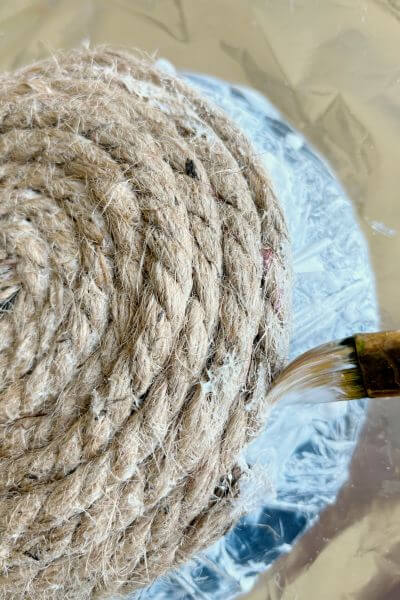
Place a Light Layer of Mod Podge Over the Rope
Place a light layer of mod podge covering the surface of the rope.
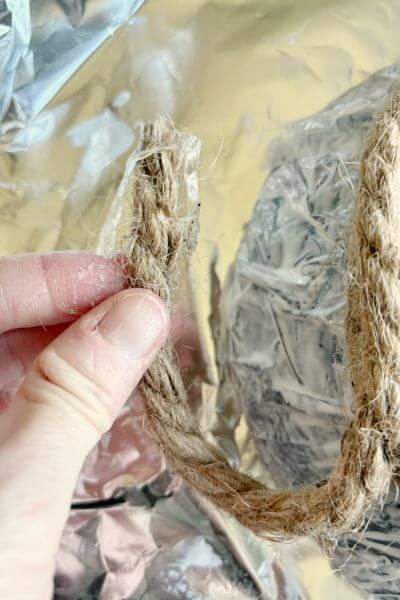
Now, you just need to wait until the next day. I found that it was easiest to remove the bowl from the plastic wrap and jute rope first.
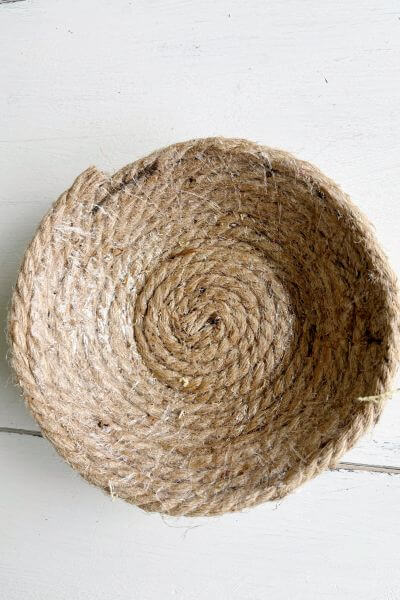
Then turn the basket over and gently peel the plastic wrap off the inside of the bowl.
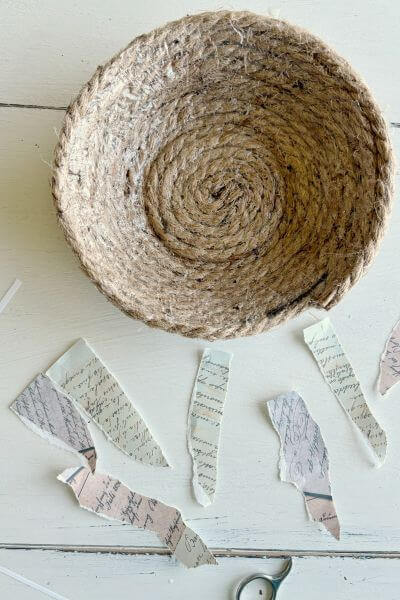
Here is what the bowl will look like now. 🙂
First Idea: Make this Bowl into a Nest
To make this bowl into a nest for decorative eggs, I simply added floral moss.
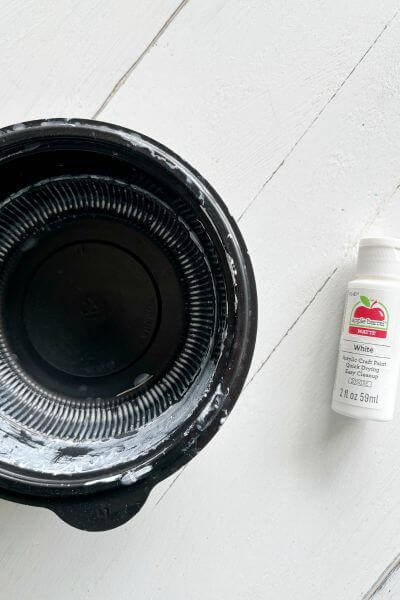
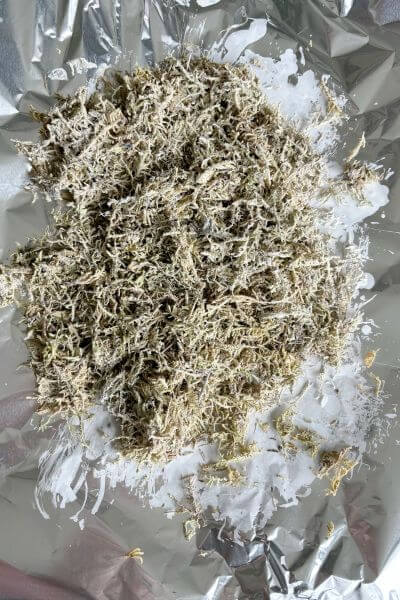
I tried out dyeing floral moss from Dollar Tree with paint to make it a little lighter.
First, I used craft paint to make a solution of 1 part paint to 3 parts water and then dipped the floral moss into the mixture and squeezed it out.
Use gloves if you try this!
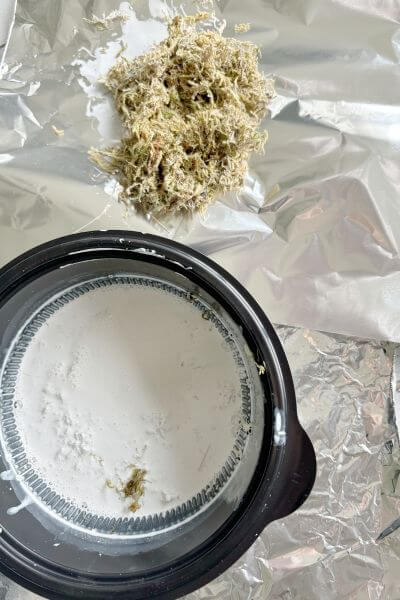
This is how it came out initially.
However, it wasn’t quite light enough for me. I ended up making another wash of 1 part paint to 1 part water and dipped it again.
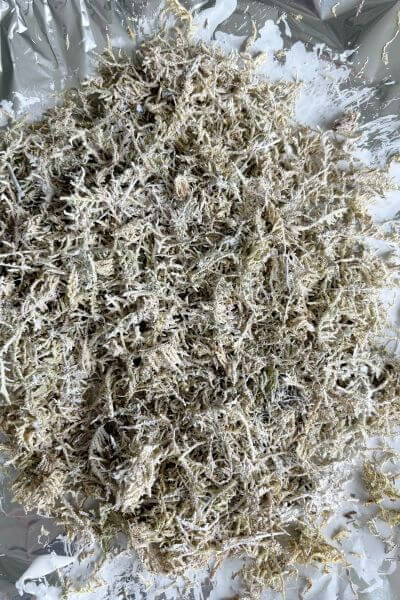
If you try this paint washing technique out, just allow the moss to dry. And then add it to the rope bowl.
The moss wasn’t quite what I was looking for even after it was paint washed. So, I found some inexpensive moss on Amazon for comparison that is linked right here. 🙂
Here is the comparison.
- Left – Dollar Tree floral moss
- Right – Paint washed Dollar Tree floral moss
- Bottom – Moss purchased on Amazon.
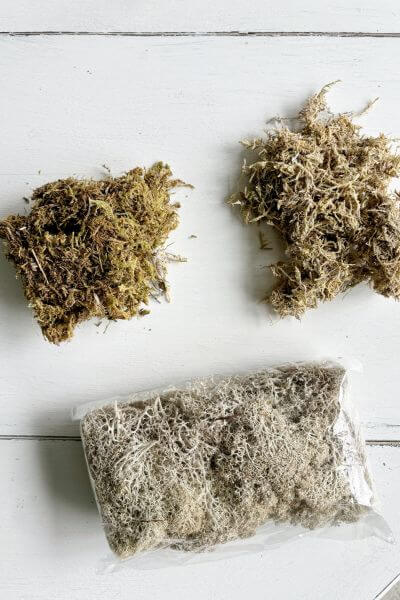
I will note that the Dollar Tree moss was much more brittle than the moss that was purchased on Amazon.
Below is the Dollar Tree paint washed floral moss added to the rope bowl with decorative eggs. I did not glue the moss in there, so that it could be removed easily.

The next picture is the rope bowl with the moss found on Amazon.

Check out this post if you want to try out these cute DIY vintage decoupaged eggs.
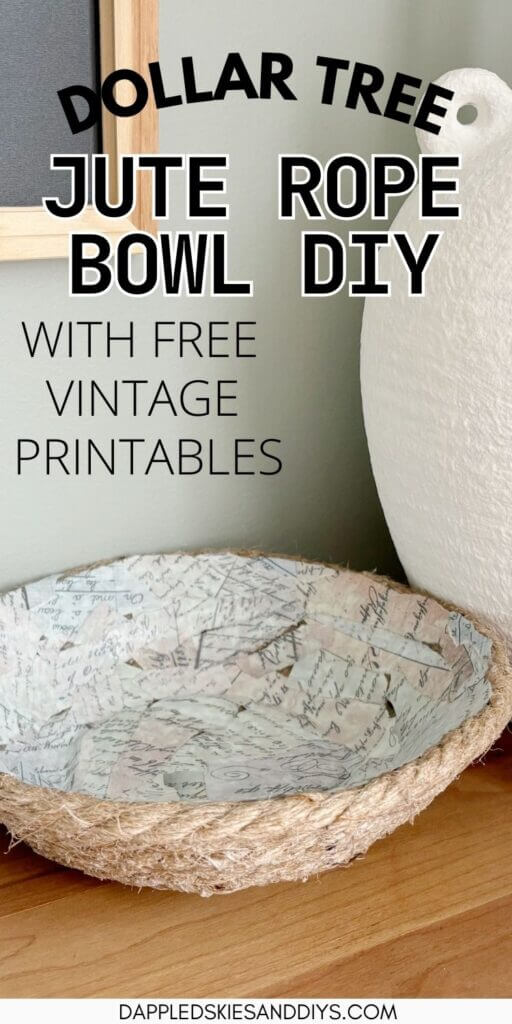
Second Idea: Decoupage Printable Inside the Rope Bowl
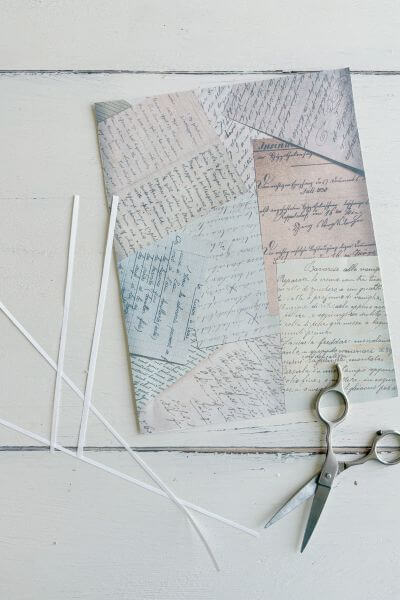
The inside of the bowl was sort of shiny due to the mod podge. So, I looked for a few vintage-looking printable pages (that are linked below the image) to cover this up.
The process is simply to print out the free printable. Whichever one you like best!

Multicolored Vintage Paper Free Printable
Vintage Music Sheet Free Printable
Trim the white border from the vintage paper printable.
Next, tear the paper up into small pieces.
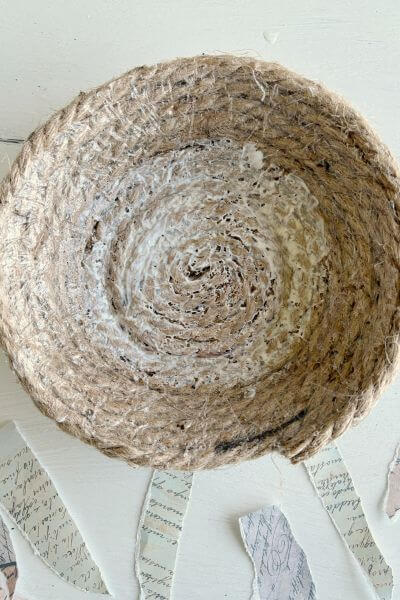
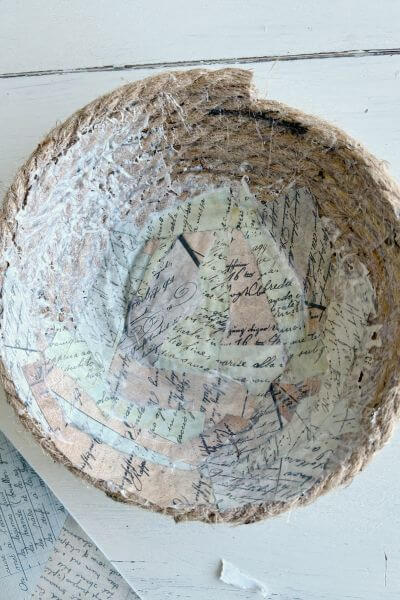
Place a layer of mod podge in the bottom of the bowl.
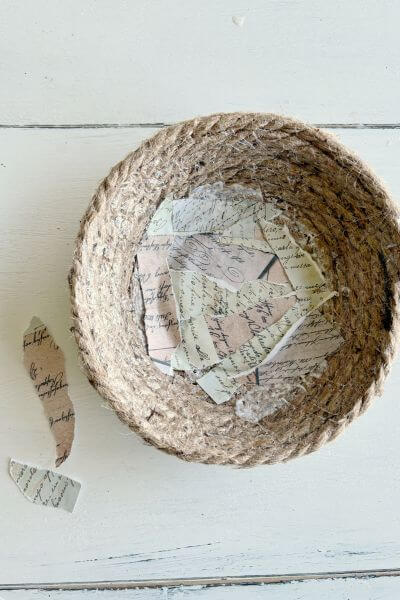
Stick paper pieces to the mod podge.
Use the craft paintbrush to apply a layer of mod podge over the pieces, sealing them to the bowl.
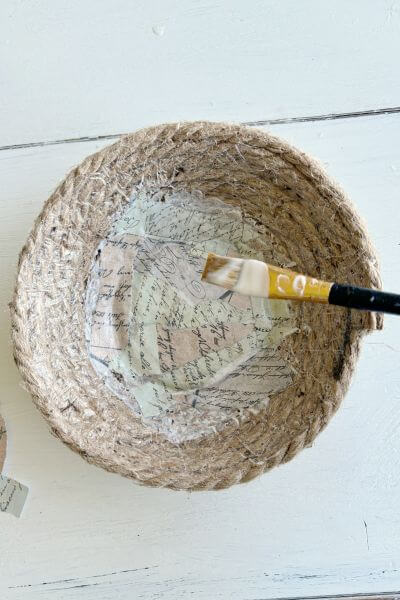
Using the same technique, work your way up the edges of the inside of the bowl. Work in small sections.
Once the bowl is completed, covered with paper pieces and sealed with mod podge.
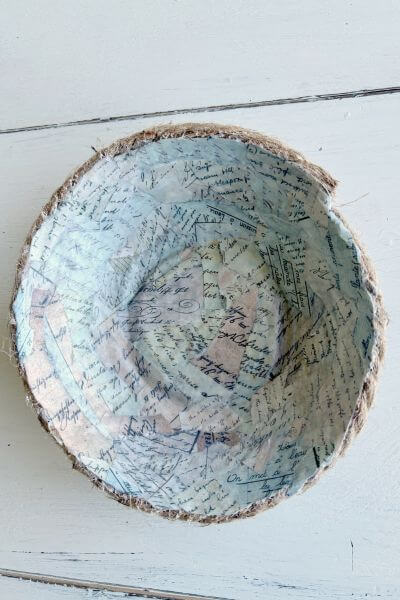
Allow the rope bowl to air day.
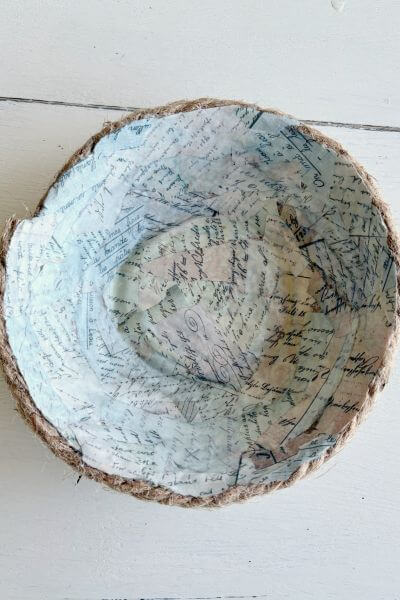
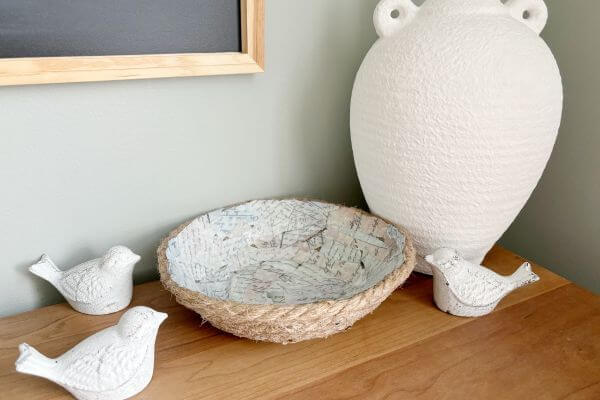
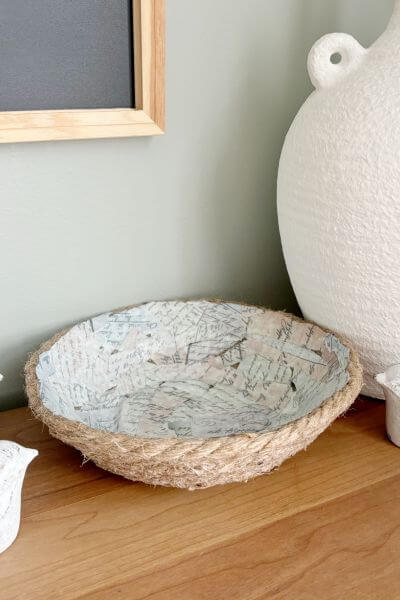
Display your rustic rope bowl DIY.
Final Thoughts on This Jute Rope Bowl DIY
So, is this a DIY project that you would try out for your own home decor?
It’s super simple to make and if you have mod podge, a bowl and plastic wrap on hand, you can make one for under 2 dollars with 2 strands of rope from Dollar Tree.
You could decoupage the free printable inside the bowl and still use it as a nest during springtime, since the floral moss is easy to use, and then remove.
It’s also surprising how sturdy the mod podge makes this pretty, rustic bowl.
Let me know down in the comments if you have any questions. And, as always, thanks for reading!
Now it’s your turn to give this project a try. Grab a few strands of rope, mod podge, plastic wrap and a bowl from the cabinet and create your own DIY rustic bowl that can be used throughout the year.
Pin me on Pinterest to save this idea! ⬇️
Please consider subscribing to my email newsletter below for more DIY ideas! 👇
Could you speed up the process by drying it with a blow dryer? I’m a programmer for my local library and was wondering if this could be done in an hour?
Hi there! And thanks for your comment! 😊 It might be possible if you dry the outer coating of mod podge with a blow dryer. This may give the bowl enough strength so that you can peel the plastic wrap off and apply the printables to the inside. I’m going to give it a try as soon as I purchase more jute rope (I am out of this type in my craft stash). I’ll comment back on this post when I figure it out!