
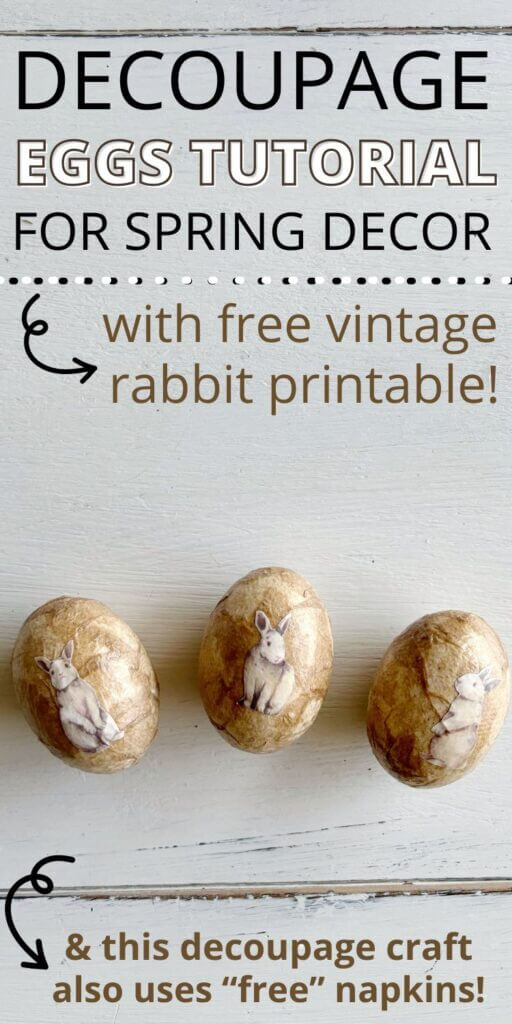
Make these vintage-style Easter eggs with me by decoupaging fast food napkins onto wooden eggs and then adding cute rabbit cut-outs. Free printables included!
One of my favorite past times is looking for vintage items and then refinishing them for my home. Going to yard sales and thrift stores can be like treasure hunting. You just never know what you’ll find.
Another favorite activity is using simple items to make new things look aged or vintage. And that’s just what this DIY is all about.
I had purchased these wooden eggs from Amazon last year, and they sat in my craft cart for a long time. I originally thought about decoupaging them with book pages like I did in this Dollar Tree vintage-inspired decoupaged heart post.
However, I thought that it might be tough given the size and roundness of the eggs.
Then I saw some brown fast-food napkins sitting on my countertop and inspiration struck. These might be just the thing to use for my old egg craft.
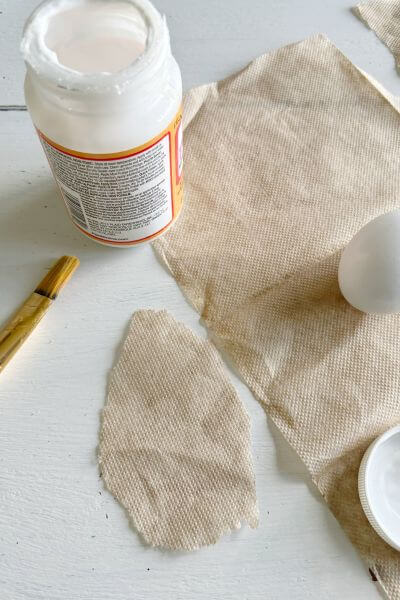
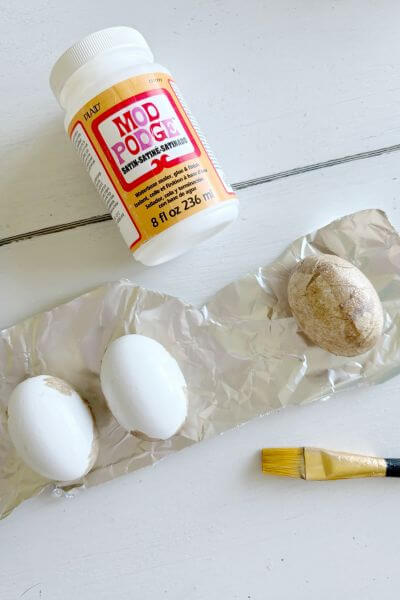
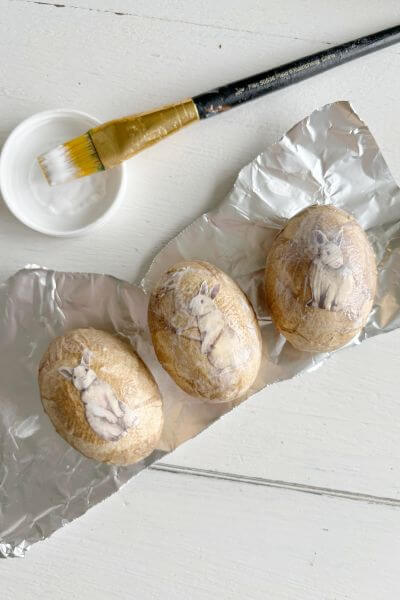
So, I got to work getting all my supplies ready including the eggs, mod podge, napkins, craft paint brush and some tin foil to craft on. I like to use tin foil to minimize sticking.
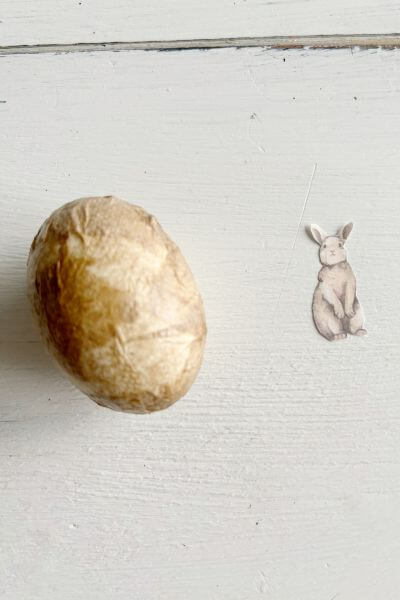
To fancy them up a bit, I found cute, old-style looking rabbits (think the Velveteen Rabbit book) as a finishing touch.
Read on for the simple tutorial and supply list so you can make your own vintage style eggs for spring decor.
Supply List for these Vintage Inspired Eggs
This post contains affiliate links. As an Amazon Associate, I earn from qualifying purchases. This means when you click a link, I may earn a small commission at no cost to you. This helps me to run this website. Thanks in advance for your support!

Decoupage Napkins onto Wooden Eggs
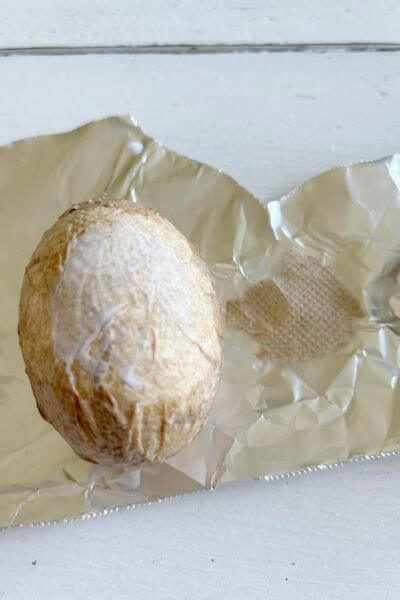
First, place the wooden eggs on a piece of tin foil and grab your mod podge and craft paintbrush.
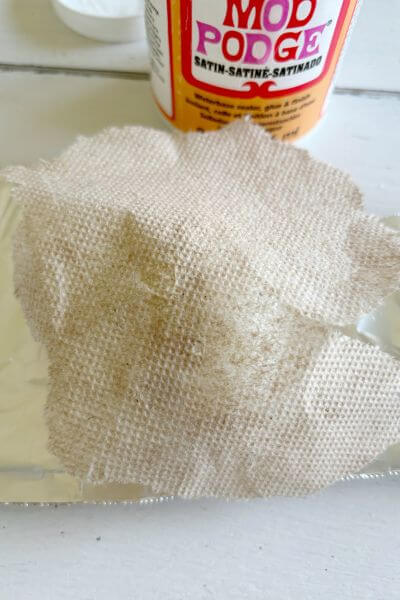
Begin by ripping off a piece of brown paper napkin, I avoided the creases in the napkin when tearing them.
And make sure you’re only using one layer of napkin, not multiple layers.
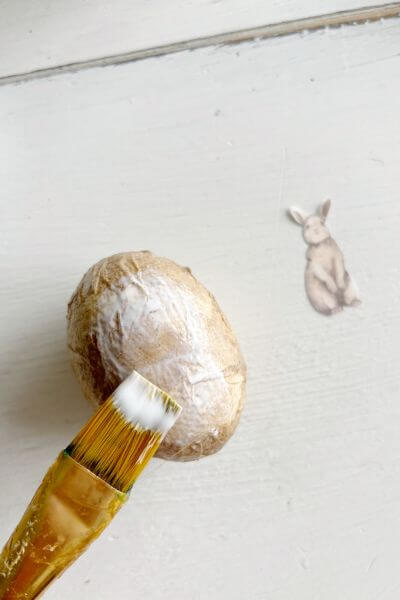
Next apply a layer of mod podge onto the wooden egg and stick the piece of napkin onto the egg.
Smooth the napkin down, you’ll have wrinkles, but it’s supposed to look vintage remember. 😉
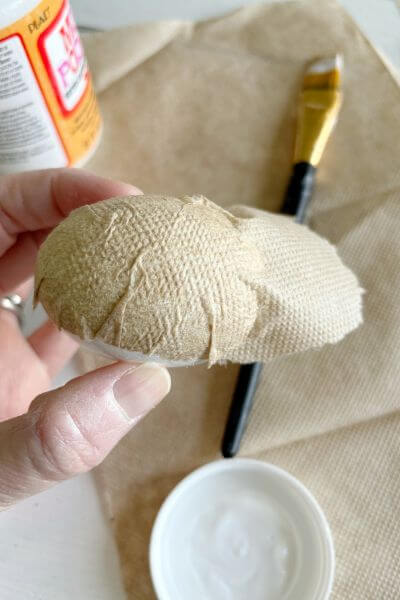
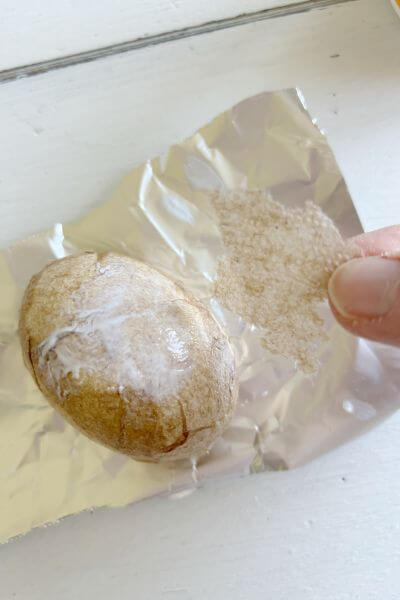
Now you can tear off the excess napkin. We’re coating half the egg with the napkin first in this tutorial.
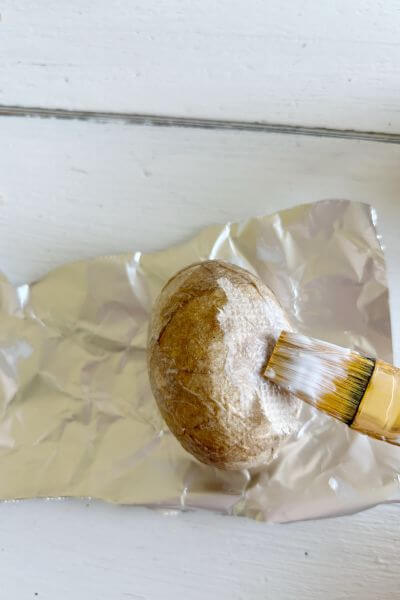
You’ll then put a layer of mod podge over the napkin using the paintbrush.
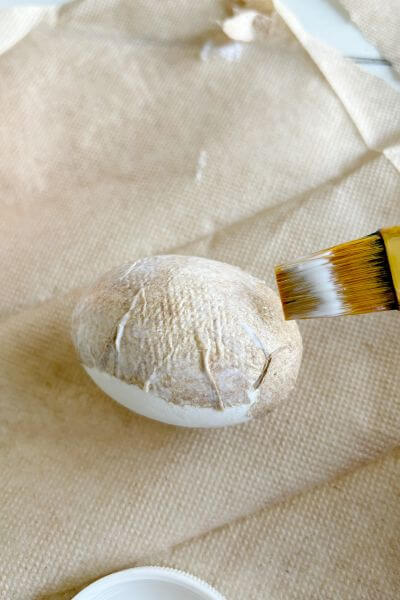
Now you can do the next steps one of two ways. You can either go ahead and decoupage the other half of the egg immediately.
Or you can wait until this half dries and isn’t sticky, and then decoupage the remaining half of the egg.
I tried out both ways and both worked fine. You may have a bit of sticking to the tin foil (and your hands), but you can easily remedy this in the next step.
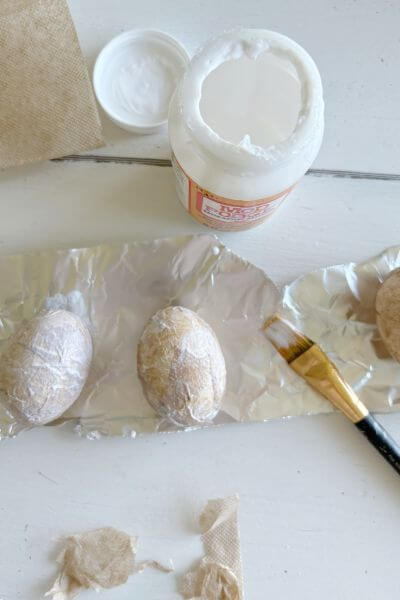
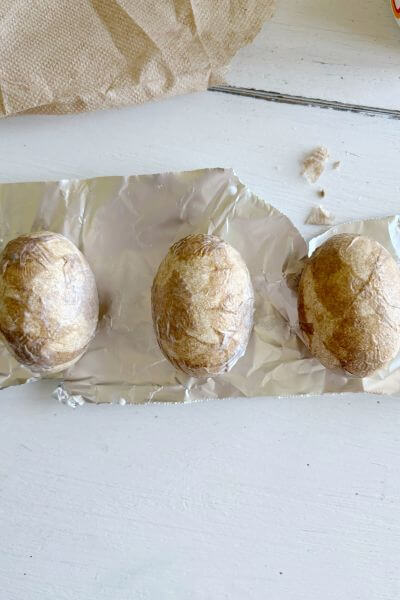
Here they are…the two on the left are half decoupaged with paper napkins and the one on the right is decoupaged on both sides.
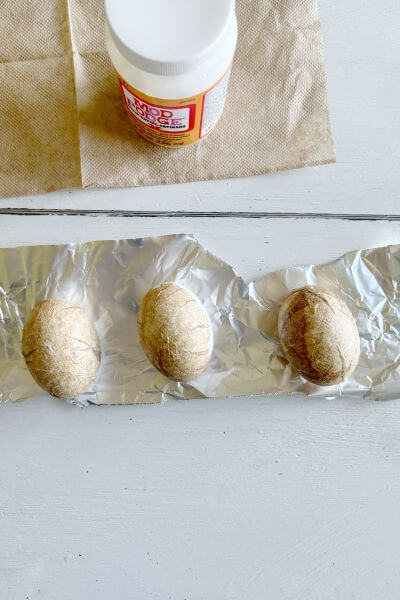
If you waited, then you’ll go ahead and finish the rest of the egg covering it with the fast-food napkins. I really loved the look of them…brown and a little bumpy, and they were the right price too! 😉
Now you’ll allow this layer to dry.
Add Small Pieces of Napkin to your Eggs with Mod Podge
Once the initial layer of napkin is dry, there will be a seam that is darker where the napkins have overlapped.
I liked the look of a mottled appearance with some darker and some lighter areas.
If you like this look too, you’ll accomplish this by tearing off small pieces of your napkin and adding them to your eggs.
Wherever there is a larger area of lighter brown, place a layer of mod podge there and add a small piece of napkin.
This is also where you can repair any white “holes” where the napkin may have pulled off the egg due to the sticky mod podge. Just place a small piece of napkin over any of these “holes”!
Then apply a layer of mod podge over the top.
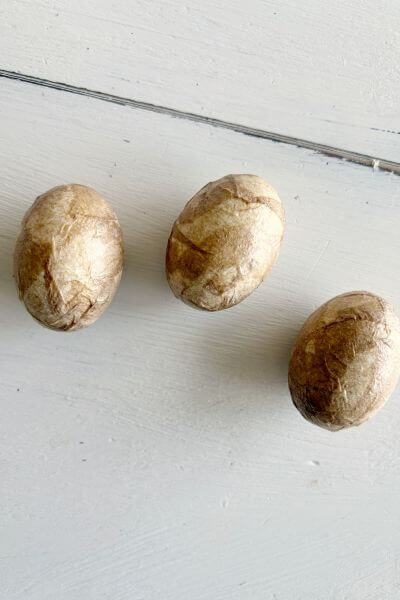
Repeat this until you have an egg with a mottled appearance, then allow the egg to dry.
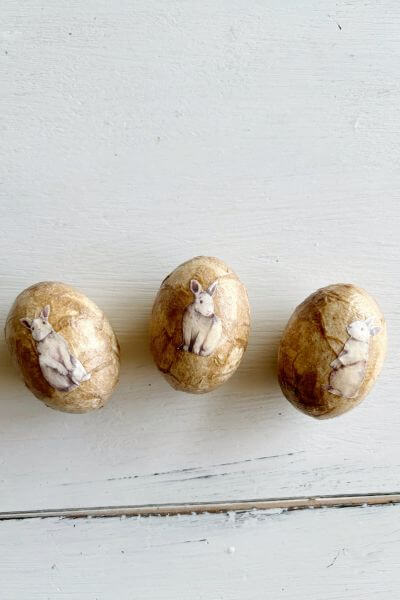
Once the decoupaged eggs are dry they’ll look something like this.
Add Vintage Bunny Designs to Decoupaged Eggs
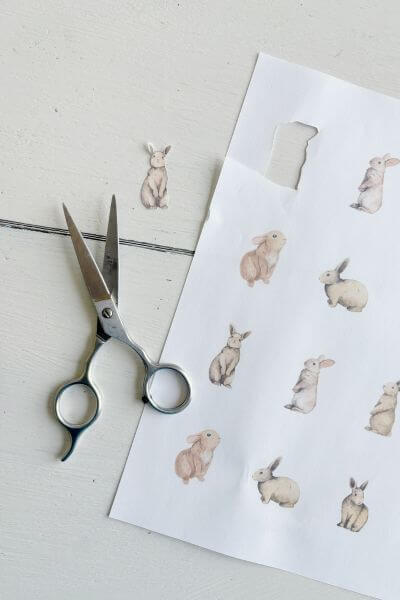
To add some additional decoration to these eggs, I found these vintage looking rabbits that you can print out.
The free printable for these bunnies is below. 🙂
First, you’ll cut out one (or more) of the rabbits. Use a good pair of scissors and try not cut close to the rabbit to avoid any white outline.
Apply a layer of mod podge on the egg where you are planning to apply the rabbit cut-out.
Stick the rabbit to the egg.
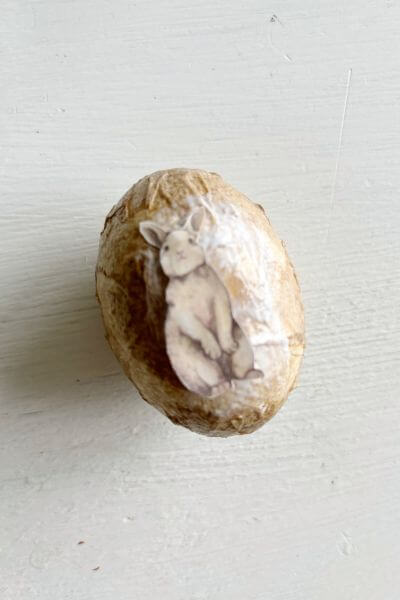
Next apply a layer of mod podge over the top of the rabbit. Smooth out the wrinkles using your brush. I tamped any edges that were unruly with my brush too.
Make sure the rabbit is lying smooth on the egg.
Apply as much mod podge as you need, it will dry clear!
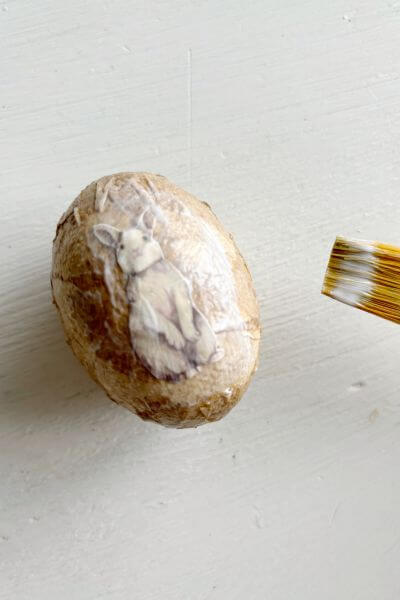
Here is a picture of the decoupaged eggs drying after applying the rabbit cut-outs.
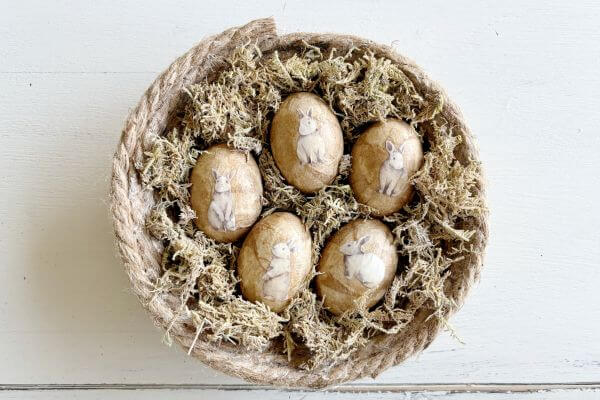
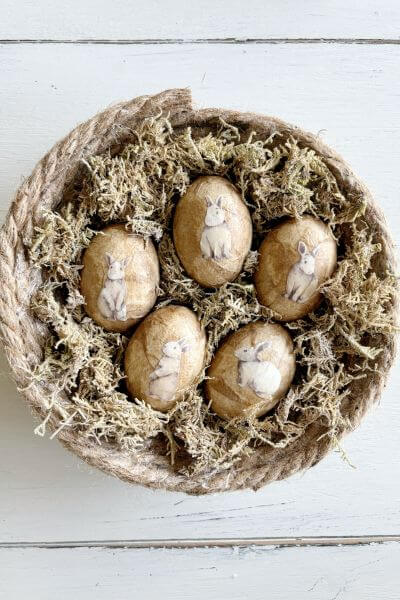
And here they are all finished! The link to the free printable for these vintage looking rabbits is below.
Final Thoughts on How to Decoupage Eggs with Napkins
So, is this project something you would try for Easter or spring decor?
I love that these rabbits, along with the fast-food napkins (gotta love that they are free with your meal), give these wooden eggs a vintage touch.
I think they would look pretty displayed in a nest or basket with your Easter tablescape, or even for shelf decor.
And if you’re looking for a craft to do with the kids, this could be fun! The napkins do get sticky and will peel off so littler ones may need help. However, you can easily repair any white “holes” with an extra piece of napkin!
I had wooden eggs on hand, but I’m thinking you could do the same DIY with plastic eggs. If someone gives this a try, please let me know down in the comments!
As always, thanks so much for reading!
So now it’s your turn. Grab some eggs, fast-food napkins, and mod podge (and, of course, the free printables) and give this decoupage with napkins tutorial a try!
Pin me on Pinterest to save this idea! ⬇️
Please consider subscribing to my email newsletter for more DIY ideas delivered to your inbox!👇