

This cute fabric bunny spring and Easter decor is perfect to place on a shelf and it comes with a fabric bunny pattern, free to download! Both easy-to-sew and no-sew options are shown in the tutorial.
Spring has almost sprung around here and it sure is nice to see the sun!
Plants are just beginning to sprout, and I did see a collection of daffodils the other day in someone’s yard. Sure signs of Spring!
And what comes with Spring… well of course bunnies! If you like fabric crafts, then this tutorial should be right up your alley.
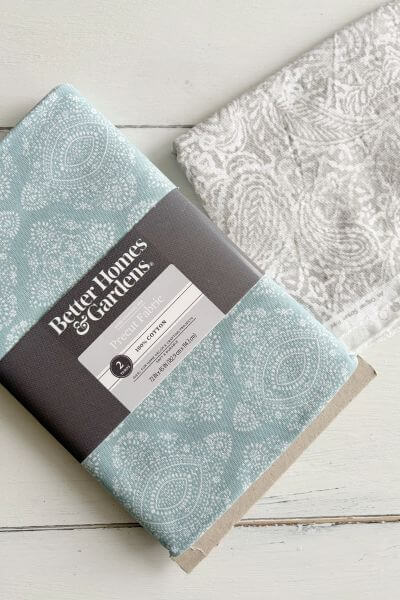
The fabric in this tutorial is from Walmart and comes in all different patterns, so you’ll be able to customize your own bunny craft any way you like.
And it’s precut fabric, so you’ll just need to visit your local Walmart or check online and grab some!
Now, Easter is quickly approaching, so let’s get to this fabric bunny DIY that will go great with your Spring shelf decor.
This post contains affiliate links. As an Amazon Associate, I earn from qualifying purchases. This means when you click a link, I may earn a small commission at no cost to you. Thanks for your support.
Supplies for Fabric Bunny Tutorial
- Fabric – Precut from Walmart, Better Homes & Gardens brand
- Scissors – mine are from Amazon
- Free Templates (linked within tutorial)
- Poly-fil Stuffing – Walmart
- Pen
*Additional supplies linked below*

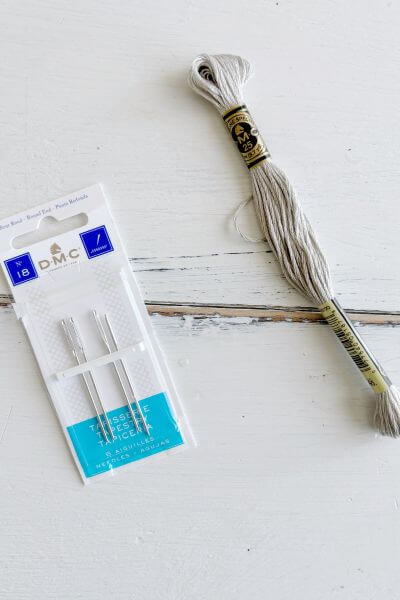
Additional supplies for sewn bunny, found at Walmart.
- Embroidery Floss
- Embroidery Needle

Tutorial for No-Sew Fabric Bunny
Large and small printable bunny patterns are linked below. I printed mine out on regular paper, however they curled so it may be better to print them out on cardstock.
First, print out the bunny template and cut it out. Then trace it onto the back of your fabric.
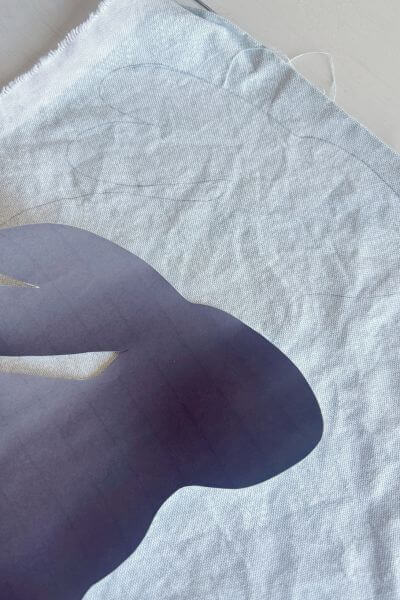
Trace and cut out two bunnies from the fabric. Make sure they are opposites (or looking at each other) like in the picture below.
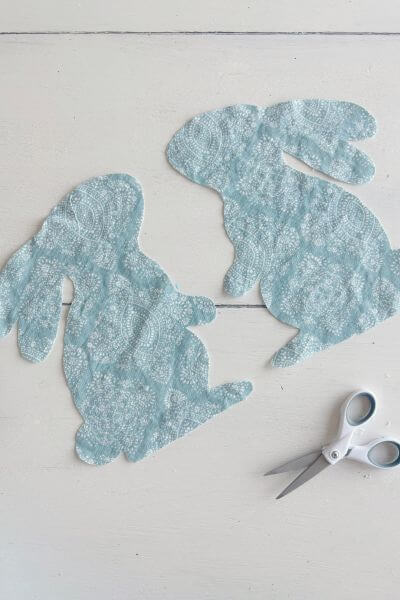
Now sandwich the fabric bunny pieces together with the pattern facing out.
Hot Glue the Pieces Together and Add Stuffing
Get out the hot glue gun and place a thin strip of glue around the edges of the head and ears.
Then fill it with the fiberfill stuffing. If you have trouble getting it into the ears especially with the smaller rabbits, I used the tip of my scissors to help poke it in there.

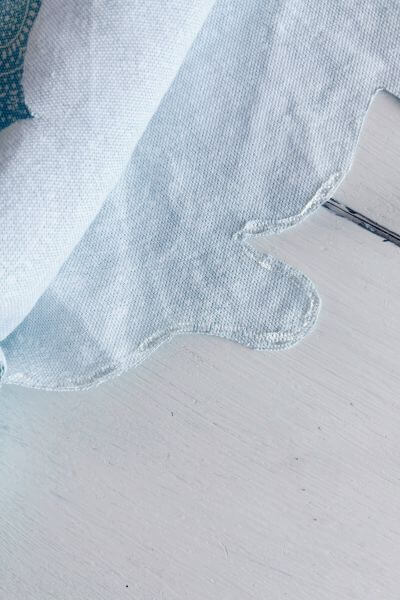
Place a line of hot glue along the back of your fabric rabbit cut out.

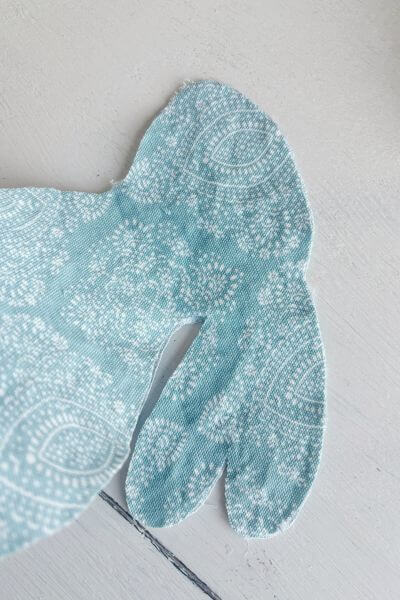
And also place a line of hot glue along the front of your rabbit and down around the paws.
And around the other paw.
Fill the body of your fabric rabbit with fiberfill stuffing. Be sure to tuck it into and fill out both of the paws.

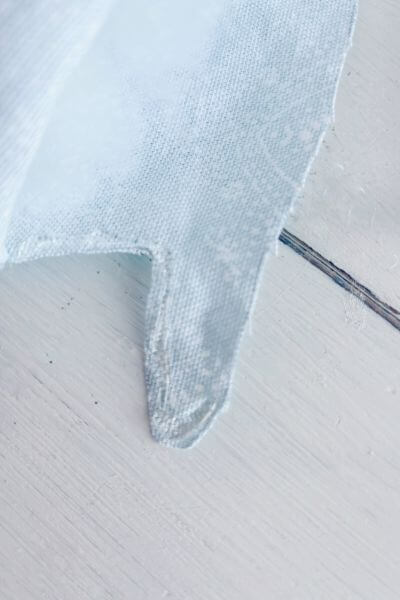
Place a line of hot glue around the bunny’s tail and adhere both sides of the fabric.
Stuff the bunny tail with fiberfill.

Lastly, place more stuffing into the rabbit so that it is well filled out and puffy.
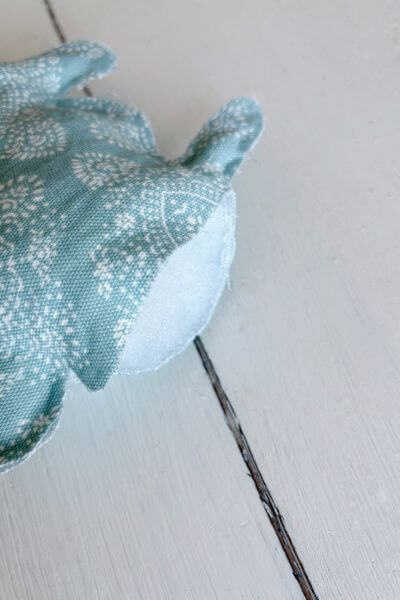
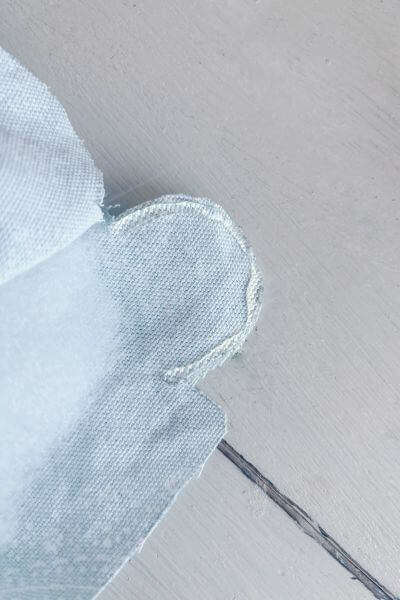
Lastly, use hot glue to seal up the bottom of your fabric bunny.
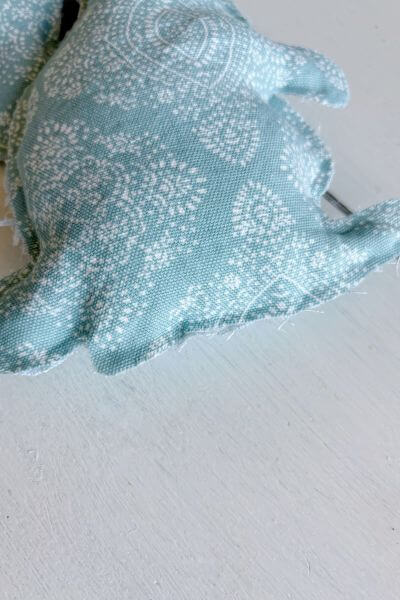
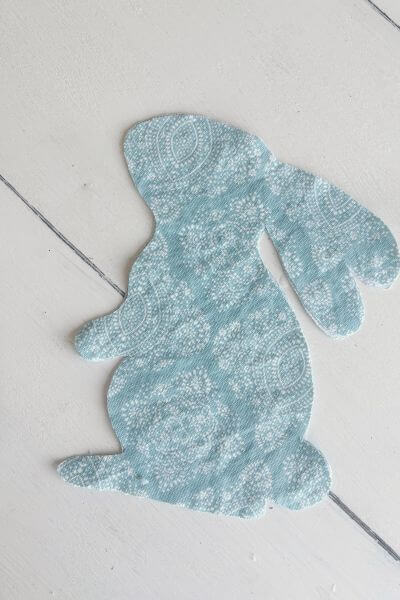
A quick pic of the completed no-sew fabric rabbits.
And here’s one of the large and small fabric farmhouse style bunnies.
Tutorial for the Easy to Sew Fabric Bunny
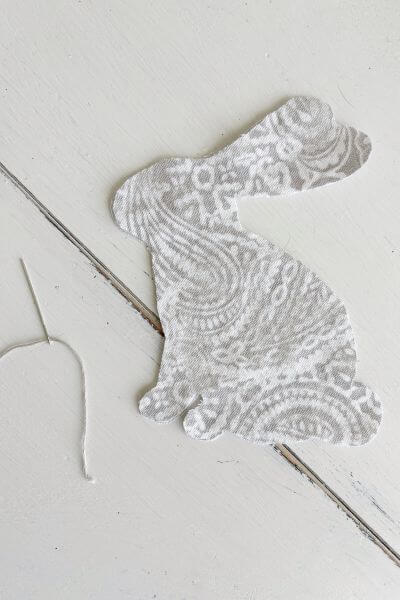
First cut out two bunnies just like in the previous tutorial. This is a different pattern with the ears up, so I’m linking this one below.

Place the bunny cut outs together with the pattern facing out. Thread your needle too (quick tip – I did this by folding the thread over and shoving it through the eye of the needle).
Make a Knot and Begin with the First Stitch
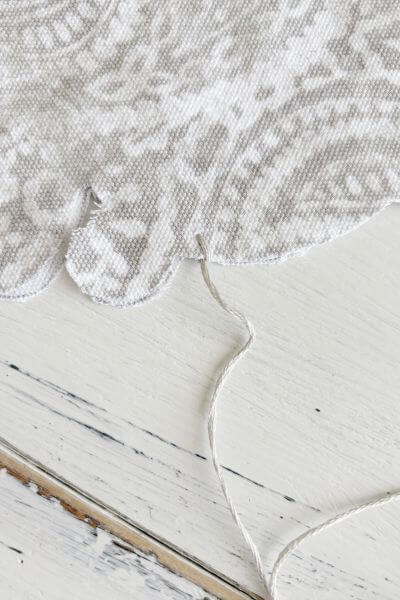
Put a knot in the end of the thread and then put the needle through the inside of the fabric. This will hide the knot.
I started this just under the paw. However, after completing the whole rabbit, I think it would have been easier to start just below the tail.
Now, loop the thread around and put the needle through the outside of the other piece of fabric. Try to get it through the same hole as the knot.

Pull the thread through but not the whole way, so that it leaves a loop.
Now stick the needle through the loop you made previously.
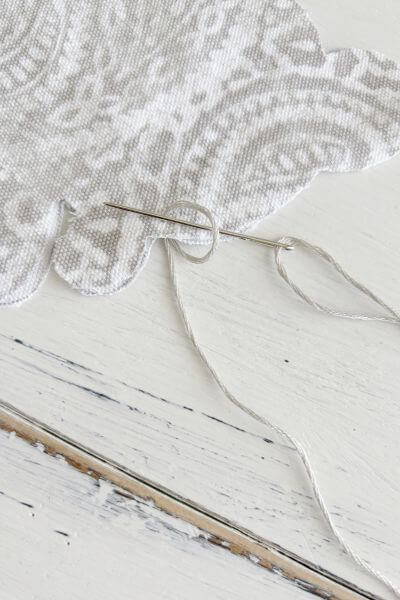
And pull it tight. This makes your first stitch.
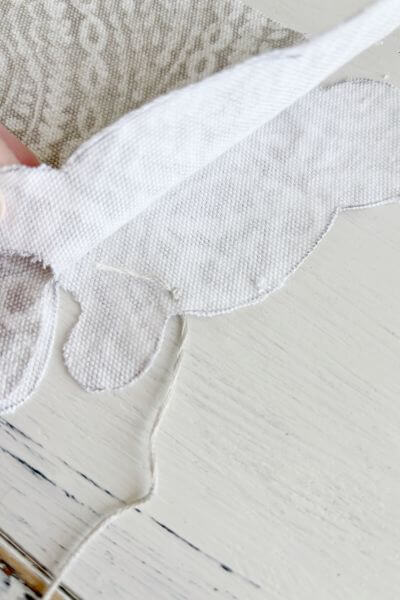
Learn the Blanket Stitch Technique for Easy Sewing
Now it’s time to learn the blanket stitch. And it’s easy peasy!
Now stick the needle into the fabric a short distance away from that first stitch.

Pull the needle through, but not the whole way making the loop just as in the previous steps. Then stick the needle through the loop.

Pull the thread tight and now you’ve made your first blanket stitch.

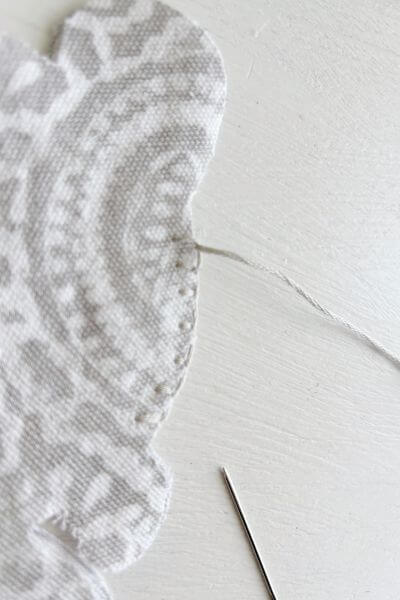
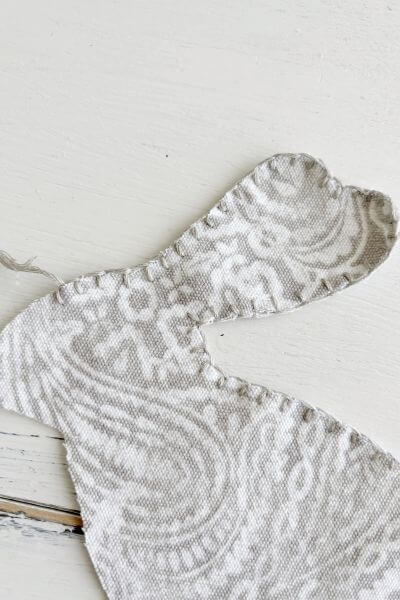
Continue making blanket stitches. Just be sure you are placing your needle into the same side of the fabric every time.
And try to keep the distance between your stitches relatively uniform. Mine weren’t perfect especially around the paws and ears.
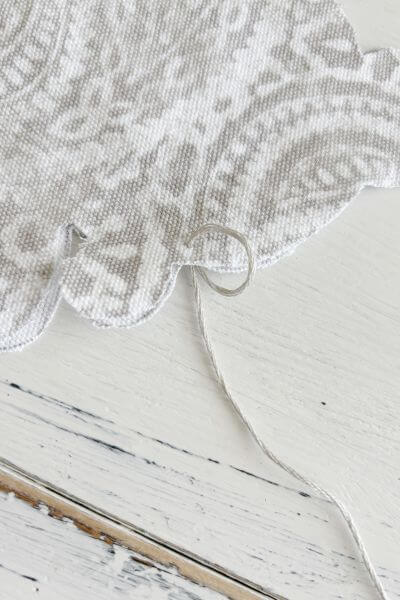
A few more pics of the blanket stitch process. Stitching along the back of the fabric bunny. Push the needle through the fabric.

Make a loop.

Stick the needle through the loop and pull it tight, making the blanket stitch.
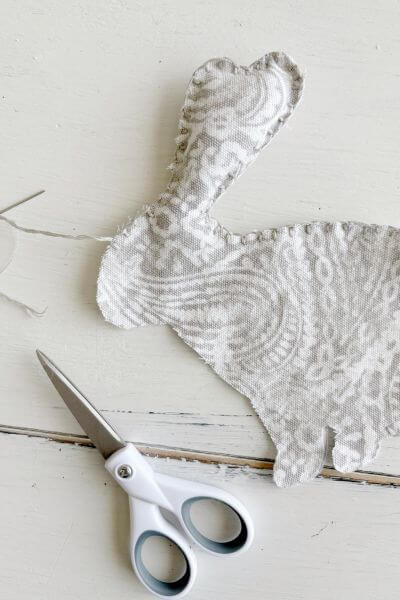
Begin Stuffing Your Fabric Rabbit
Once you’ve made your blanket stitches up the back and along the ears, and part of the head, it’s a good idea to stuff the ears.
If you have trouble stuffing the ears, use the tips of the scissors to poke the stuffing in there.
Continue to sew down the front of the fabric bunny.
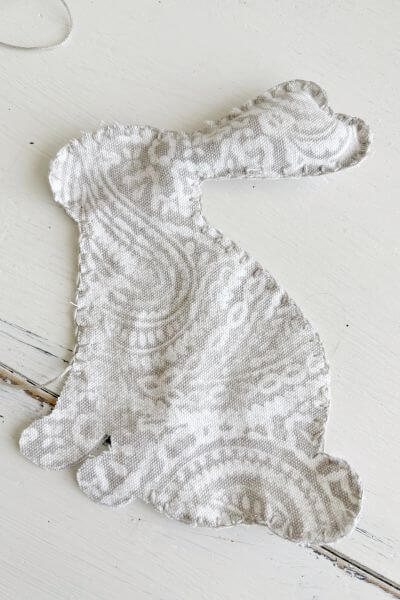
Once I got to the top of the first paw, I stuffed the inside of the rabbit.
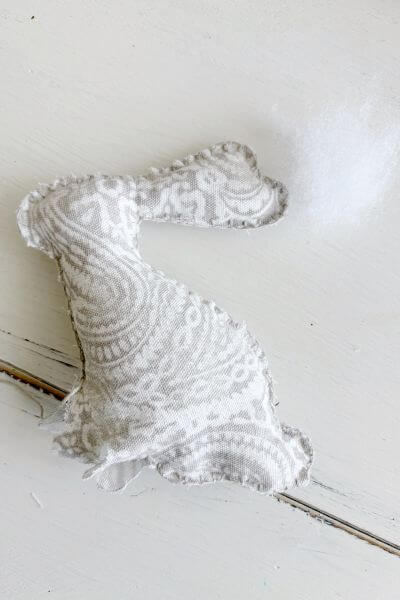
Stitch around the first paw and then stuff that paw using scissors as needed to help push the stuffing in there.
Stitch around part of that second paw and place the stuffing inside that paw.
Finish stitching around that second paw.
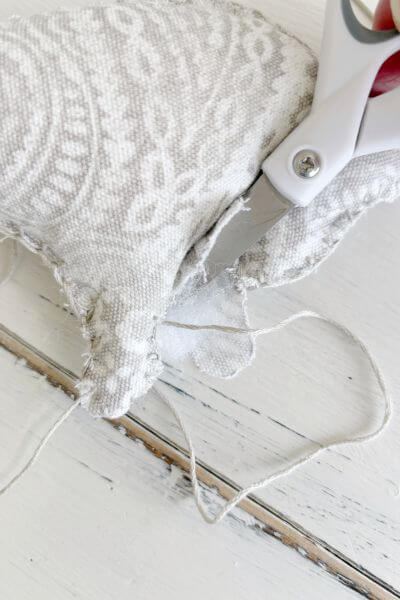
This is why I think it may have been easier to begin underneath the tail. It was hard to keep the stuffing in while stitching that second paw up.

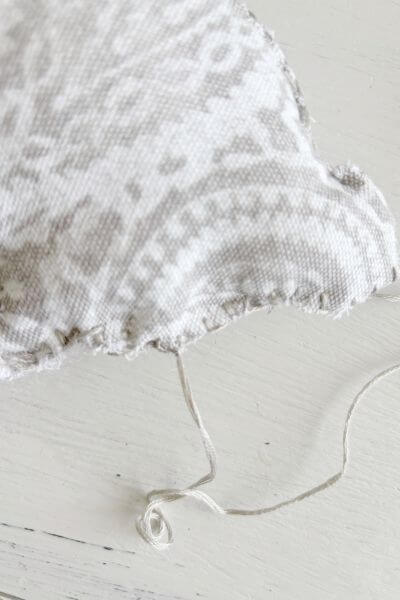
Make a Basic Knot to Secure Your Stitching
Lastly, this is the way I always make my knots. This is a very basic knot, but so dang easy… and that’s why I do it this way. 😉
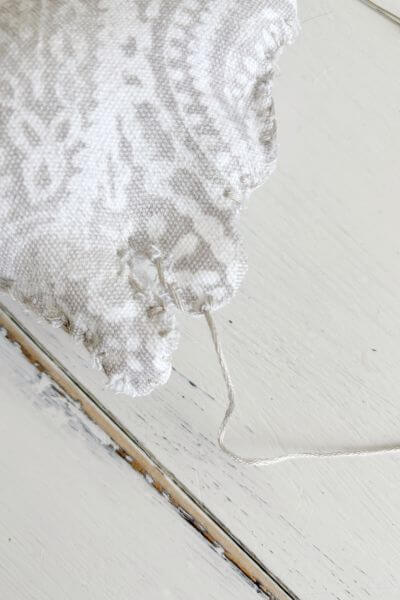
Push the needle through the fabric.
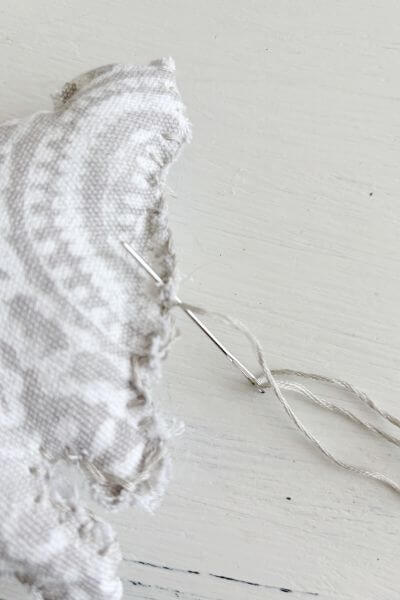
Make a loop about three times around the needle as shown.

Hold the loops down and then pull the needle all the way through.
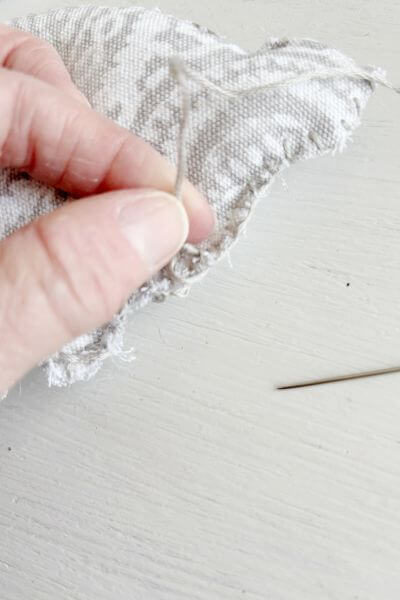
This makes a very basic knot that should hold your stitching together.
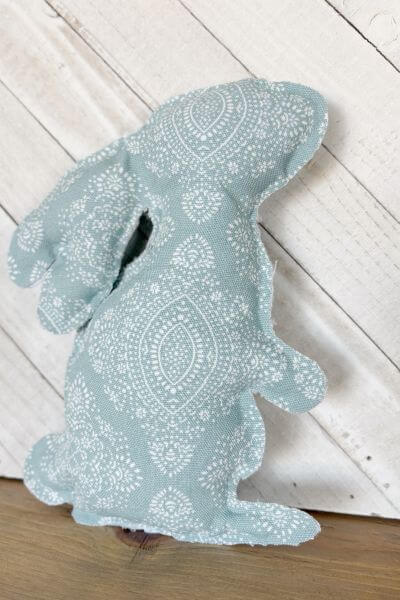
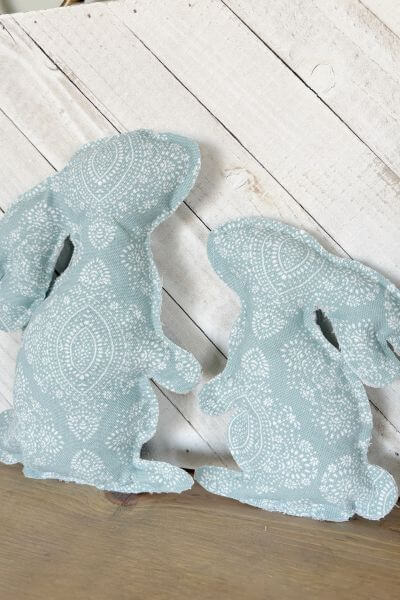
And here is the completed farmhouse style fabric bunny.
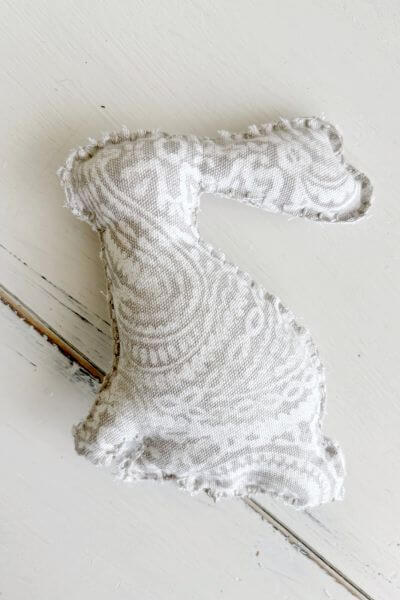
And a pic of the two sizes of neutral farmhouse bunnies.

Final Thoughts on Fabric Bunnies Tutorial
So, which is your favorite fabric bunny? The easy-to-sew or no-sew version?
These bunnies are customizable since Better Homes & Gardens has a lot of different patterns available to choose from.
And the free printables make this super easy too, just print them out and make your own.
These fabric rabbits will fit in with any Easter decor, however they do have a farmhouse vibe to them, don’t you think.
I’m thinking of starting a you tube channel just to have short videos to go along with the tutorials. I think they may help visual learners with things like learning the blanket stitch. What do you all think?
Let me know if you have any questions or just share that you tried the tutorial down in the comments. Happy spring decorating!
And, as always, thanks so much for reading!
Now grab your free rabbit templates, choose your fabric design and create these cute and homey fabric bunnies for your own home decor.
Please consider subscribing to my email newsletter below for more DIY ideas delivered to your inbox👇