
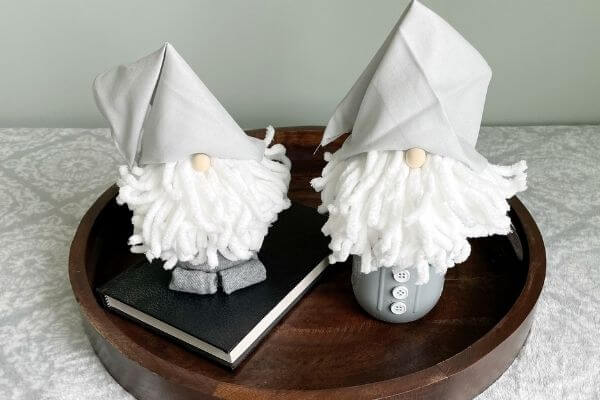


Let’s make simple DIY winter gnomes today. We’ll be making two versions using both a mason jar and a sock. Just in time for Christmas and holiday decor!
Winter greetings, friends! The topic today is DIY gnomes! I’ve been seeing this craft on Pinterest for a while, however, a fail is what led me to make my own!
I had been making small pom-poms for Valentine’s Day garland, and I wanted to try to make a bigger version. However, the bigger version didn’t really look like a pom-pom.
It instead reminded me of one of those gnome beards I had been seeing everywhere. So I came up with my own no-sew version of a DIY gnome.
The nice thing is if you buy the yarn I used, you can make the pom-pom garland from my previous post AND quite a few of these gnomes too!
So here’s the tutorial on easy winter gnomes and we’ll be making it two ways! One with a mason jar body and the other with a sock body…read on for the how-to!
Easy Winter Gnome DIY (Mason Jar Body)
This post contains affiliate links. As an Amazon Associate, I earn from qualifying purchases. This means when you click a link, I may earn a small commission at no cost to you. This helps me to run this website. Thanks in advance for your support!
Product List:
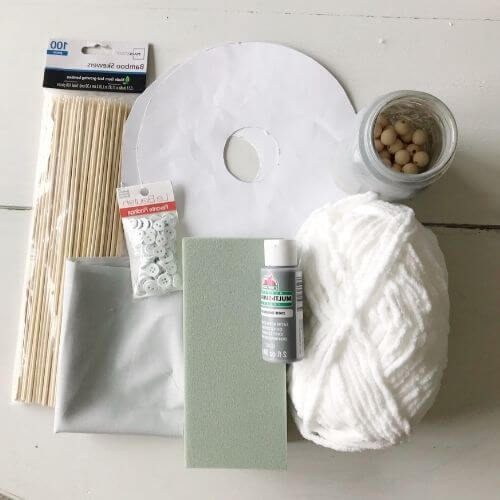
- Yarn – Bernat Blanket in white (Walmart)
- Mason Jar – had on hand
- Wood Beads 14 mm (Amazon)- I highly suggest buying a set like this and using some for my previous wood bead tutorials.
- Fat quarter fabric (Walmart)
- Glue Gun (Amazon)
- Buttons (Walmart)
- Cardstock (Walmart)
- Foam – Desert DryFom brand (Walmart)
- Paint – Timeless Gray (Walmart)
- Bamboo skewers (Walmart)
Craft Oversized Pom-Pom for Gnome Beard
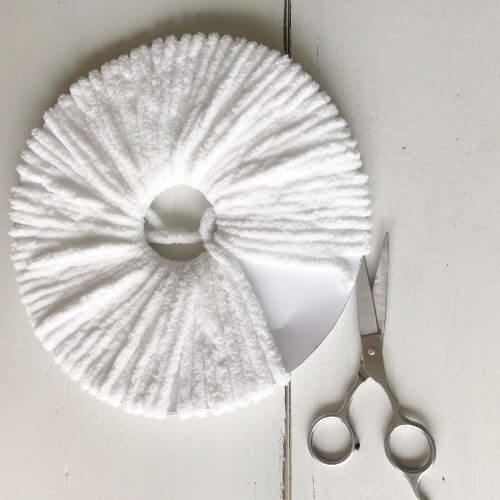
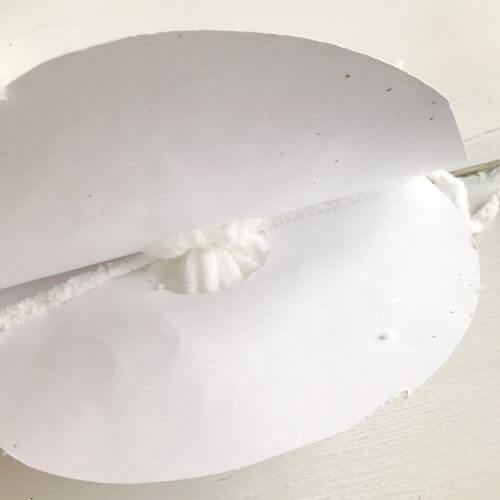
The first step is to make your big pom-pom that will be the gnome’s beard. This is the same pom-pom as I made in my previous post.
This circle of cardstock however was cut larger so that the outer diameter is 8.5 inches. The inner diameter of the hole is about 2 inches.
Measure about 44 feet of your yarn out. Sounds like a lot, but you get a bunch of yarn from that one skein. Then start wrapping it around your circle as shown.
When you finish, place your scissors between the cardstock and cut the yarn all the way around. It helps to place it flat on a table while you do this.
After that simply take a small piece of the yarn and place it between the cardstock, knotting it around the inside. This secures your pom-pom. For more detailed instructions and pictures about making pom-poms see this post.
Paint Your Jar, Add Foam and Skewer Pom-Pom
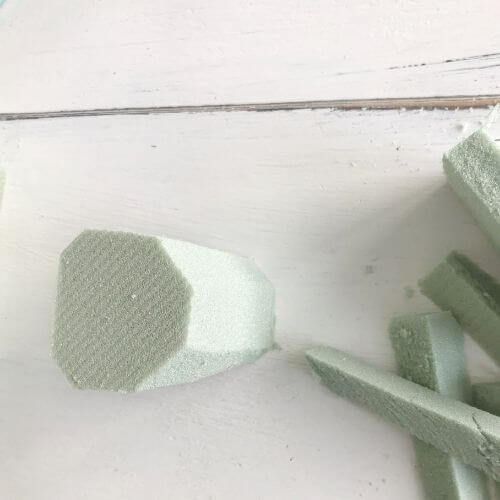
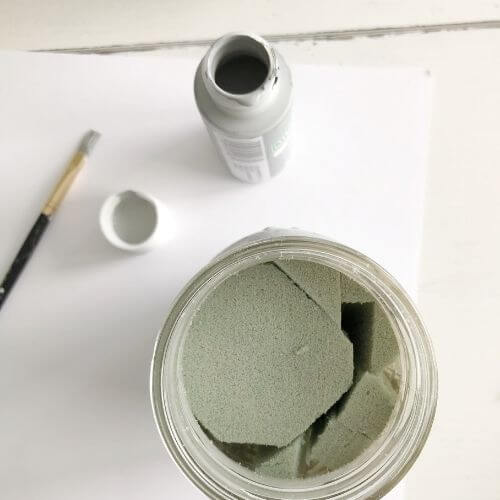
I had a mason jar on hand, but you could use any jar you have about that size. The craft paint in the color Timeless Gray I purchased at Walmart for $1.00, along with the floral foam for about $2.50.
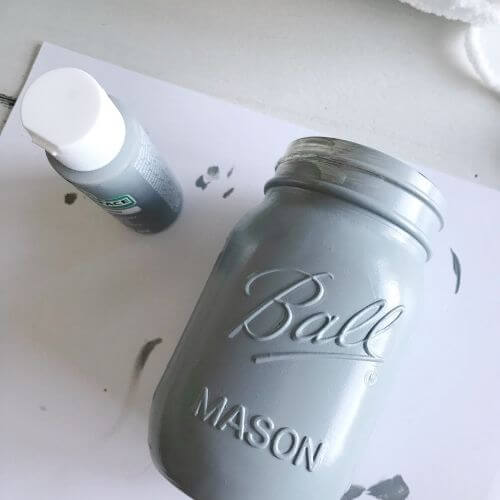
First, I cut the foam to size to fit in the jar and added a few smaller pieces on the sides to stabilize it. Then I painted the jar giving it 2-3 coats of paint.
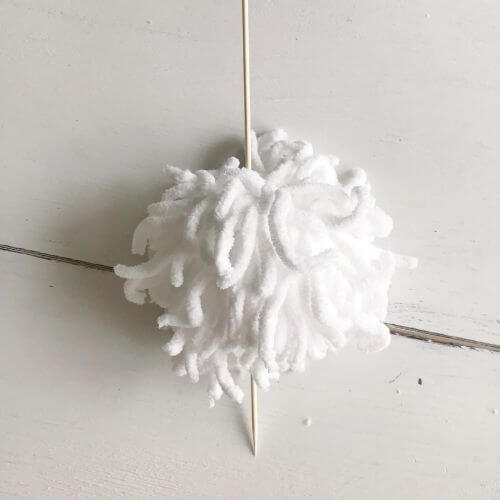
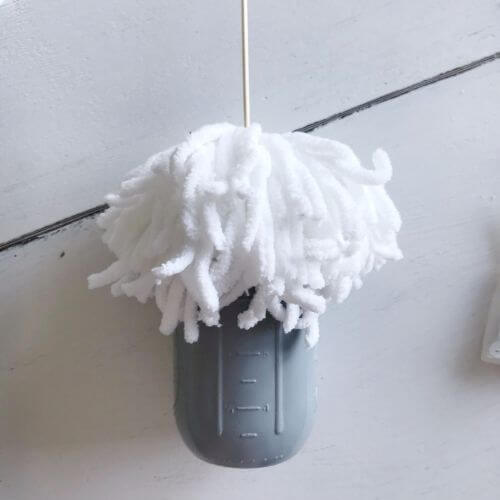
After the paint dried, I skewered the pom-pom and then poked it down into the craft foam. The “beard was then sitting on top of the jar and stabilized by the skewer. See the pictures below.
Make Your DIY Gnome Hat Using Fabric
I bought a fat quarter of light gray fabric for 97 cents (see how I made DIY warm packs with the same type of inexpensive, cotton fabric).
I cut about 1/4 of the fabric to make one gnome hat. The quarter piece of fabric measured about 11 inches by 9.5 inches.
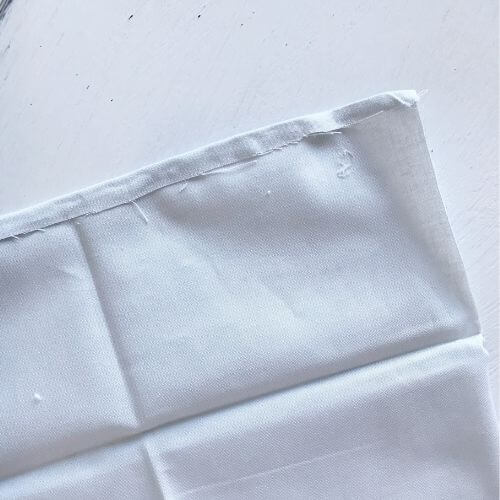
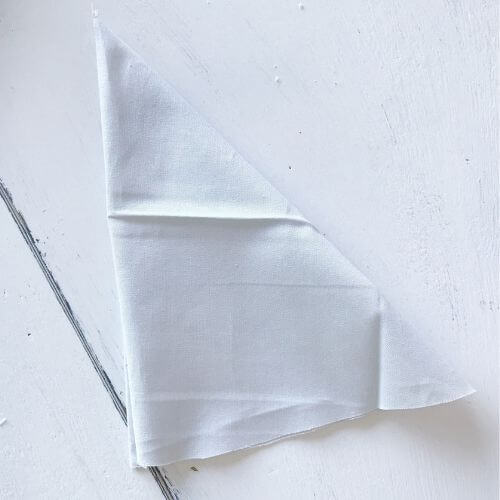
First I hot glued along the longer edge of the fabric and then folded it over to make the edge neat.
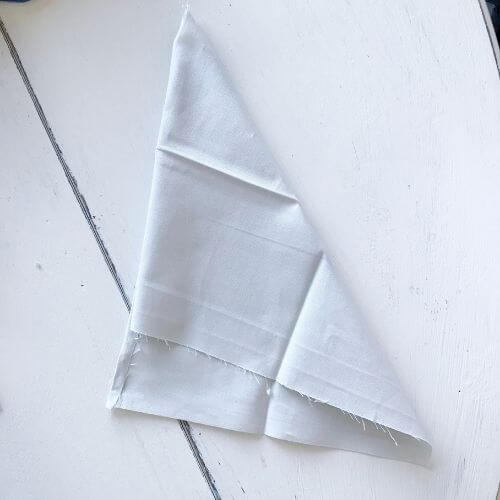
Then I folded the fabric into a triangle and cut off the excess material. Just for reference, my triangle measured 10 inches (side) by 8.5 inches (side) by 7 inches (bottom).
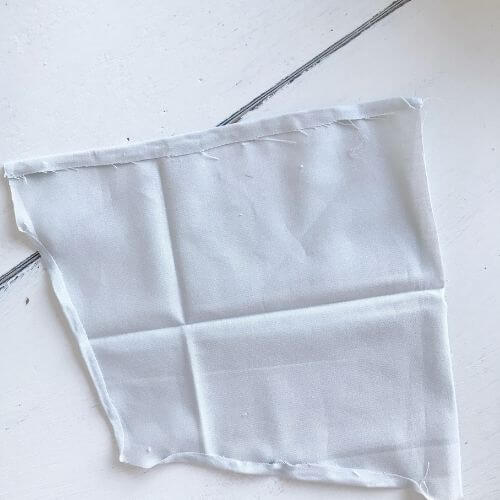
I then opened the fabric back up and glued it along the two bottom edges and folded it over to make a neat edge.
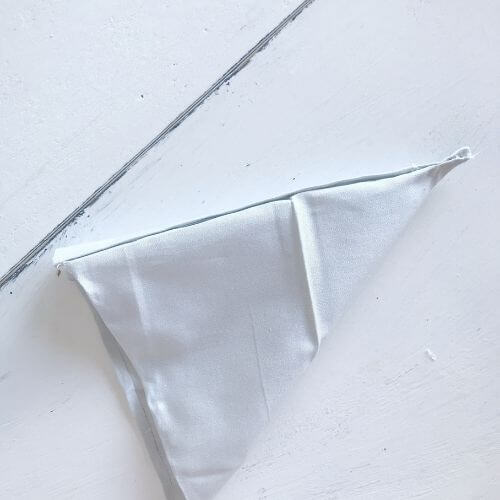
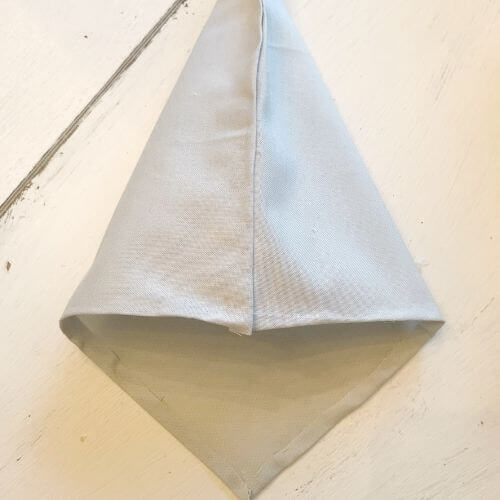
Lastly, I folded the one non-glued end over, and hot glued it to the opposite side forming the triangle. Does this sound confusing? 😉 There are pictures below for reference.
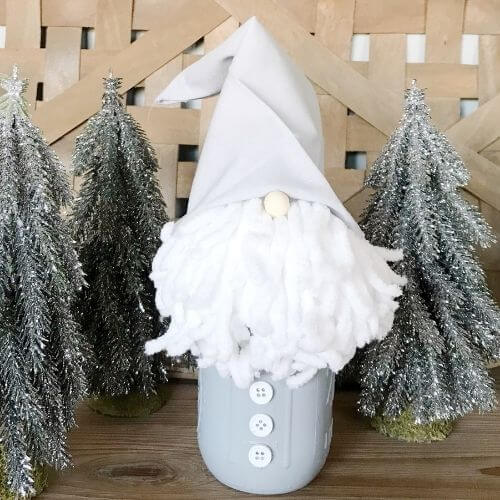
Finish Creating Your Mason Jar DIY Gnome
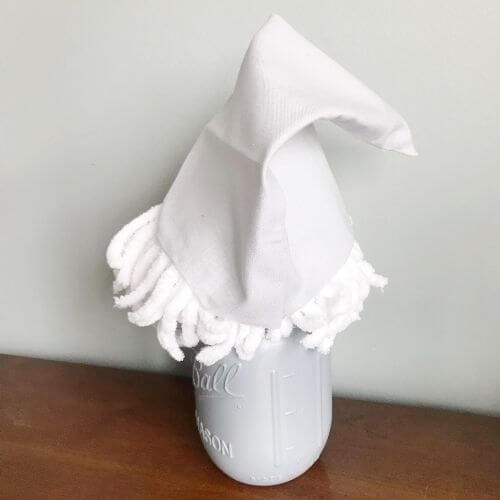
I folded the pointy bottom edge of the hat under and placed it on the skewer. Under the folded part is where your gnome nose will go.
Also, you will have to cut off part of the skewer to allow for your hat to flop over. Then I glued the hat in several places to my yarn beard being careful to make sure the glue was hidden under the hat.
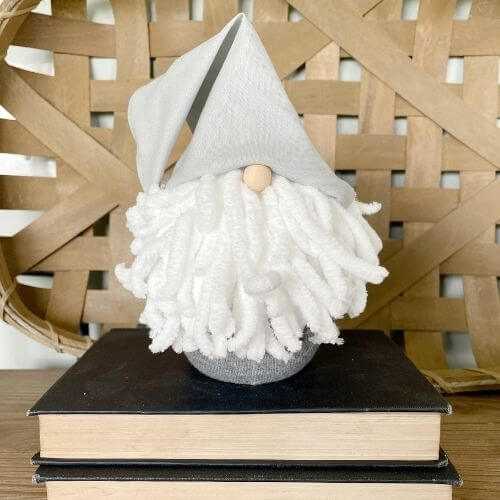
After that, I took my wood bead and hot glued it a little under the hat, so it looked like it was poking out from underneath.
Be sure to put the holes on the sides, my kids said they look like gnome nostrils! 😉 Finally I hot glued some buttons onto the mason jar!
But that’s not all, let’s take this another step further. If you like a gnome with a sock body better then read on and we’ll see how we can easily change this up!
DIY Holiday Gnome (Sock Body)
So we’ll be using the same steps as above for making the pom-pom yarn beard and the gnome hat. We’ll also be using the skewer to put through the yarn.
But instead of the mason jar body we’ll be using a few items I found at the Dollar Tree, and we’ll be making a sock body.
Product List for Gnome Sock Body
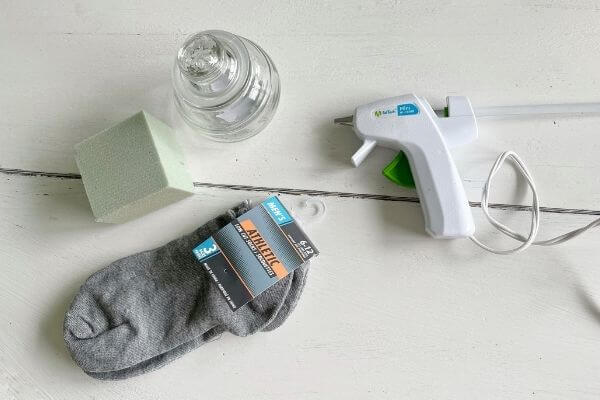
- Jar (Dollar Tree)
- Socks (Dollar Tree)
- Glue gun (Amazon)
- Foam- Desert DryFom brand (Walmart)
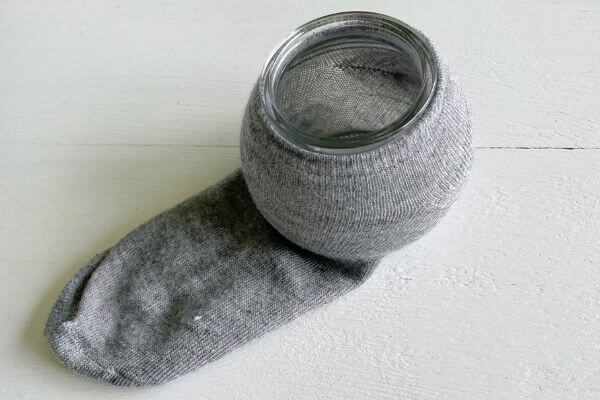
Use Sock and Jar for DIY Gnome Body
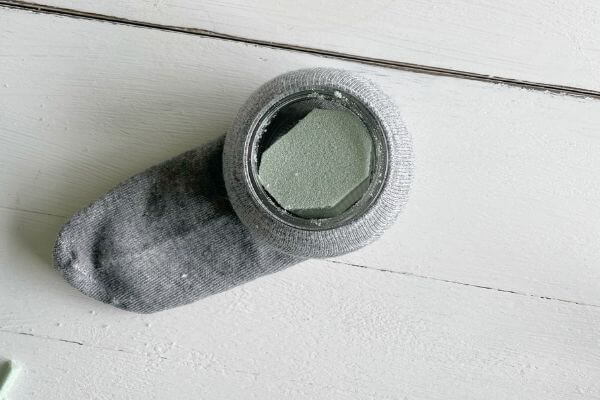
First, take the lid off of the jar, and then place your sock over the jar up to just below the rim. Next, cut a piece of your foam to fit, and place it into the jar. This will hold your skewer in place. Below are the pictures.
Create Gnome Sock Body
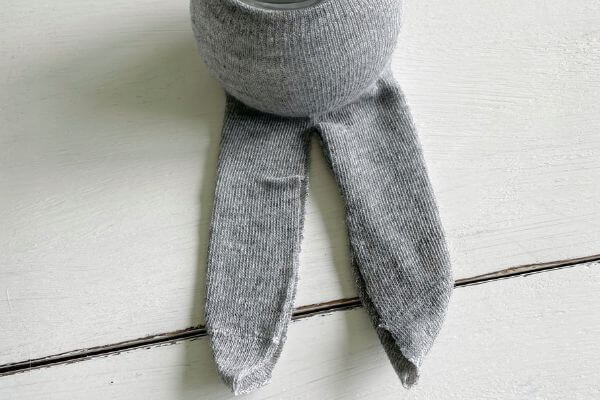
So, here’s a neat little trick, you can make your gnome body two different ways using the excess sock material.
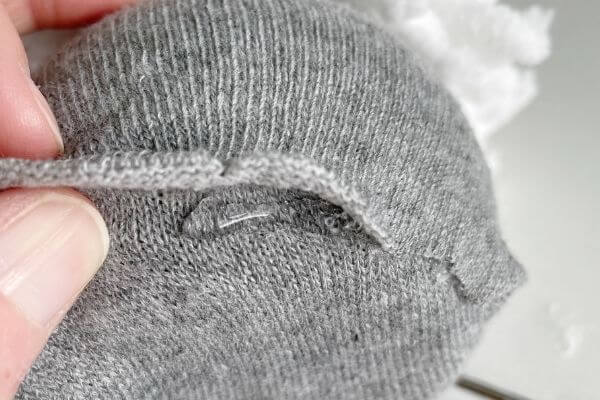
You can cut the excess sock portion right down the middle. Then carefully roll each piece up and use your glue gun to secure.
The sock pieces look like little gnome feet! See below for pics.
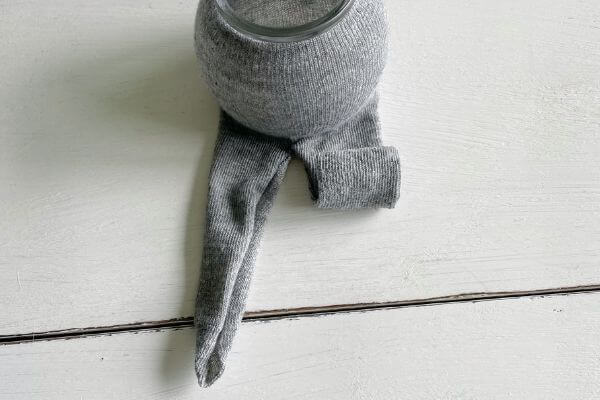

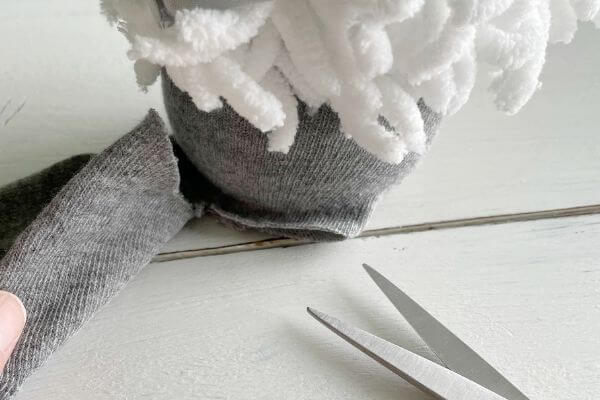
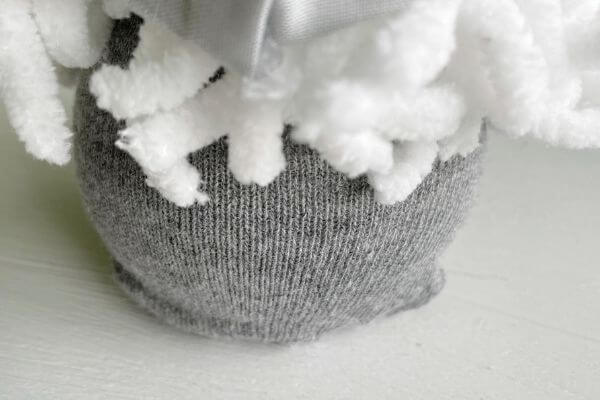
If you don’t like the feet, the other super simple way to do this is to just cut off the excess material. Leave enough material to hot glue the fabric together.
Then you can hide the seam in the rear portion of your holiday gnome! See pictures below.
Cut Skewer and Place Gnome Head onto Body
Now that you have the body made, simply cut the skewer to the desired length (that you made from the above steps). Next stick the skewer down into the foam. And voila, you have your own DIY winter gnome!
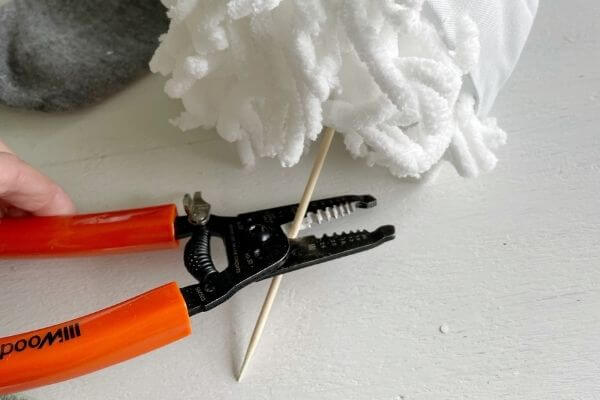
Cut the skewer as shown.
Below is the comparison of the two ways to make the sock gnome body.
Funny Stuff About Gnomes
I had my kids make some of these winter gnomes as well. They weren’t too keen on making them for one reason, they think they look like dolls.
Ever since they were little, they have been afraid of dolls and reading in a book about a haunted one didn’t help matters. If you have a minute, google Robert the haunted doll.
And if you do have kids who have dolls in the house or you are a doll collector yourself, then in the words of the great Soos from the Gravity Falls series (highly recommended if you haven’t watched this show). “Good luck sleeping tonight.”
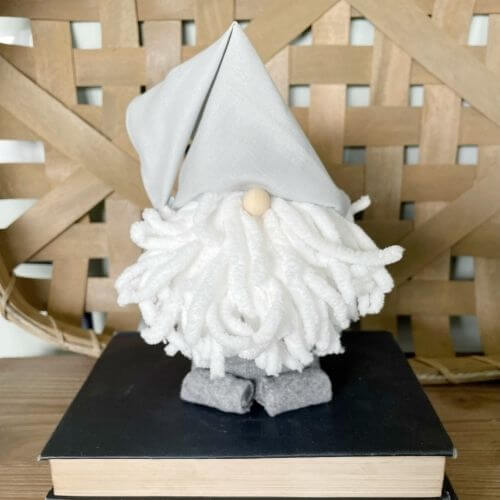
Final Thoughts on Winter Gnome Tutorial
So, which was your favorite DIY winter gnome? I personally liked the sock gnome with the feet and it was a bit simpler to create than the painted mason jar.
The blanket yarn worked out nicely for the beard and the skein gives you a lot of yarn to be used for future craft projects!
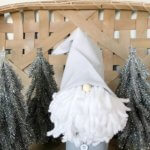
If you prefer a “stand up” gnome hat, add some stuffing into it before gluing it onto the gnome yarn beard!
Wood beads for the noses are something I always have on hand, but if you don’t then ordering a set gives you lots to use to make your own DIY Christmas bead garland!
If you have any questions or have given one of these DIY gnomes a try drop me a line in the comments section! Thanks so much for reading!
Related Posts for DIY Gnomes
- Easy Dollar Tree Christmas Gnomes (Create 3 For Under 10 Dollars)
- Simple Valentine Gnome with Dollar Tree Items
These DIY winter gnomes are simple to create and can be a fun addition to your holiday and Christmas decor!
Please consider subscribing to my email newsletter below for more DIY ideas 👇