


Today let’s talk about DIY warm packs that you can make with your kids, and give them a basic sewing lesson in the process!
Hello January, my friends! We have one cold/warm pack sitting in our freezer and when one of my kids decides to use it, everyone wants it!
You also can’t have too many of these on hand as we are always using them for bumps and bruises. Or when the nights get chilly, they like to microwave one and cozy up with it on the couch!
So I decided to come up with a simple, inexpensive way to have all of them make their own. I figured it would be useful to give them a very basic sewing lesson in the process.
So here’s an idea on how to make easy DIY warm packs with your kids.
Step 1 – Supplies for DIY Warm/Cold Packs
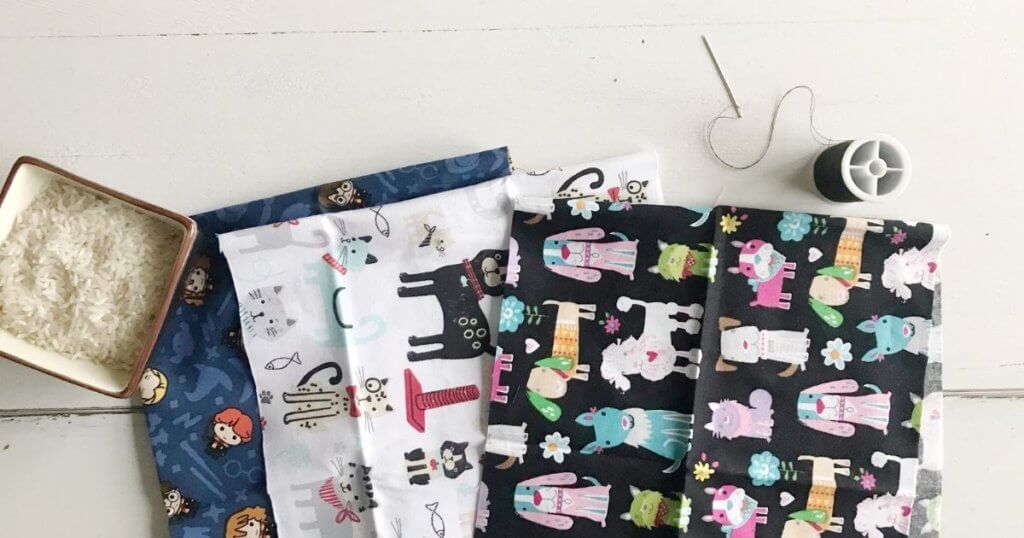
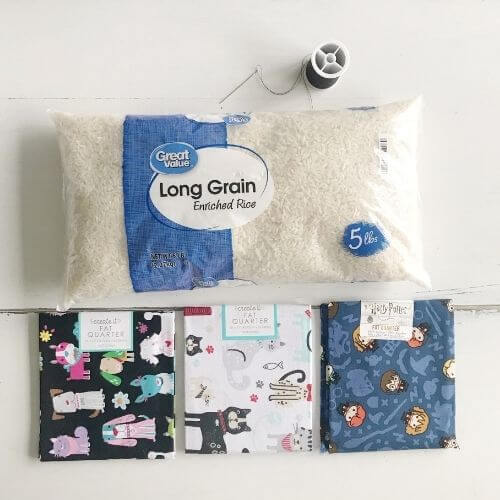
I headed to Walmart to grab my supplies. First I bought two 5 lb packages of white rice (NOT the instant kind) which were about $2.50 each.
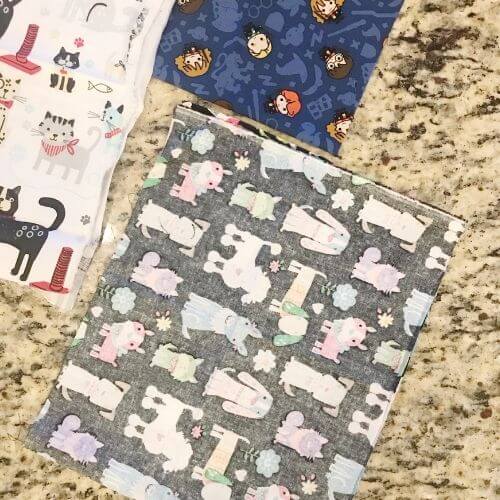
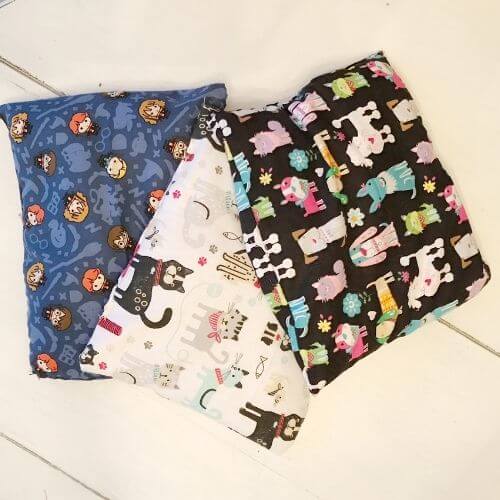
Then I went to the fabric section and let them pick three patterns of fabric. There is a section with various small cuts of fabric called “fat quarters”. They are 18 inches by 21 inches.
Two of the designs were $1.50 and one was $2.00 due to it being a Harry Potter pattern.
I had some needle and thread at home so I didn’t need to buy that, however, I did see a basic sewing kit for about $2.00,
Overall the supplies were very inexpensive and easy to find!

Supplies Fabric patterns, inside out and cut in half
Step 2 – Turn Cotton Fabric Inside Out and Cut in Half
We used half of the fat quarter for one warm pack. We bought 3 fat quarters so you could actually make 6 warm packs for a total of $5.00, but you would need to buy more rice.
Each warm pack was filled with approximately 2 and 1/2 pounds of rice.
First, I turned the fabric inside out and then cut it in half. This left three sides to sew.
See the above picture.
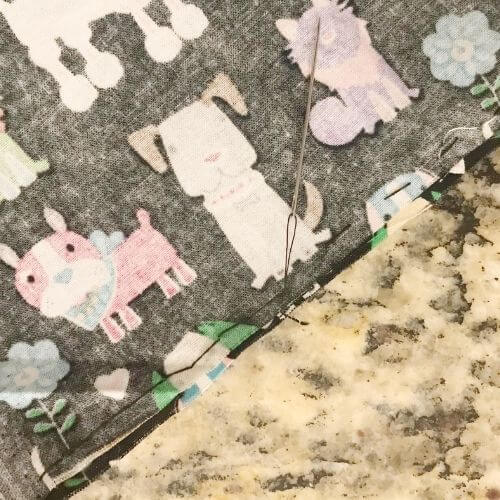
Step 3 – Sew the Two (Longer) Sides of the Fabric
While the fabric is inside out, sew the two longer sides of the fabric. I taught my kids how to thread the needle and then make a knot at the end of the string.
I made sure the string was long enough to make it all the way along the fabric twice.
Basically, we sewed all the way up one side and then back down to where we began so that we could make one continuous line (see picture).
The simple stitch we used is called a running stitch.
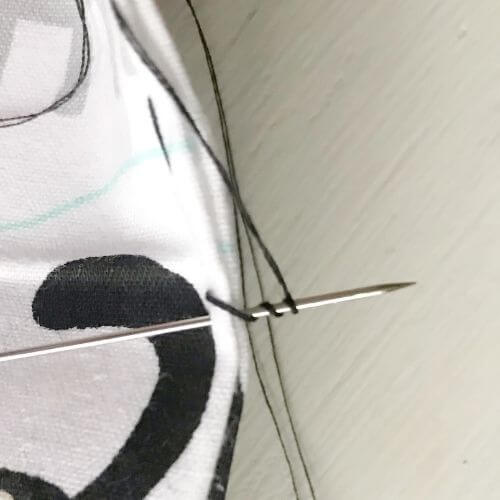
I then taught them how to make a basic knot to secure the string when done. I had them push the needle through the fabric and then loop the string around the needle three times and then pull the needle through.
This created a knot, and I made sure to do this knot twice to make sure the string was secure. We did this with both longer sides of the fabric.
Sewing both the long sides Make a simple knot
Step 4 – Fill the Warm Pack with Rice
After sewing the two sides, we turned the fabric right side out and filled the bag with rice. About 2.4 to 2.6 lbs seemed to be a good amount of filling.
I helped them fold the top fabric pieces inward so the warm pack looked neater and then we sewed it closed at the top.
These packs can be kept in the freezer to use for injuries, and also warmed up in the microwave.
I put the pack in the microwave for about 1 minute and checked its temperature. Then flipped it over and heated it for an additional minute.
These warm/cold packs worked perfectly!
Fill with rice, fold top over and sew closed Finished!
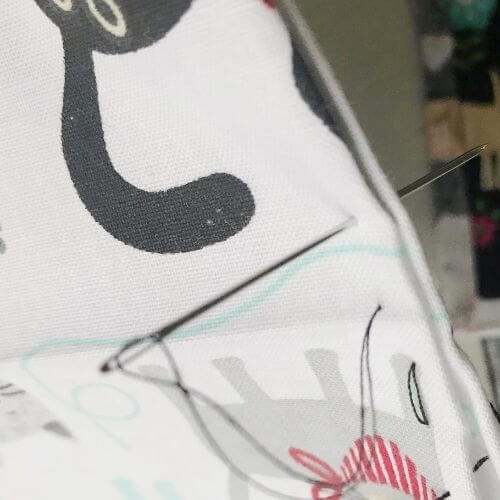
Step 5 – Check for Gaps in your DIY Warm Packs
Since my kids sewed their own I checked and repaired any gaps in the sewing so that the rice wouldn’t escape! I had to fix a few, but overall they did a pretty good job.
My older two even learned how to make a knot to secure the thread at the end.
It does help the stability of the warm pack if you make your stitches smaller too.
Overall there were a few hairy moments with everyone wanting help at the same time, but we got the job done!
I may be old school, but I figure it’s always a good life lesson to know how to perform a bit of basic sewing!
With this tutorial, you could easily make 6 warm/cold packs for about $12.50 if you have a needle and thread somewhere at home! For about $10.00 we were able to make 4 packs, and to make 6 we would have just needed another 5 lb bag of rice!
Let me know if you tried this with your own kiddos or have any questions! As always, thanks so much for stopping by!