


Today let’s create some simple Christmas village houses for your home decor!
Happy winter greetings readers! Today’s post is a quick and easy DIY using porcelain houses I found at Walmart for about two dollars a piece!
These mini houses are popular right now and go great with those bottle brush trees everyone is loving!
I like them because it makes me think of those Christmas villages that would sit around model train tracks when I was a kid. Some of those villages were so intricate with small houses, trees, and people working in town and out in the country.
I remember tiny people chopping wood, working at the general store, and kids playing outdoors with their dog.
Then I recall the train chuffing on the track with smoke coming out of its stack and weaving around all the different scenes. Good memories!
So without further adieu, here is an easy DIY on how to make winter village houses!
Step 1 – Supplies for Winter Village Houses
A few simple supplies are needed for this quick and easy DIY!
First, you need some porcelain houses I purchased at Walmart and pictured below.
I used Rust-oleum chalk paint in linen white and an old craft paintbrush I had on hand, as well as some Minwax polycrylic protective finish, to give them a top coat for protection of the paint.
This post contains affiliate links. As an Amazon Associate, I earn from qualifying purchases. This means when you click a link, I may earn a small commission at no cost to you. This helps me to run this website. Thanks in advance for your support!
Product List
- Porcelain Houses- I purchased in the Christmas section at Walmart
- Rustoleum Chalk Paint – Linen White
- Minwax Polycrylic Protective Finish
- Craft Paint Brushes
Step 2 – Paint Your Holiday Village Houses
First, give your houses two coats of white chalk paint (check for this post for another chalk paint project).
I let the first coat dry for about two hours before applying the second coat. Use your paintbrush to get in all those nooks and crannies.
I liked the look of these houses because they have a lot of detail and texture! And they sure were the right price!
The chalk paint did a good job of coating the houses and hiding the original paint!

Step 3 – Apply Topcoat to Your Christmas Houses
After allowing the houses to dry for about 24 hours, I applied one topcoat using Minwax Polycrylic protective finish.
I held the spray about 12 inches from the houses and gave them one quick coat, just to make sure the paint wouldn’t rub off when I put them away in storage.
Step 4 – Display Your Christmas Village Houses
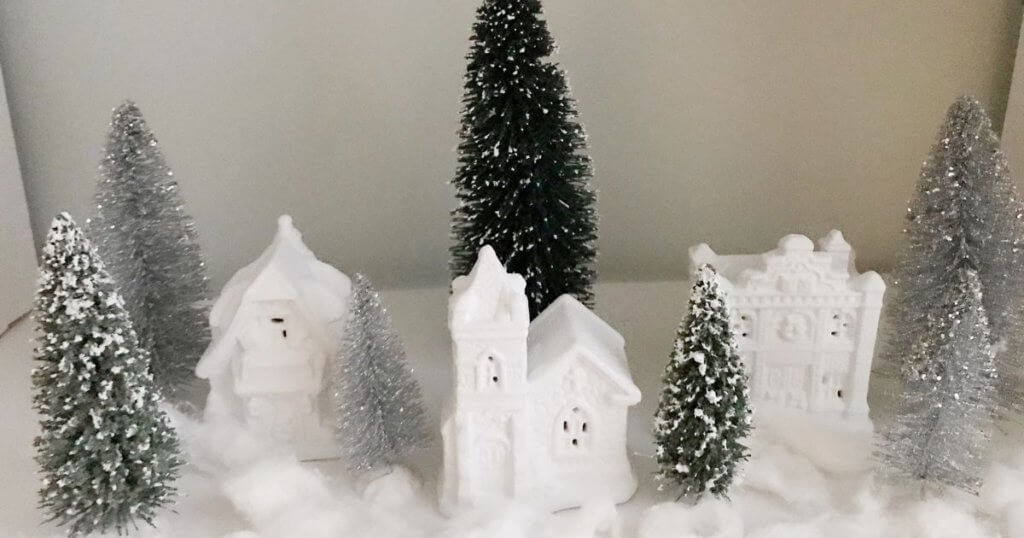
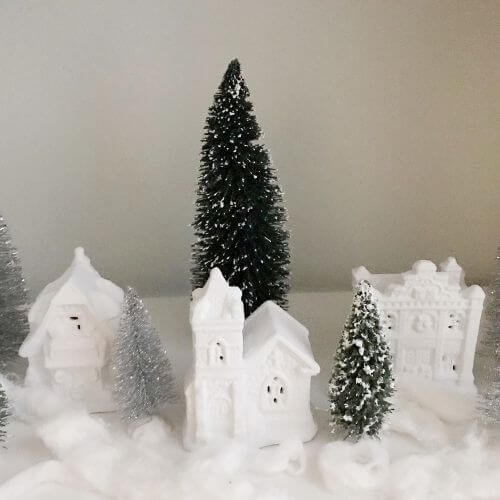
Grab some bottle brush trees and create your winter village!
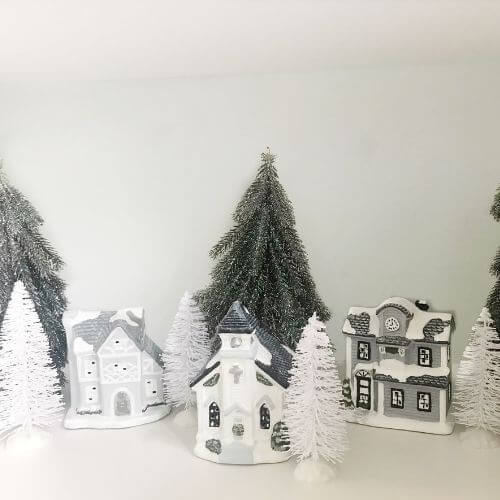
These are some houses that I painted last year using a few neutral colors including white, grey, black, and forest green.
They were a little more time-consuming due to detailing them with different colors!
Hope you enjoyed the tutorial on how to make these quick and easy winter village houses!
As I stated earlier, I love the detail and the texture of these houses, and the price can’t be beat! I also love that they are porcelain!
They are perfect to create a wintery, snowy scene!
Walmart seems to come out with them every year around the holidays, so I always purchase some to create different winter villages around the house. If they are currently all sold out of your local Walmart, be sure to pin this tutorial for later!
As always, thanks so much for stopping by! Let me know if you have any questions in the comments section! Also, let me know if you’ve given this project a try!
Ready to create your own winter village houses for your Christmas and holiday decor?
Please consider subscribing to my email newsletter below for more DIYs delivered right to your inbox! 👇