


Welcome to a DIYers approach to chalk painting and distressing a vintage dining room table!
How This DIY Chalk Paint Project All Began
I discovered chalk paint when we were building and moving into our new home in 2016. As anyone may imagine, money gets pretty tight when you are building a home and additional costs seem to come out of nowhere, or everywhere. 😉
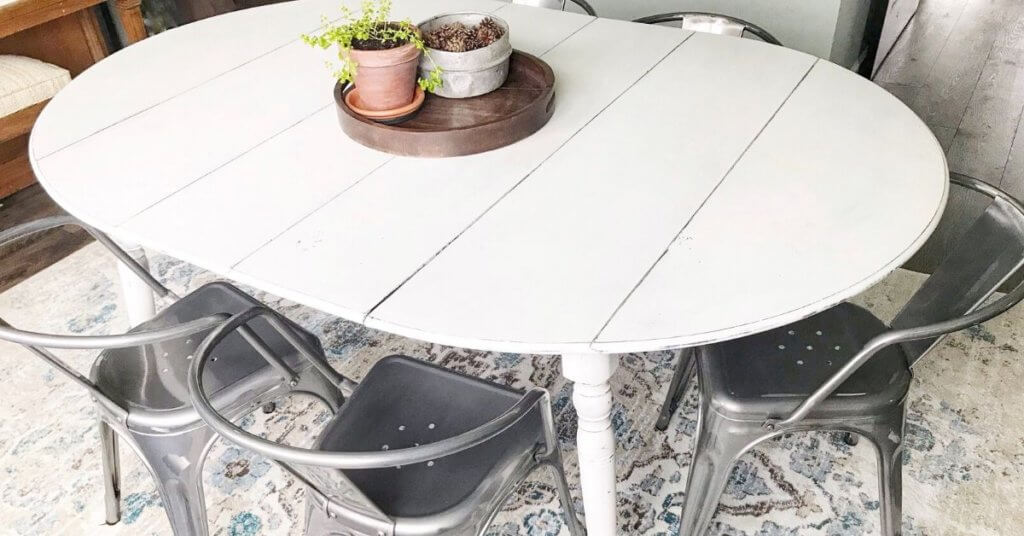
We had an old oval table given to us by my husband’s uncle which graced the dining room of our first home. So instead of buying a new table, I decided to try out chalk painting and distressing our vintage table. And this was where my love of chalk paint began!
I found the Rust-oleum line of chalk paints at my local true value and bought both linen white and charcoal. Now, this wasn’t my dream table, and it was oval instead of the rectangular shape I preferred. The legs had some nice detail though, so I decided to give it a try.
The original table was sort of a medium, walnut shade which I wasn’t crazy about. So after giving the table a good cleaning, I decided to use the charcoal chalk paint as the base. This was followed by the linen white, and then distressing with some fine-grit sandpaper.
The Process of Chalk Painting and Distressing
The painting process with three kids, a new house, and a part-time job was super slow. However, I figured the time was worth it to save myself some dollars.
First I applied two coats of the charcoal paint using those cheap chippy paintbrushes you can get just about anywhere.
Just note that chalk paint does need at least 30 minutes to dry between coats. Also of note is that those paintbrushes do allow you to see small lines on the painted surface, but I prefer that textured look.
I then applied two coats of the linen white, allowing appropriate dry time between each of the coats. On a bigger project, it does take some time because that’s already four coats of paint on a nice-sized table.
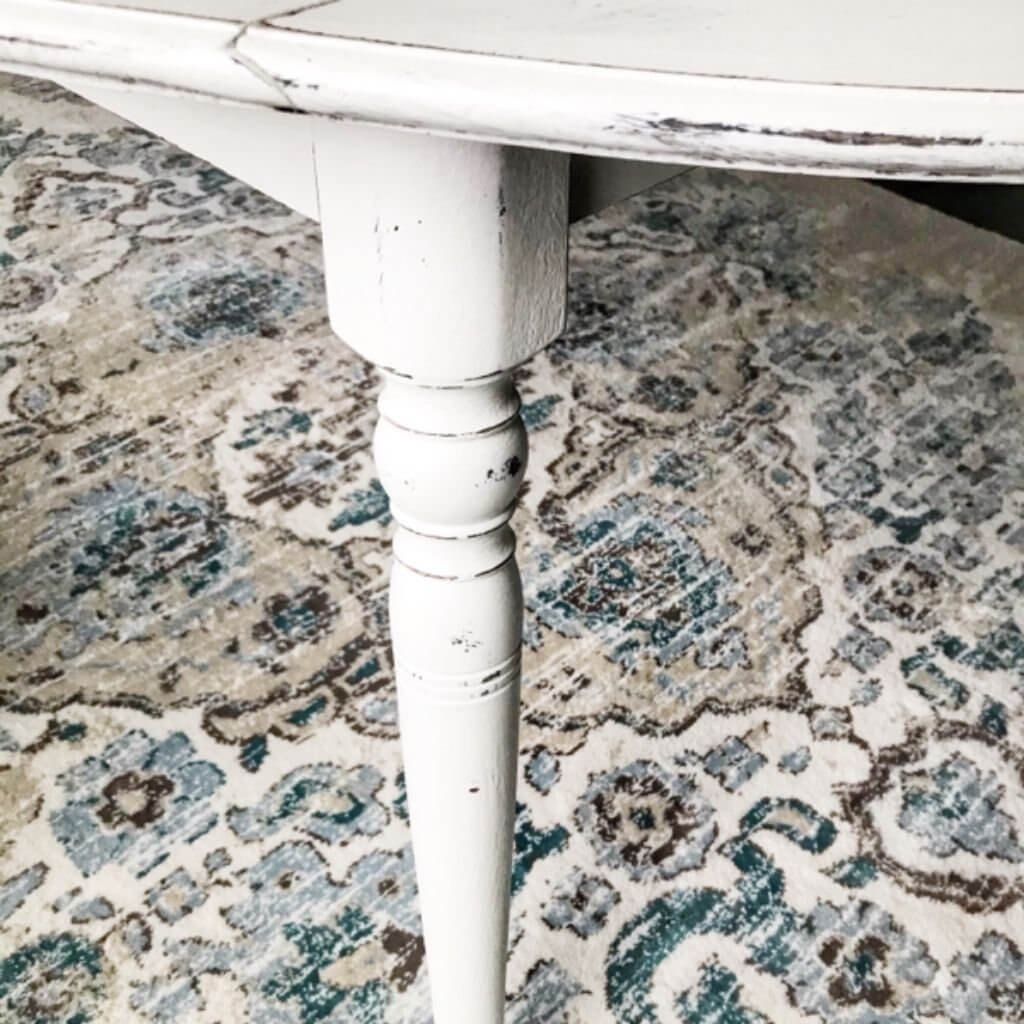
The next step was to use some fine-grit sandpaper to lightly distress the top and sides of the table, along with the legs to show the nice detail that they had.
I have to emphasize lightly distress because you are trying to distress it enough that the charcoal color shows through, but not down to the original walnut.
Here is a photo of one of the legs after distressing them.
After dusting off the paint particles with a microfiber cloth, I gave the project two coats of sealer using the Rust-oleum chalked matte clear protective topcoat.
Note that the drying time between coats for this sealer is two hours. And I was finally done!
The Take-Away for This DIY Chalk Paint Project
Did I think my first paint project was perfect? Nope! Was it now a functional dining room table that was a color I loved? Yep!
And was I definitely going to use it after all the time that went into the cleaning, painting, drying, painting, drying, and sealing? Absolutely! 😉
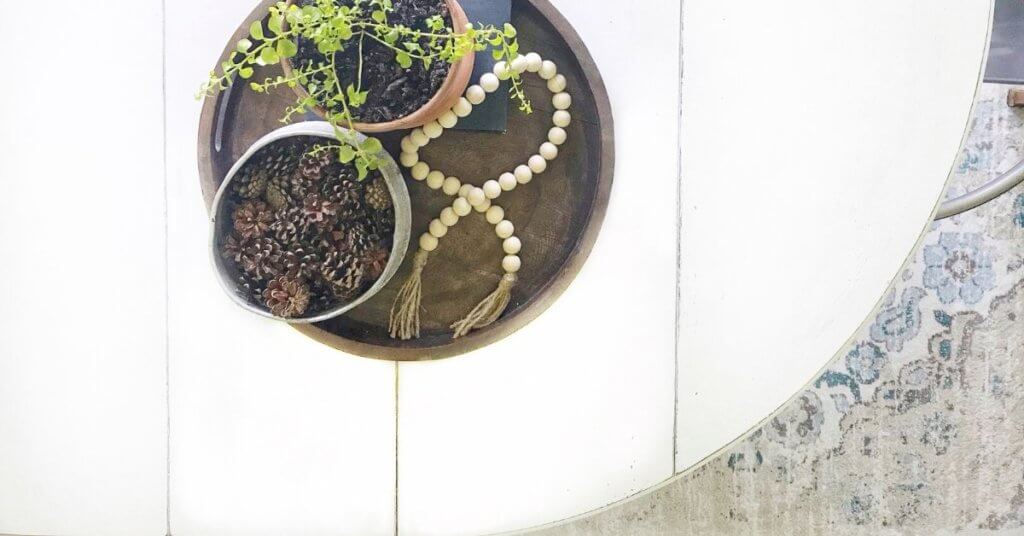
I do love how the top sort of has a shiplap look, and when one of my kids decided to use a permanent marker on it was I upset? Not as much as I would have been had I spent a thousand dollars on a brand new dining room table.
And of course, I thought to myself, there’s nothing a little paint can’t fix!
Final Thoughts on Refinishing a Vintage Table
I encourage all my readers to give this a thought. Instead of going out and buying an expensive new table, try checking Facebook marketplace for an inexpensive, old table with some nice detail.
Or quite possibly you may have an old family heirloom that could use some love sitting in your garage right at this moment! Give this project a try! Save some money, and create something beautiful!
Product list for the materials that I used noted below! You can click a link to check out these items on Amazon!
This post contains affiliate links. As an Amazon Associate, I earn from qualifying purchases. This means when you click a link, I may earn a small commission at no cost to you. This helps me to run this website. Thanks in advance for your support!
- Linen White Rust-oleum Chalked ultra matte paint
- Charcoal Rust-oleum Chalked ultra matte paint
- Rust-oleum Chalked topcoat clear
- Fine grit sandpaper
- Chippy paint brushes
- Microfiber cloths