
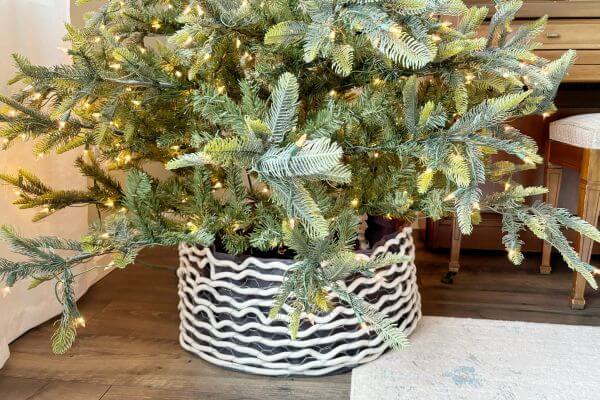

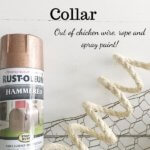
This DIY rustic tree collar is crafted from just a few supplies including rope, chicken wire and spray paint, perfect for your farmhouse-style Christmas!
Hi there everyone! Today, let’s talk about tree collars since it’s getting really close to Christmas!
We typically head out to the tree farm and cut down our own live tree, which is both fun and some work too!
I tried to have a tree skirt with our real tree in the past. However, my husband is our designated tree waterer and he was always wrinkling up my tree skirt while trying to water the tree.
So it took a lot of work to keep it lying flat and looking nice! Plus the needles would collect on it and drive me a bit crazy too!
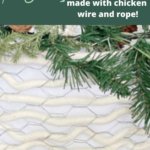
So this year, I decided to craft my own tree collar out of a few simple supplies! Read on if you would like to see how to create your own custom, rustic DIY tree collar out of chicken wire, paint and some rope!
***But before we start…. since I updated this post, there are two different ways I created this tree collar. I’m putting pictures right below this paragraph so that you can choose! They are made with the same dimensions but the supplies and the way I made them differ slightly. FYI version #2 has fewer steps.***
And the latest version is pictured below…
Here we go!!
Version #1 Farmhouse Tree Collar DIY
Gather Supplies for Rope Tree Collar DIY
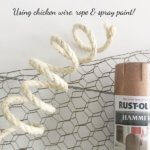
The supplies I used to create this DIY rustic tree collar are rope, paint, chicken wire, wire cutters and a glue gun!
I had some old chicken wire in my garage so I used that, however just below in the materials list I found some for you that will make this project a good bit easier! These are all products I found on Amazon!
This post contains affiliate links. As an Amazon Associate, I earn from qualifying purchases. This means when you click a link, I may earn a small commission at no cost to you. This helps me to run this website. Thanks in advance for your support!
Product List
- Chicken Wire (craft)
- Sisal Rope (I needed 2)
- Copper Spray Paint
- Glue Gun
- Snow Roll (similar to the kind I used)
- Wire Cutters
Determine & Cut Chicken Wire to Size
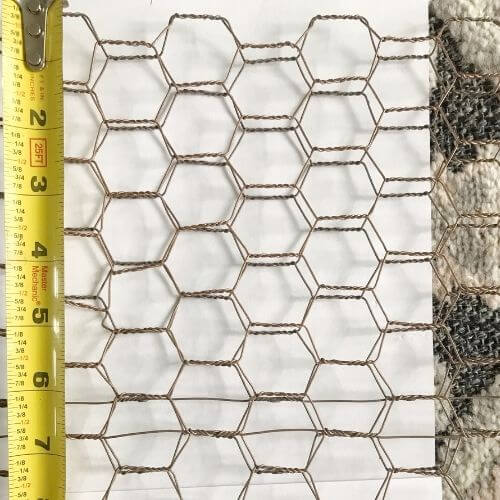
I cut my wire down to about 10 inches wide and 96 inches (8 feet) long. The problem with cutting the wire is that it leaves you with a lot of jagged edges to deal with!
If you do purchase the craft chicken wire I linked, then I would just fold the wire over until it is 10 inches wide. You may have to cut one side to trim it to the length you need.
Cutting the length to 96 inches gave me a diameter of about 30 inches for my round tree collar, which is on the larger side. You can modify the dimensions based on how large your Christmas tree is and how big you want your rope tree collar to be.
If you don’t know what size tree collar to make, here’s a post by poshpennies.com to help you decide!
Here you can see how I folded the chicken wire. If you purchase the craft chicken wire I would fold it over to make it 8 or 10 inches tall.
It depends on how low the branches of your artificial tree are, or, if you get a real tree, how many branches you cut off the bottom.
By folding it over you don’t have to cut it except on one side to shorten the length!
Paint Chicken Wire for Your Rustic Tree Collar
I used hammered copper spray paint to put two coats of shininess on my old chicken wire.
Out in my driveway, I placed an old poster board underneath it. It helped me to see where I was spraying and also it didn’t get on my gravel as much.
I ended up coating wayyyy too much chicken wire, I think I had a 3 foot by 10 foot piece. You don’t need nearly that much!
I went through two cans of spray paint, but I’m really thinking you could easily get by with one! This is why I put the step of cutting the chicken wire first!!
Weave the Rope through the Wire
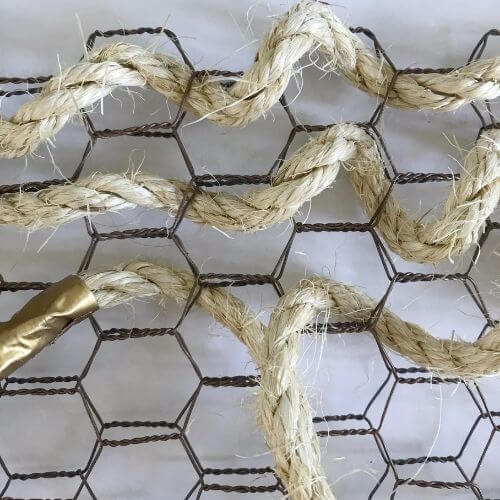
Next, I weaved my sisal rope through the wire as in the picture. I counted to make sure there would be rope going through every hole and modified it accordingly.
Basically I weaved up and down through the holes which did take a bit of time. About 130 inches of rope allowed me to get the whole way across the length of the wire once with some left at the end.

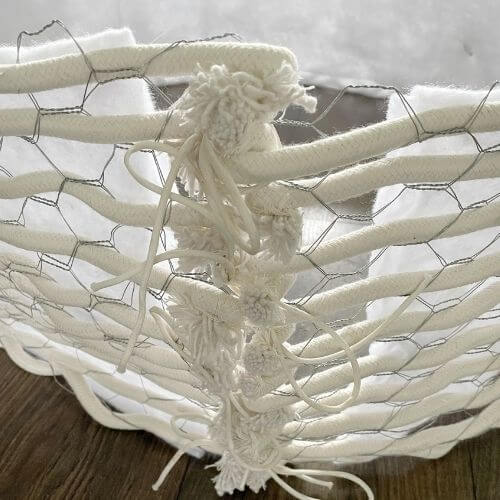
Tie Off the End of the Rope For Tree Collar
The top rope piece and bottom rope piece I left long. This was so I could tie them after I wrapped the collar around my tree.
The rest of the edges I tied in a rough knot, all except the second to the bottom one. Because I had cut the chicken wire it had jagged edges.
So I ran the second to last piece up through the jagged edges and then knotted all the remaining pieces around it as needed.
I used a hot glue gun to make sure the knots stayed in place. Everything is pictured below.

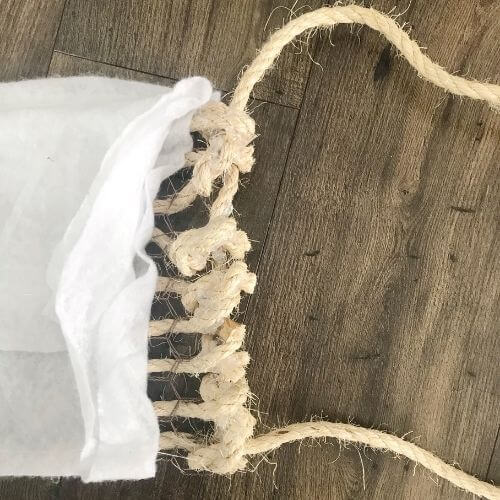
Putting White Backing On Farmhouse Tree Collar
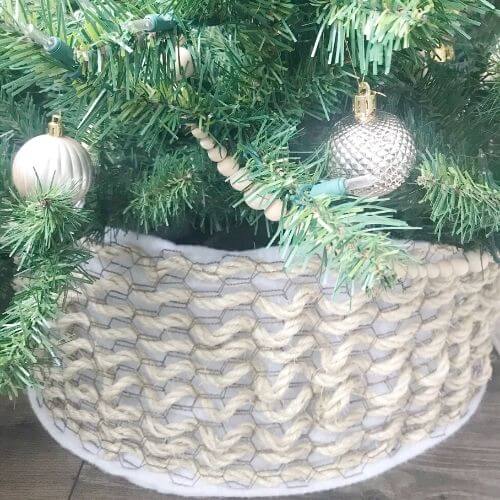
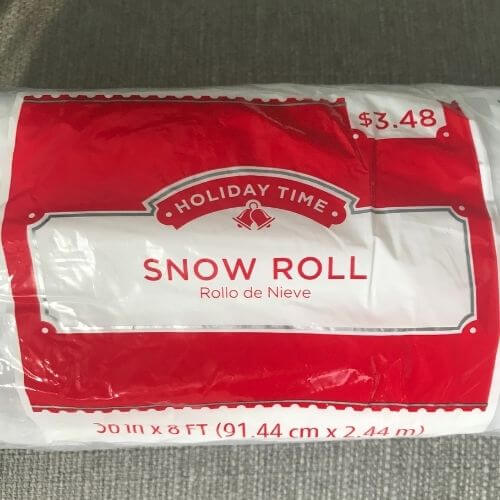
I placed the tree collar around my tree, just to get an idea of how it looked. Of course it was kind of see through, so I found this white backing at Walmart for a little over 3 dollars.
I sewed it to the back of the tree collar going through the bits of rope to secure it. Pictured below is the finished product!!
Version #2 Farmhouse Tree Collar DIY
One of the reasons that I wanted to update this post this year was I wanted to try out the craft chicken wire. I had used old chicken wire originally that I needed to spray paint.
The new chicken wire I just left shiny silver and didn’t need spray paint.
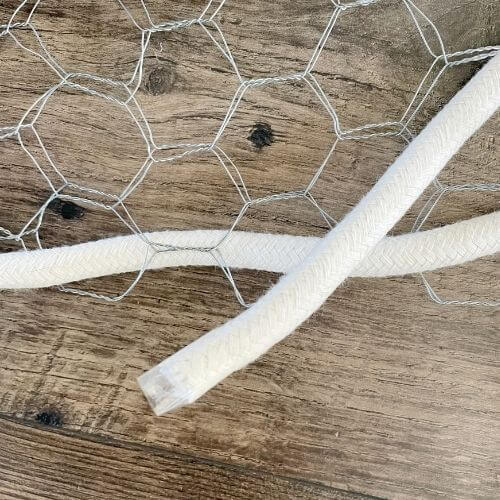
I also wanted to try out a different kind of rope so I chose cotton which definitely was a little more pliable than the sisal rope. The sisal rope did seem to curl a bit more however.
The cat was super excited that the tree collar supplies made a re-appearance this year!!
This post contains affiliate links. As an Amazon Associate, I earn from qualifying purchases. This means when you click a link, I may earn a small commission at no cost to you. This helps me to run this website. Thanks in advance for your support!
Gather Supplies for Rope Tree Collar DIY
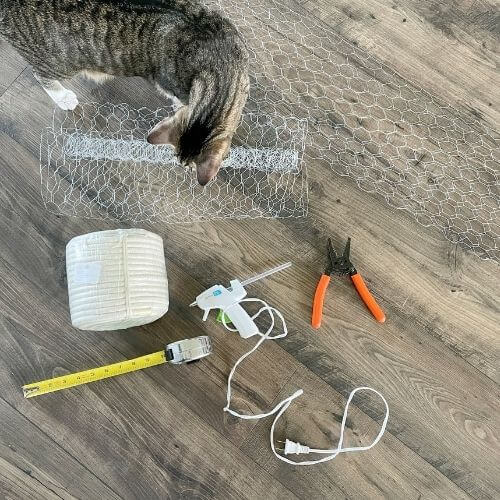
- Craft Chicken Wire (Amazon)
- Cotton Rope 100 feet (Amazon)
- Glue Gun (Amazon)
- Wire Cutters -like mine (Amazon)
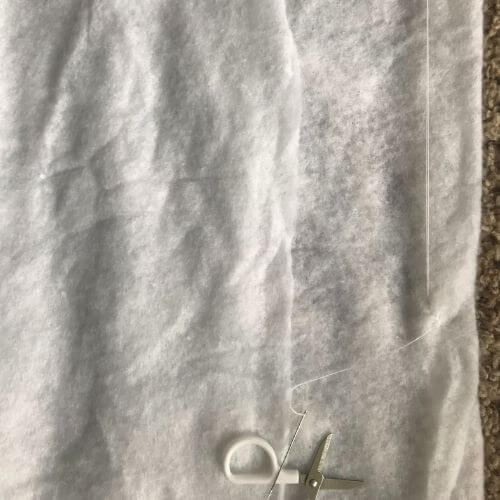
- Scissors
- Snow Roll (Walmart)
- Small Safety Pins (Walmart)
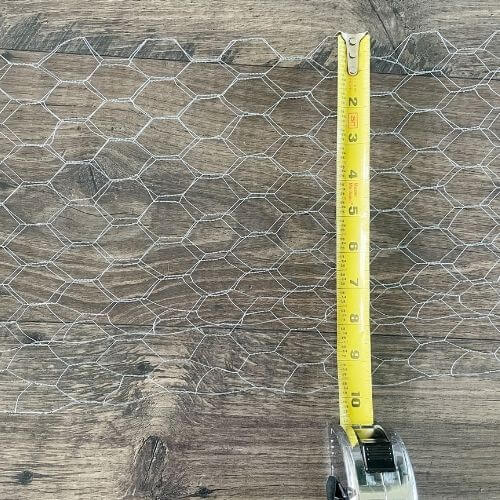
Cut Craft Chicken Wire to Appropriate Length
First, I used my wire cutters to cut my chicken wire to 8 feet (96 inches) in length. I then folded my chicken wire down so that it would be about 10 inches in height (below).
This gives you a tree collar that is about 30 inches in diameter, which is on the larger side. You may need to alter the length depending on how large your tree is. Here’s a good post by poshpennies.com to help you decide!
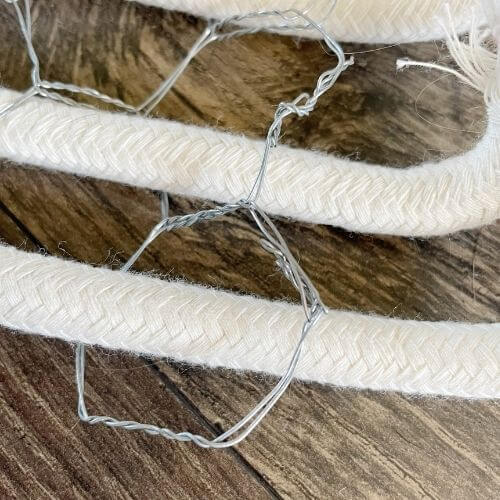
Weave Your Cotton Rope Through the Holes
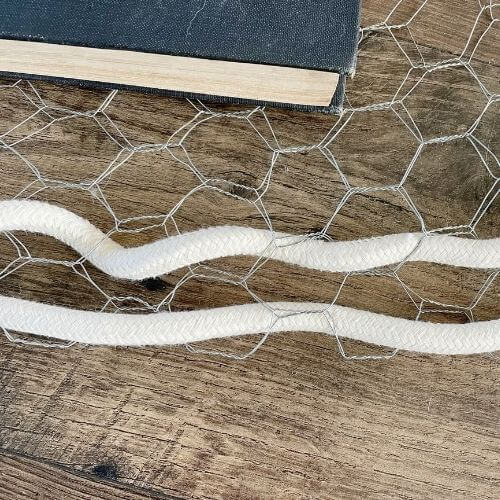
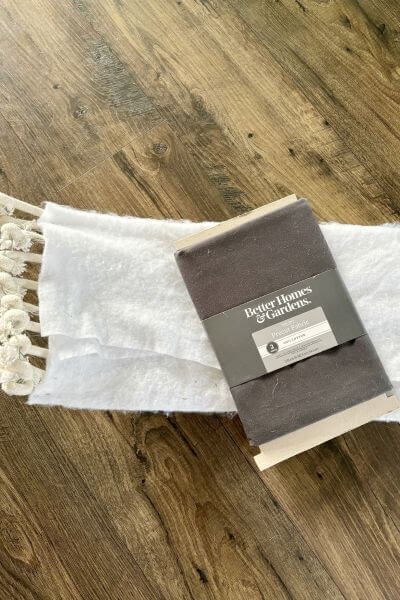
Count the rows you need to weave through. I had ten rows. I used a book to weigh down the wire as I weaved it through.
To be able to use only one spool of 100-foot rope you need to have 10 rows because you need about 9.5 feet of rope for each row. I used a piece of scotch tape to wrap around the end of the rope so it wouldn’t fray as I weaved it through.
Cut about 9.5 feet of rope and place scotch tape around end. Start with the first row.
Note as shown below that the first row was through only the very top holes.
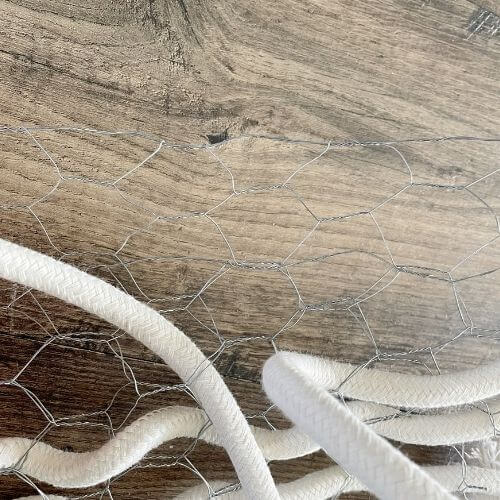
Keep cutting about 9.5 feet of rope and weaving it through. You’ll need a good pair of scissors.
The next ones were weaved up and down through each hole. Try not to miss holes as you weave through, I did and had to remove and re-weave! 😉
The last row was through every other hole as well.

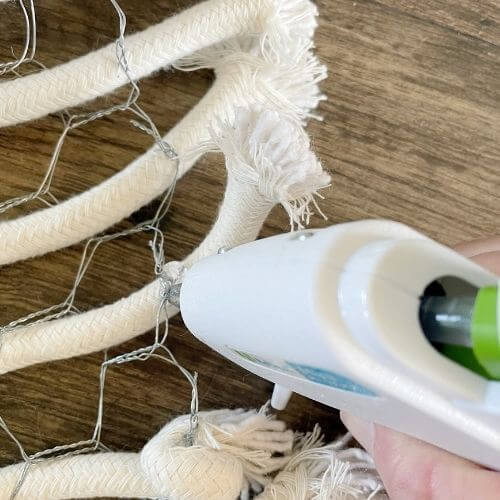
Use Hot Glue Gun to Secure Ends of Rope
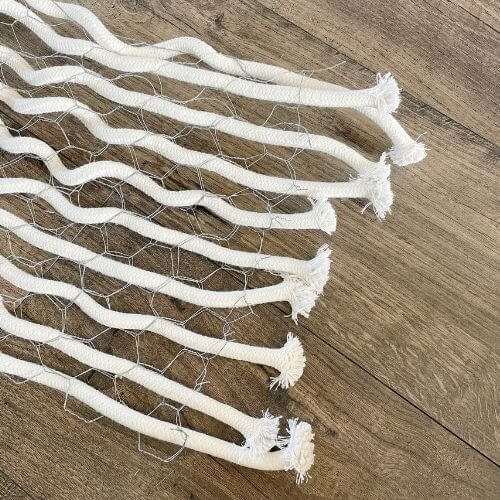
After all the rope weaving was completed, I had a little at each end.
First, push down any unruly wire edges.
Then, use the glue gun to secure the ends of the rope as shown below. I curled the end around the wire and then hot glued them in place.
After curling them you need to hold them for a minute or two so the glue can set and they won’t unravel. Add more glue as needed while holding them.
This gave the ends a bit of a macrame look, but you really won’t see them as these are at the back of the tree collar.


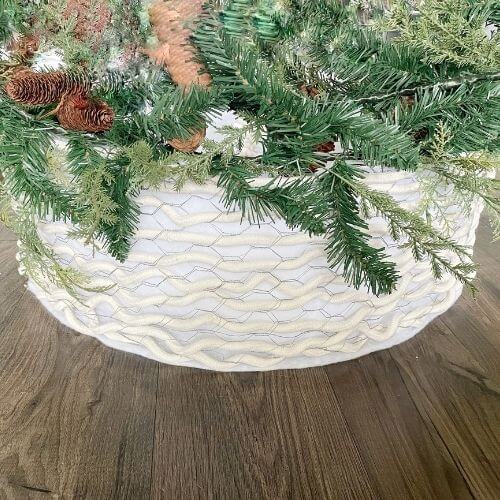
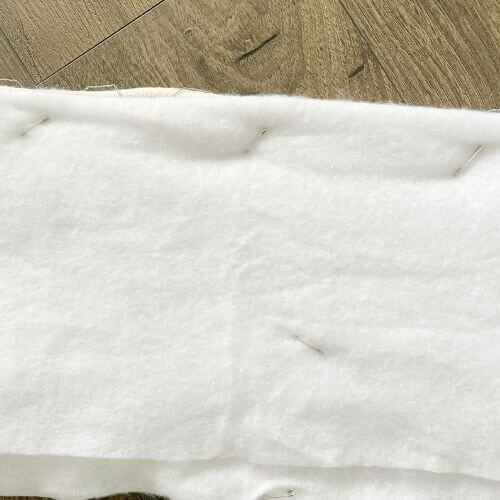
Pin On White Backing
I decided to purchase a roll of Snow Roll for the backing. You could also use batting in whatever color you like. Just choose a fabric or batting that’s not too heavy.
Instead of sewing it on as I did previously, I decided to use mini safety pins to pin it onto the rope. This allows the tree collar not to have a see-through appearance.

Finish Up Your Christmas Tree Collar DIY
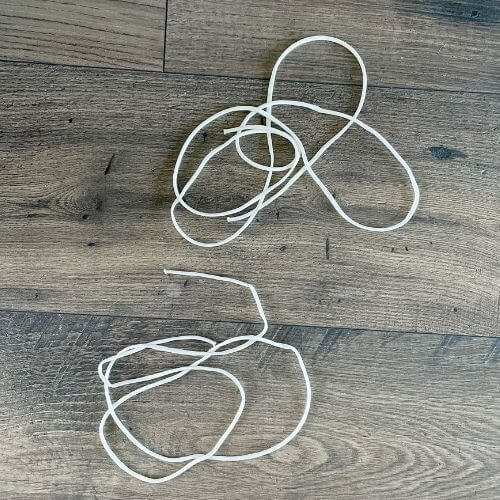
Lastly, I sat it up and tied the ends together forming a circle. The cotton rope was packaged with these handy-dandy strings so I just cut them in half to make 4 pieces.
I then tied the ends of the tree collar together as shown. The craft wire was a little more flexible than the vintage chicken wire I had used previously. But once you get it positioned under the tree you should be good to go!
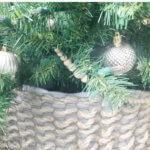
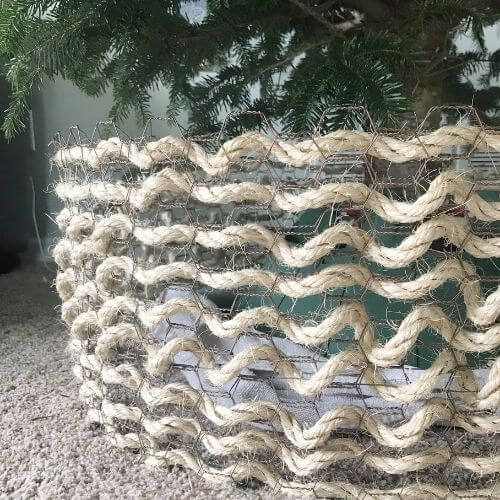
Below is a view of this chicken wire and rope tree collar from the top and the side!

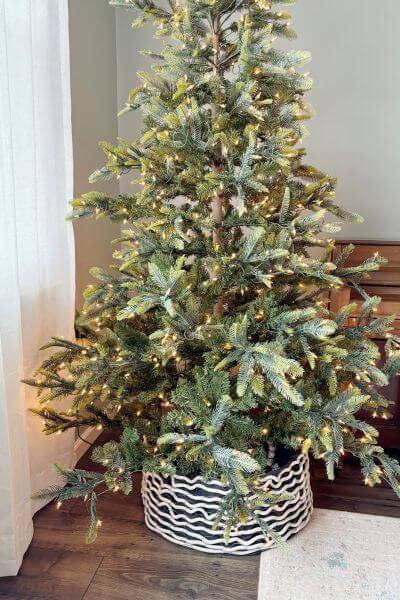
A Different Look for this DIY Farmhouse Tree Collar
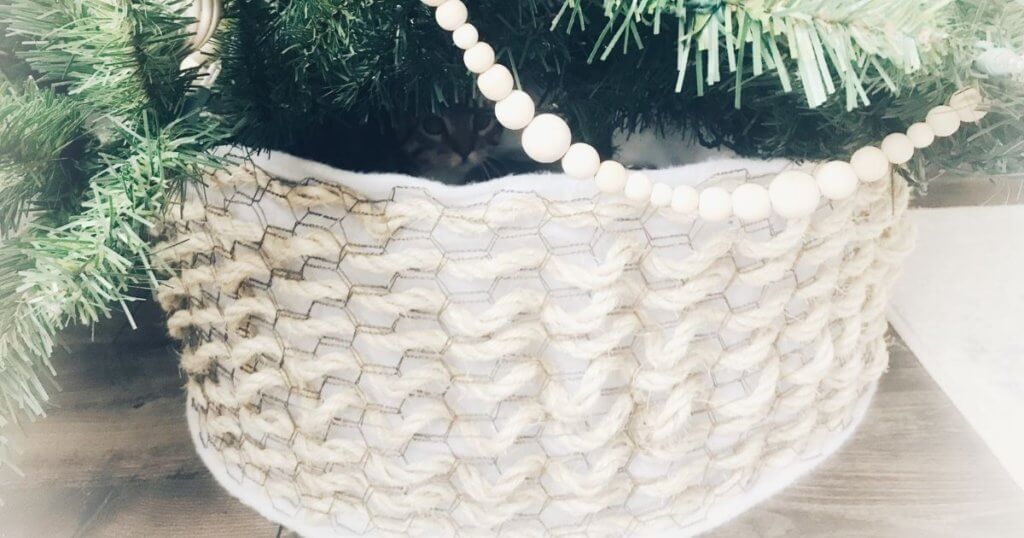
This year I thought I’d give my tree collar a different look. To allow the rope to be a bit more visible, I replaced the snow roll with grey fabric I found at Walmart.
I cut and pinned it to the back of my rope and chicken wire tree collar, just as I had done with the snow roll backing.

And this is how she turned out this year!

Final Thoughts on Making This Rustic Tree Collar
Bloopers for this project! Honestly this project was a little harder to manage than I thought it would be!
In part because my chicken wire in the first version was too large and very old! I was using 50 year old chicken wire from my mother-in-law’s basement in the first one.
So when it jagged me pretty good I found out my tetanus vaccine was expired and had to get one!
The second version was easier since I tried out the new craft chicken wire!
It also took a bit of time to weave all the rope through each of the holes. Then, it was laying in my hallway for a few days and kept catching my family’s feet as they walked by because they couldn’t see it. Everyone was complaining! 😉
The only one that enjoyed it was the cat who liked to play with the rope! Can you spot him in the picture above?
In the end, I do love the look of the tree collar and feel it creates a rustic and pretty unique Christmas vibe!
As always, thanks for reading! If you’re looking for some more Christmas inspiration, check out this post on winter village houses!
Hope you love the look of this DIY rustic rope tree collar too. Give this project a try to help give your home a bit of farmhouse-style charm just in time for Christmas!
Please consider subscribing to my email newsletter for DIY ideas delivered right to your inbox! 👇