


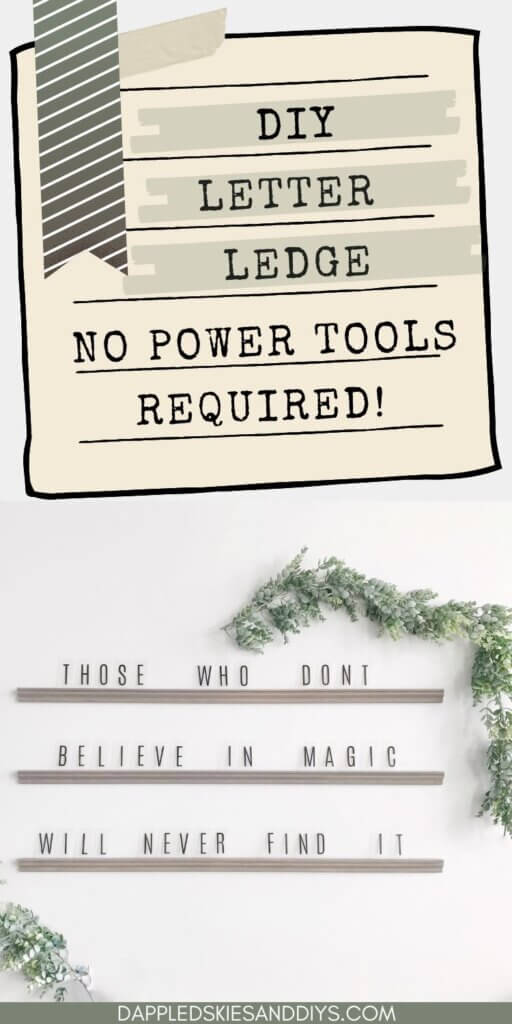
Ready for an easy way to DIY a letter board ledge? The best part about it, no power tools are required!
Hey there friends! I don’t know about you, but I’ve always loved words and letters! Oh and I’m also a big fan of great quotes and inspirational sayings!
I think it stems from my love of books and reading! Give me a good cup of tea (read right here about my favorite British-style tea formula), and a great classic book and I am a happy girl! If you add in a warm, crackling fire that is the absolute best!
So when letter ledges became popular, I wanted to find a way to make a DIY version that is simple to make and inexpensive!
This tutorial requires no power tools, but you may need just a little patience and elbow grease to get the job done!
So here goes…let’s get this started on our simple and inexpensive DIY letter ledge!!
Step 1: Supplies for Your Letter Board Ledge DIY
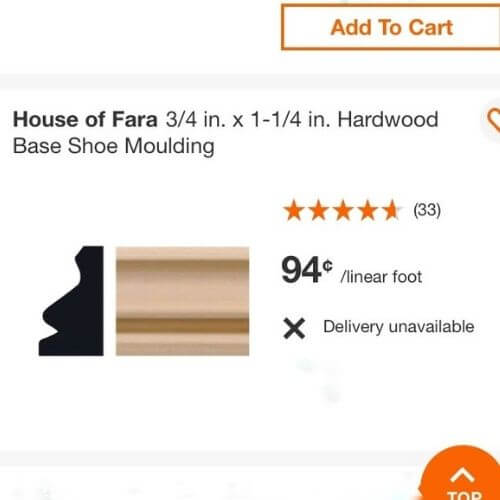
So first thing, I headed to my local Home Depot to buy this hardwood base shoe moulding in the lumber section. It came in about a 10-foot section and at the time was about a buck per linear foot.
There were lots of other styles alongside this one, so you could pick the one that suits you best! I asked the helpful man at the store to cut it into 3 equal sections for me.
Each section came out to be about 39.5 inches which was perfect! I sanded the edges just a bit where they were rough.
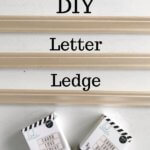
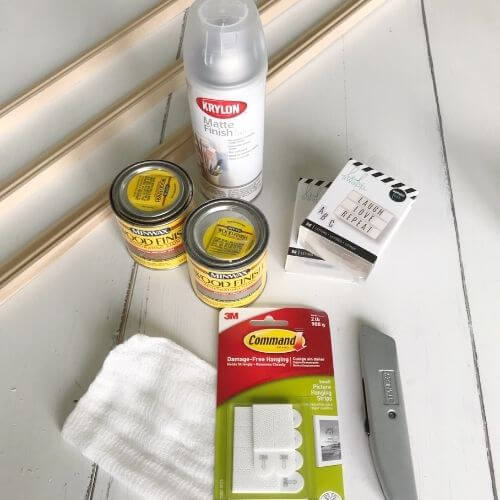
Then I collected my other supplies needed for the DIY project as per the above picture. I provided a list of them at the end of the post!
Step 2: Score the Wood Trim with Utility Knife
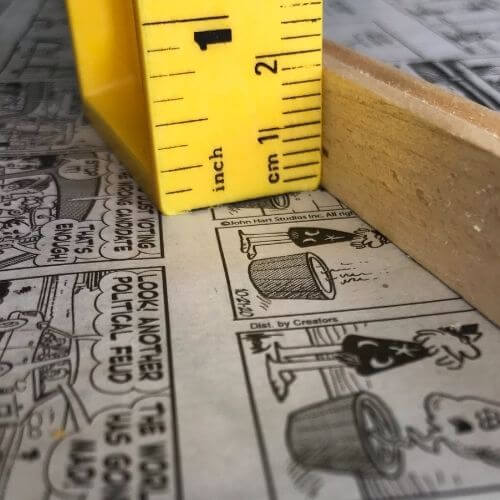


As you can see, I started by placing pencil marks along the top of my wood where the letters would be sitting.
The marks were about 6 mm (1 cm=10 mm) away from the side that would be against the wall when I hung it up. Then I traced a line along the points.
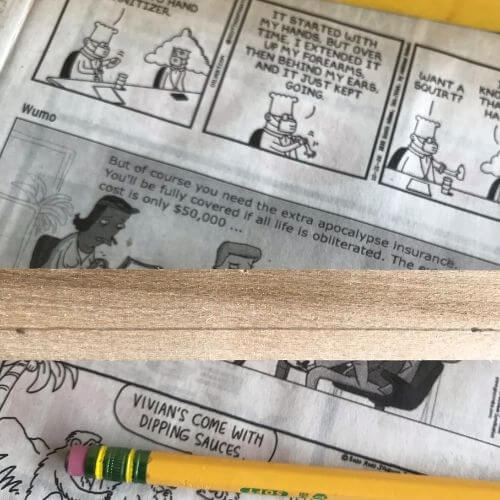
After that, I scored along the line using a utility knife making sure not to cut too deep. Be very careful and go slow, as the utility knife blades are sharp!
I then made another cut not far (probably about 2 mm away from the initial line) and used the utility knife to nudge the small sliver of wood out.
I then folded a piece of sandpaper in half and ran it through the cut several times to remove any rough edges. The smoother you make this, the easier it will be to place your letters.
This is the part of the DIY that took the longest and made me want to grit my teeth! Patience is key here and some days I’m short on that virtue. 😬
As you can see in the pics, I also forgot to score 2 of the pieces before staining them…ugh!
Step 3: Testing the Colors of Wood Stain
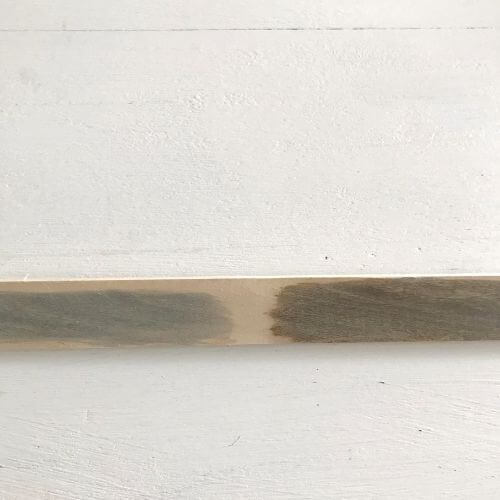
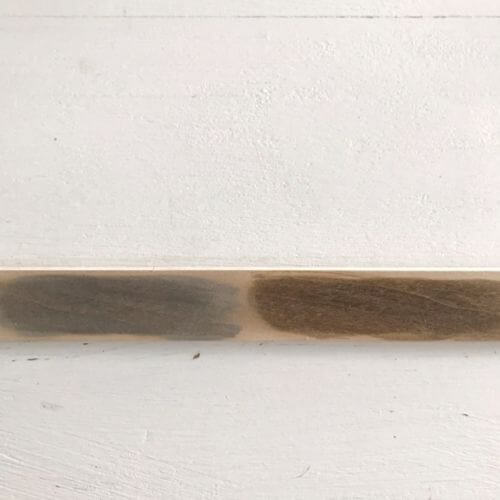
Second Picture: Classic Grey over Special Walnut / Special Walnut
I tested the colors on the back of one of my pieces as above. Classic grey and special walnut were stains I already had on hand.
I decided I liked the special walnut over classic grey look the best. So, I applied the classic grey stain first and waited about 5 minutes before wiping the excess stain off with a cheesecloth (I used some paper towels too).
Then I had to wait for the first coat of stain to dry. I ended up doing the next coat – the special walnut – the next day.
I waited 5 minutes with this coat too, before wiping the excess stain off.
If you wanted a little more of the brown color to sink in, then I would just leave the stain on for a few minutes longer.
Step 4: Applying Topcoat to Your Wood Pieces
I waited another day before applying the topcoat. The instructions on the stain say to wait at least 14 hours before applying the topcoat.
I took the pieces outside on newspaper and gave them one coat with Krylon matte clear spray.
Make sure to hold the spray at least 10-12 inches away while applying to ensure a smooth finish.
Step 5: Hanging Your Completed DIY Letter Ledge
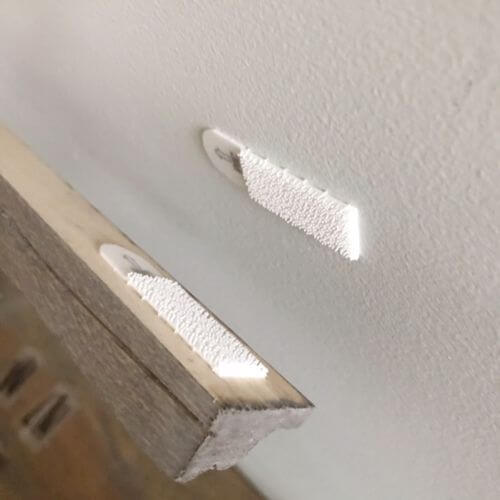

Finally, I got my command strips out and applied them to each end, placing them horizontally.
I put the bottom piece up first and used my trusty old level to make sure everything was straight!
I went up 8 inches measuring from the top of one piece to the top of another. I also used my level vertically to make sure the ends were lined up!
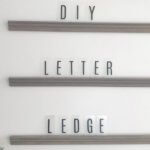
When I had all 3 pieces hung, I placed my letters on them and the scoring worked really well! Above is the newly created letter ledge!
Below is the materials list for this project. Check out some of my links to purchase these items on amazon!
This post contains affiliate links. As an Amazon Associate, I earn from qualifying purchases. This means when you click a link, I may earn a small commission at no cost to you. This helps me to run this website. Thanks in advance for your support!
Product List
- Hardwood base shoe moulding from Home Depot
- Special Walnut Stain, quart (I have the half-pint version)
- Classic Grey Stain, half pint
- Utility knife
- Cheesecloth
- Letters (I have 2 sets)
- Sandpaper
- Krylon Matte Clear Spray
- Command strips
- Level with ruler (like mine!)
Final Thoughts on No Power Tools DIY Letter Ledge
One last thing you need is a great saying for your new DIY letter ledge! I thought this one by Roald Dahl was a perfect choice, especially for the upcoming season!
One of the great things about this ledge is it’s not heavy! So command strips work perfectly for hanging it!
The letters I used on the board above are inexpensive enough to buy two sets, so you never run out of letters to make any quote or saying you like!
Thanks so much for reading this DIY letter ledge tutorial! Please leave me a comment below with any questions and let me know if you’ve given this project a try!
Now, who’s ready to try creating this no-power-tools needed DIY letter board ledge yourself?
Pin me on Pinterest! ⬇️
Please consider subscribing to my email newsletter for more DIY ideas delivered right to your inbox! 👇
How did you hang the greenery?
Hi and thanks for your comment on the post! The faux eucalyptus greenery is from Hobby Lobby. I hung it with command hooks…the ones I used are called command wire toggle hooks. I used 3 hooks and positioned 2 above the letter ledge and 1 to the top right side of the ledge so that the greenery would hang off to the right side. I also used 1-2 command hooks to hang a small piece of the greenery (that I had clipped off the original piece) toward the bottom left-hand corner. Hope that helps! ☺️
Where did you get your letters for your ledges?
Hi there and thanks for reading! The letters are from Amazon and there is a link for them in the Product List section. The Product List is located toward the bottom of the post. I bought two sets of the letters so I would have enough to make a variety of phrases. Let me know if you have any other questions! 😊
Yippee for finding your website via Pinterest. I have been looking for some inexpensive letters but have struggled to find any for a decent price. Love this project and can’t wait to make it for some cute Christmas sayings! Thanks!
Awe thanks so much…I’m so glad you liked the project and found the post helpful! If you have any questions, just let me know! 🙂
What size are the letters in this box you purchased?
Hi Amanda! The letters I purchased are about 3 inches tall and 1.5 inches wide. Hope that helps! 🙂