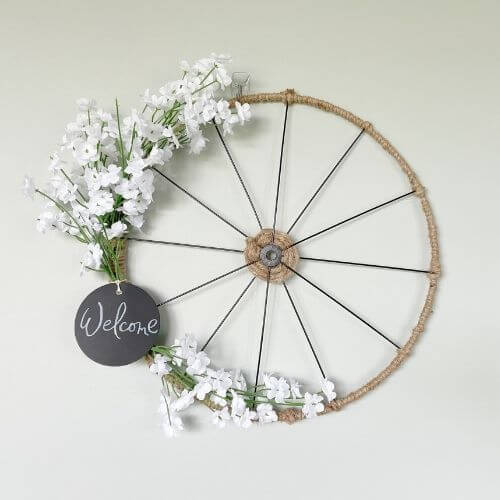
Who’s up for a Dollar Tree bike wheel wreath DIY today? All supplies including the floral, jute wire, chalkboard tag, and chalkboard pen come from Dollar Tree! All you need at home is some wire cutters and scissors to make this cute farmhouse-style wreath!
One of my favorite places to stop by and visit is the Dollar Tree. I’m always surprised by how many useful and unique items you can find at such a budget-friendly price!
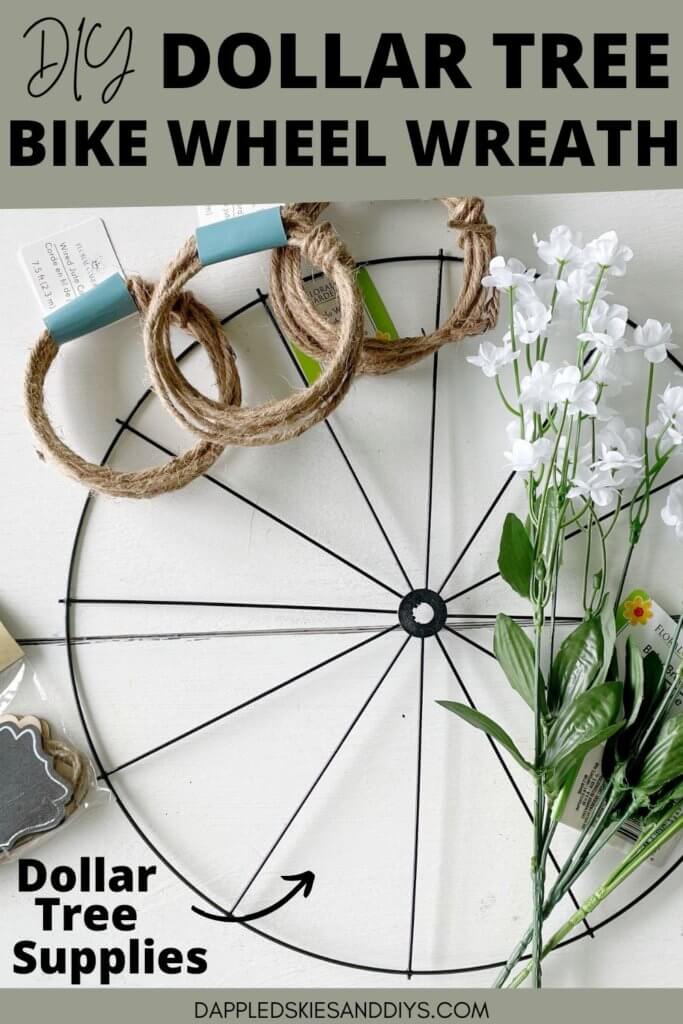
As I was wandering around this time, I picked up a bicycle wheel wreath form and then in a different aisle found some very useful jute wire. A few stems of pretty baby’s breath floral and a chalkboard sign and I was on my way.
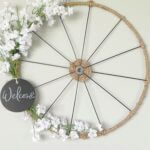
Found a way to put all of these Dollar Tree items together (the only things that I needed to use at home were my wire cutters and scissors) and this pretty wreath turned out like this!
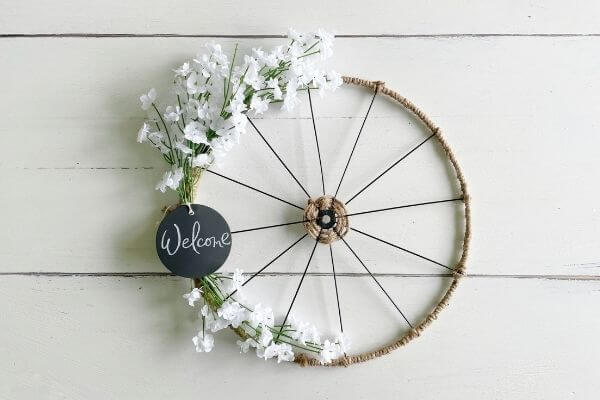
What do you think? Next let’s look at the plain and simple steps to create this Dollar Tree bicycle wheel wreath DIY.
Pin me on Pinterest! ⬇️
Supplies for Dollar Tree Bike Wheel Wreath DIY
This post contains affiliate links. As a Dollar Tree and Amazon Associate, I earn from qualifying purchases. This means when you click a link, I may earn a small commission at no cost to you. This helps me to run this website. Thanks in advance for your support.
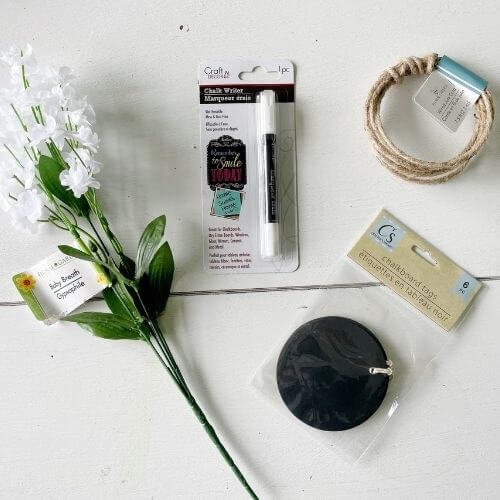
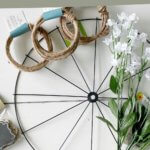
***Note*** I started with the supplies pictured below, however, I went back for a few more because I needed one more floral stem. Keep reading until the end where I list all the supplies used to make the wreath AND the amount of each supply! 😉
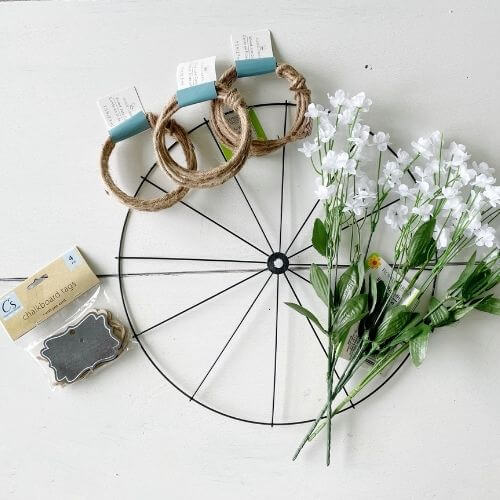
- Jute Wire Cord
- Bicycle Wheel Wreath Form
- Baby’s Breath Floral
- Chalkboard Tags
- Wire Cutters (Amazon) – like mine!
- Scissors
Snip Leaves from the Dollar Tree Flower Stems
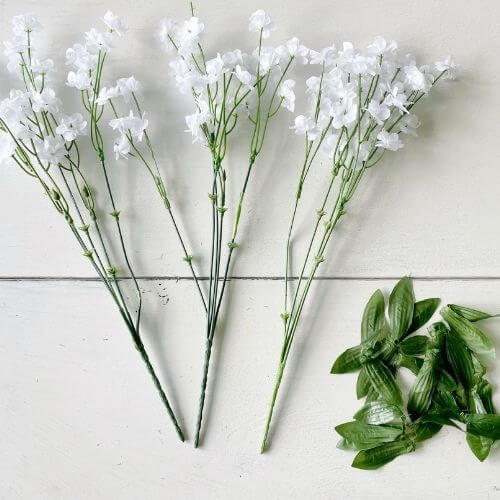
First up, I snipped the leaves off of the three baby’s breath flower stems using a pair of scissors.
Arrange Floral on Dollar Tree Bicycle Wreath Form
The next step is to arrange your floral stems on your wreath form and secure them using your jute wire cord. See the easy steps below with pictures.
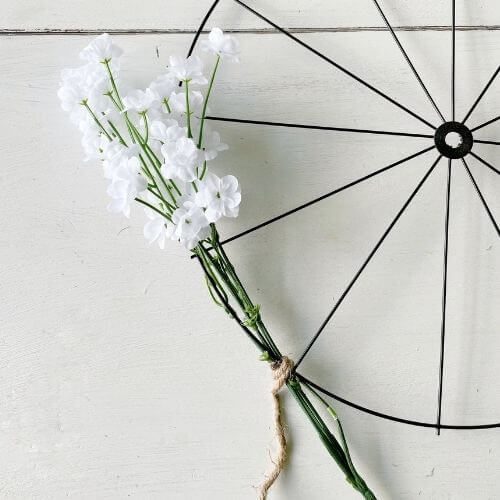
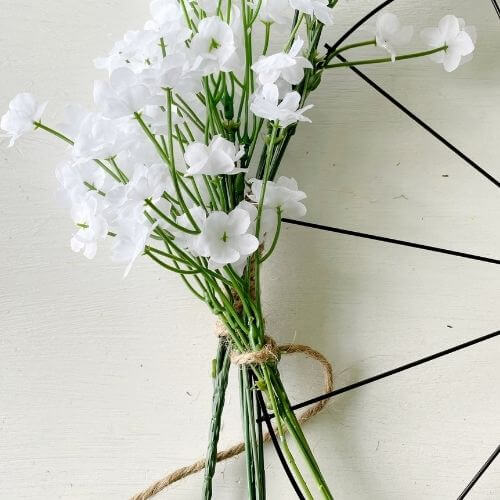
Take your first bunch of baby’s breath and secure it to your bicycle wheel wreath form as shown.
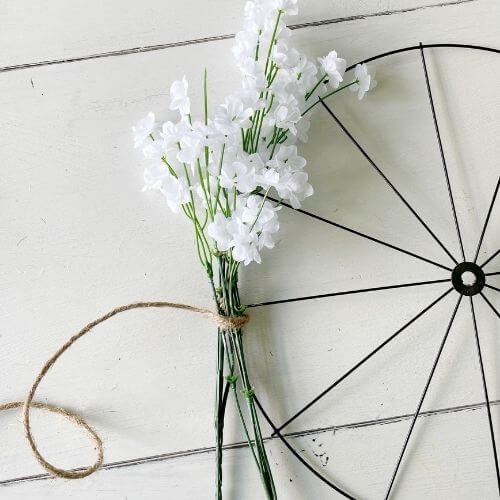
After wrapping the first bunch with the wire. Grap your second bunch and secure it with your jute wire, a bit below the first bunch.
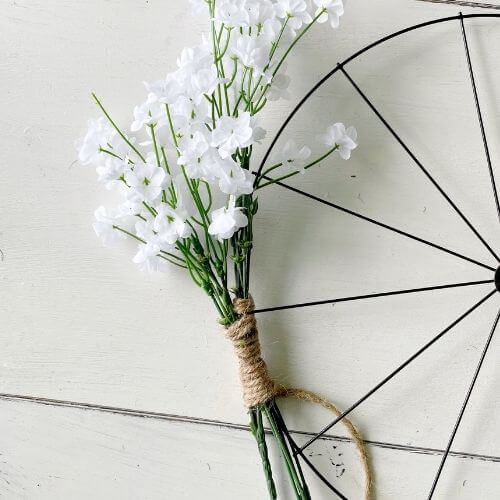
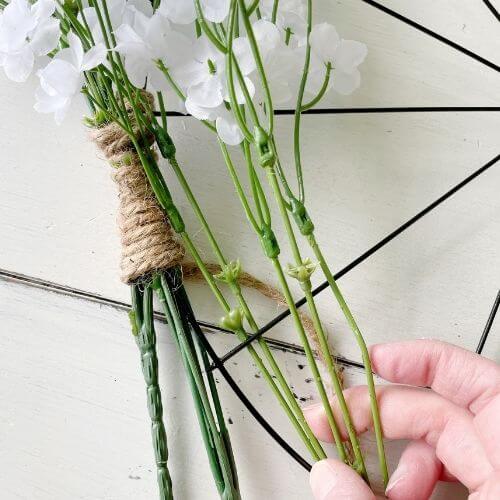
Next, wrap your jute twine around both stems as shown in the first picture above. Then grab your third bunch of Baby’s Breath floral.
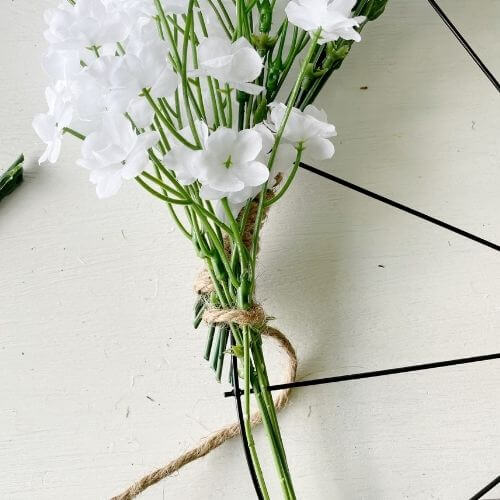
Secure your third bunch using your jute wire. Then snip off the extra stems from the first two bunches as shown in the second picture above.
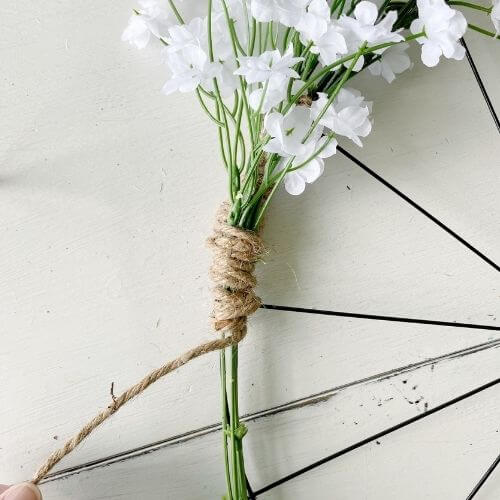
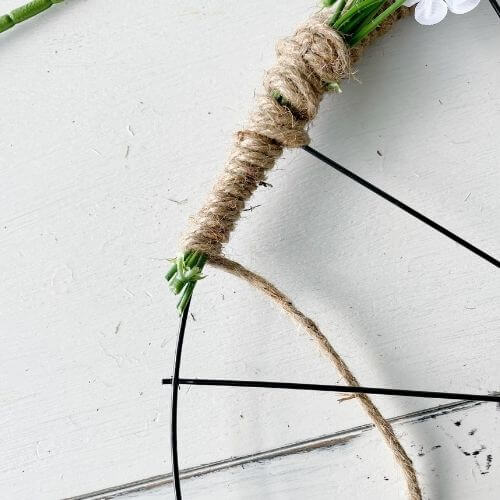
Continue to wrap your jute twine around the stems and after it feels securely in place, then snip the excess stem from the floral.
Wrap Jute Wire Around the Perimeter of Bike Wheel Form
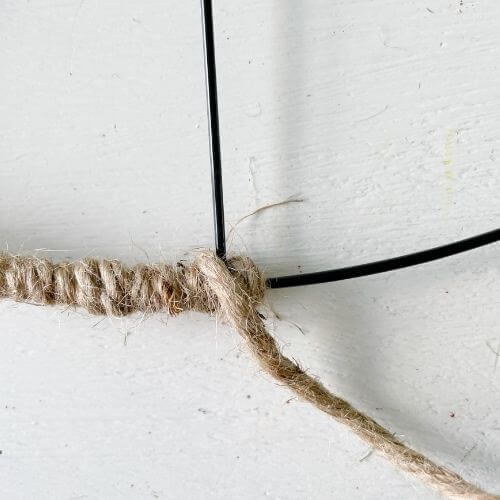
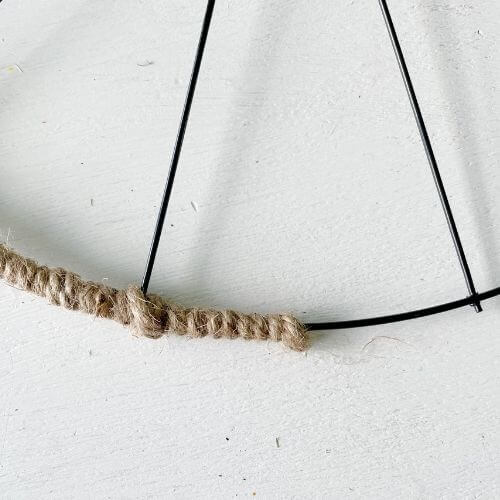
Next just continue to wrap your jute wire around the rim of your bike wheel wreath form. When I got to a joint, I looped it up around the spoke as well and then continued wrapping. You will get to a point where you have to wrap the cord as tightly as you can, then begin with the a new jute cord strand.
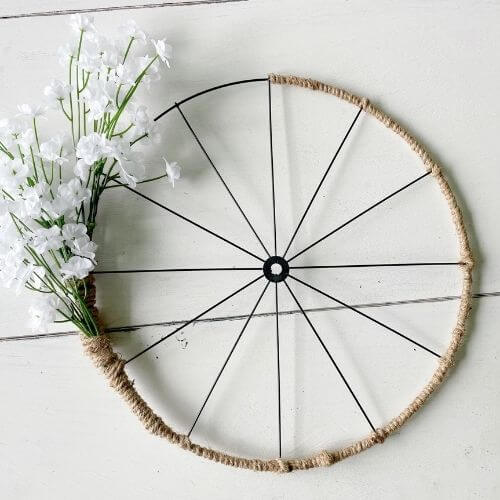
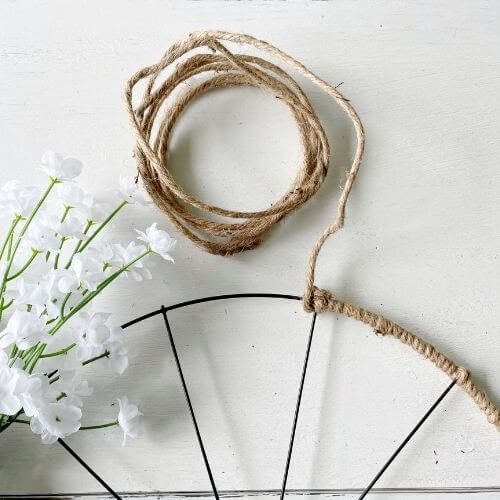
This is how the wreath was shaping up so far! It really helped to keep the jute wire in a loop as I wrapped it around the outer rim of the bike wheel form.
Wrap Extra Jute Wire Around Central Spoke of Wheel
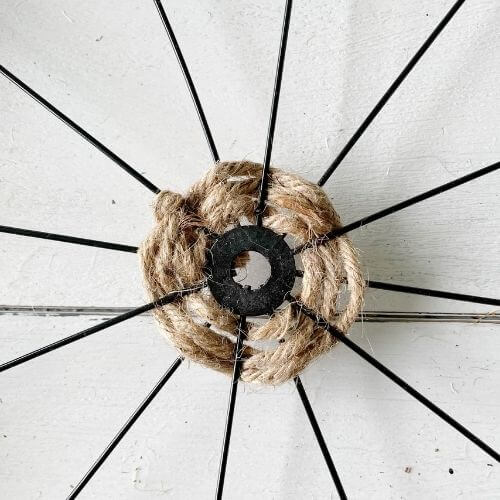
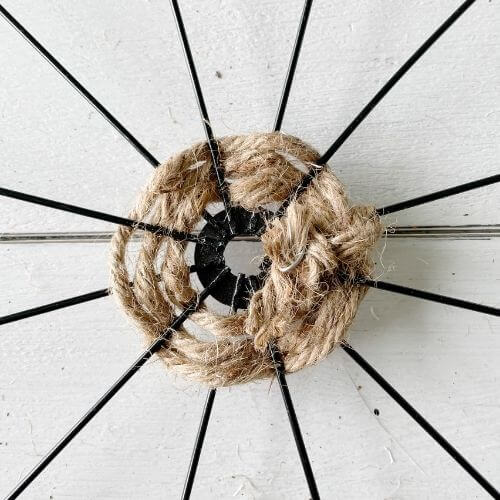
I ended up using the extra jute wire and wrapped it around the center of the spoke 3 times. Then I secured it by twisting the two ends together in the back.
Add Chalkboard Tag to Bike Wheel Wreath
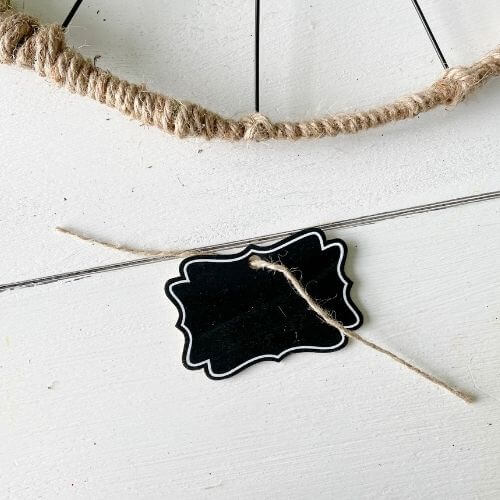
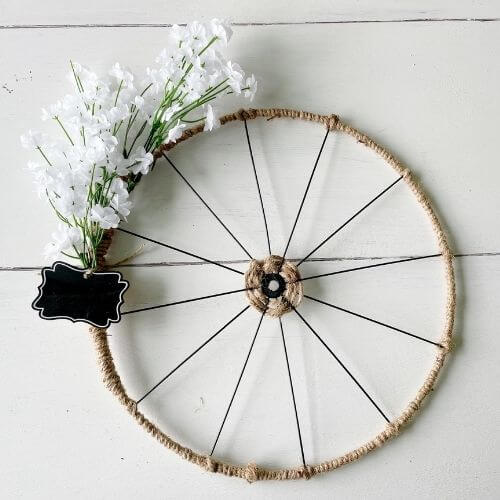
The chalkboard tags came with jute twine pieces, so I just used a piece of twine to attach it to my wreath, right below the floral. This is how the wreath looked (second pic). At this point, I felt like the wreath didn’t look quite finished, so back to Dollar Tree, I went!
A Few Additional Supplies and Finished Dollar Tree Wreath
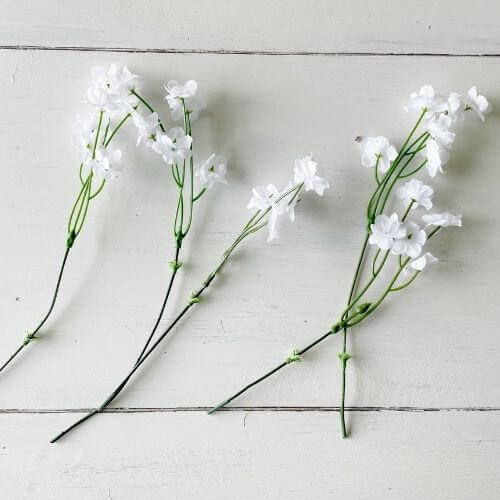
I grabbed these additional supplies at Dollar Tree (above left) …one more baby’s breath stem, bigger chalkboard tags, 😉 a chalk marker, and one more jute wire strand. First, I clipped my Baby’s Breath stem into 4 different pieces and removed the leaves.
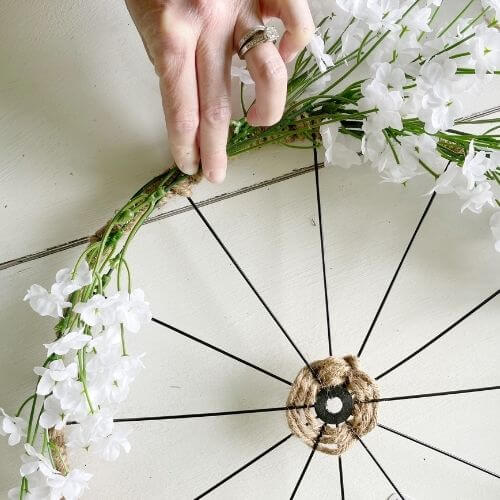
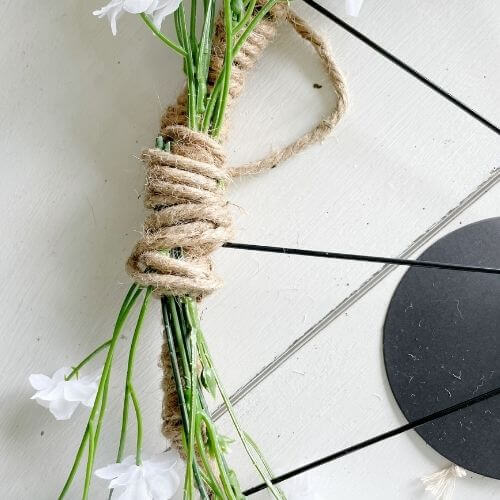
Then I arranged the 4 Baby’s Breath floral pieces (from the one stem) toward the bottom of the wire bike wheel form and secured it to my bike wheel with the extra jute wire I purchased.

I used my chalkboard pen to write “Welcome” on my tag. Either chalkboard tag would work, but I chose the bigger one. Then I simply secured it to the wreath between my floral with the string that came with the tag.
Just an FYI, the smaller one was wood, and the bigger one was more cardstock paper-like. They have quite the selection at Dollar Tree so choose whichever chalkboard tag you prefer! Just make sure it comes with twine to secure it to the bike wheel!
And the final pic is my finished product!
Final Thoughts on Dollar Tree Bike Wheel Wreath DIY
All in all, this was an easy DIY wreath project and I like that it incorporates floral, jute wire, and chalkboard tags for that farmhouse style!
I did decide to go back and obtain additional supplies to make my wreath look more finished. However, all the supplies that I ended up using to complete the entire wreath were as follows…
- 4 Baby’s Breath Floral
- 4 Jute Wire Strands
- Bike Wheel Wire Wreath Form
- Chalkboard Tag
- Chalkboard Pen
- Wire Cutters (Amazon)
- Scissors
So, all in, not including the wire cutters and scissors, I spent $13.75 plus tax since Dollar Tree items are now $1.25. Not too shabby for a pretty rustic bike wheel wreath to hang on your front door or in your home!
Thanks so much for reading and let me know down in the comments if you have any questions about the process. Please consider subscribing to my email list below for new and budget-friendly DIYs delivered right to your inbox!
For More DIY Dollar Tree Wreath Inspiration Check Out These Posts
- And be sure to visit this post for a comprehensive list of DIY Dollar Tree Wreath Ideas for all Occasions!
Headed out to the Dollar Tree soon? Grab your bike wheel wreath form, floral, jute wire, and chalkboard tags, and create this DIY farmhouse wreath for your own home decor!
Pin me on Pinterest! ⬇️
Please consider subscribing to my email newsletter below for more DIY ideas delivered right to your inbox! 👇



I had some floral wire from the Dollar Tree and didn’t know how to use. Well now I do. You did an amazing job and you made the steps seem doable.
Thanks so much! I appreciate your comment and am so glad you found the post helpful! I just love the Dollar Tree, so many good finds there!