
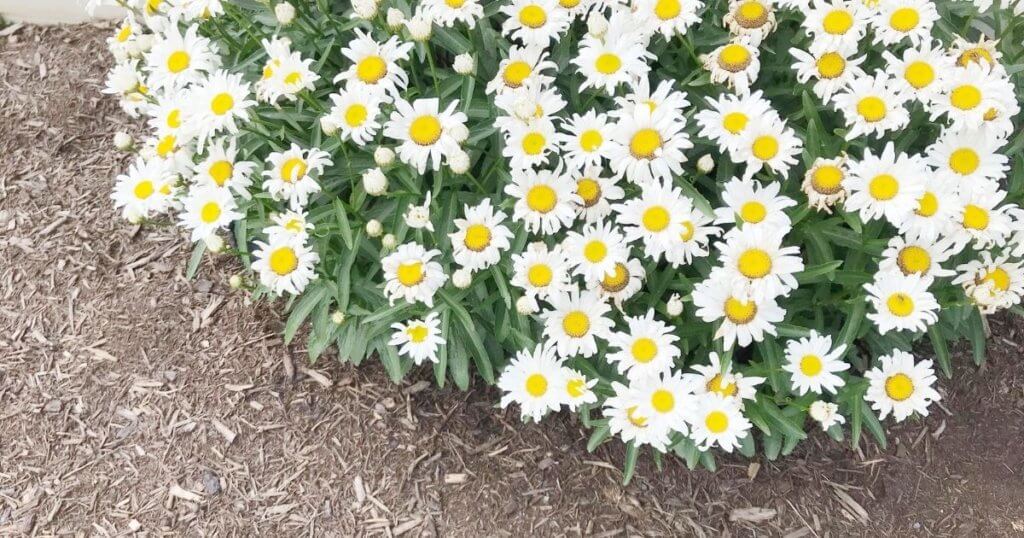
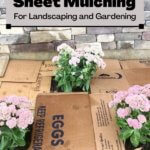
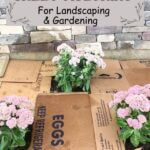
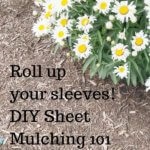
Roll up your sleeves everyone! It’s time to talk sheet mulching for planting around your foundation. Sheet mulching can be used for gardening too!
But there’s a reason why landscapers get paid the money they do! This is hard work! So after getting a quote from a landscaping company, I decided to rope my husband into doing this project ourselves. Boy was he excited! So read on for a DIY lesson on sheet mulching for foundation planting and gardening!
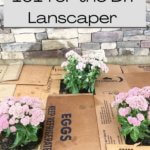
First off though, sheet mulching is putting down cardboard to get rid of existing grass/weeds and then putting mulch over the top. Some use plastic sheets for the same purpose, but I wanted to do things the organic way.
The cardboard helps to enrich the soil as it degrades and ours was in dire need of that anyway. We have heavy, clay “stick to your shoes” kind of soil. At the time, I was focused on foundation planting. We had a new build and didn’t have any plants or shrubs surrounding our house. But this is great to use for a garden or flower bed too!
This post contains affiliate links. As an Amazon Associate, I earn from qualifying purchases. This means when you click a link, I may earn a small commission at no cost to you. This helps me to run this website. Thanks in advance for your support!
Dig up the Sod around your Home’s Foundation
So the first thing to do was dig up a layer of grass/sod around the house. It’s a good bit of hard work if you don’t own some heavy equipment! That’s why we broke the project down into sections. We did one side of the house in the spring and the other side in the fall.
If you are using sheet mulching for a garden project, you could just lay the cardboard over the grass to wipe out the existing vegetation. Wet the cardboard and then place your soil and compost on top to plant in.
Even easier is placing layers of cardboard down within a raised garden bed, wetting the cardboard and then placing your soil on top for vegetable planting.
If you go the raised bed route, an avid gardener once gave me a recipe for raised garden bed soil consisting of 60% topsoil, 30% compost, and 10% potting soil.
However, getting back on track. For this foundation project, first, we made a nice straight edge for a border (see below pic). We used an old tool we found in my mother-in-law’s basement, which looked like a flattened shovel. This one would be better!
Making an edge helps with two things. One, it looks a lot nicer when you put your mulch down. And two, it will sit below the grass layer so it makes mowing much easier! That way, you’re not mowing and blowing your mulch all around!
Then my hubs happily 😉 dug up all the sod from that edge all the way to the house.
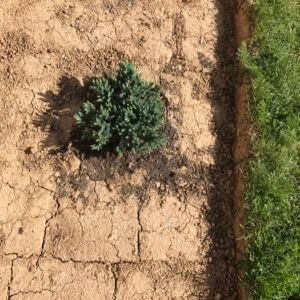
Dig Holes and put in Plants and Shrubs
Next, I put in my plants and shrubs. These were carefully chosen to survive in our poor soil conditions (a post about these hardy perennials is linked at the end of this article). I did dig out around my plants a bit and used bagged topsoil and mushroom mulch to give them a head start.
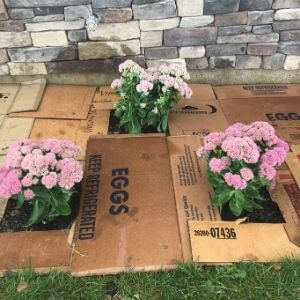
It was then time to put my cardboard layer down. Gather up your old amazon boxes and take all the tape off because that doesn’t degrade. Another good place to find free cardboard boxes was at the local grocery store.
I then used my utility knife to cut the cardboard into pieces and placed them around the plants. Who are my puzzle lovers out there?! It’s a good idea to overlap the cardboard pieces by at least a few inches.
This discourages weeds from breaking through, like those persistent dandelion plants!
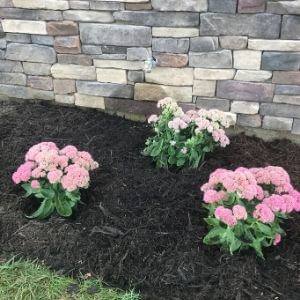
Wet your Cardboard and put down your Mulch
Okay guys, so once you have all your cardboard in place, then wet the cardboard evenly. This encourages the cardboard to degrade.
Whew, we’re almost done! The next step is to put down your mulch. Now a little tidbit about mulch. We started out using cedar mulch because I had heard somewhere that it was good to deter pests. However, our local Lowe’s ran out before I could finish up this project.
At this point, I was bent on finishing that project up! So I told my husband to just pick up a few bags of pine bark mulch and hardwood mulch to try out.
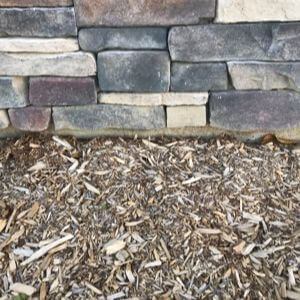
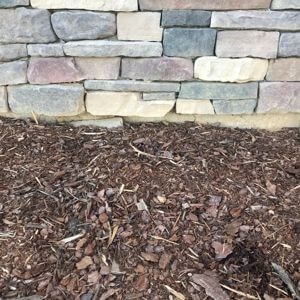
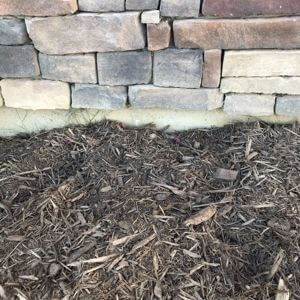
I wanted to give you guys an idea of what the different types looked like after they had been on the ground a bit. The pics of each type are below.
Cedar mulch is the lightest in color. Pine bark mulch has a reddish tint to it. Hardwood mulch has a dark brown color to it and can even look dark grey in the shade.
Personally, I stuck with the hardwood mulch because I liked the way it looked with our house. But it all depends on the color of your home and the plants you choose too! And of course personal preference!
This post contains affiliate links. As an Amazon Associate, I earn from qualifying purchases. This means when you click a link, I may earn a small commission at no cost to you. This helps me to run this website. Thanks in advance for your support!
Product list for DIY Sheet Mulching Supplies:
- Garden edger
- Cardboard
- Utility knife
- Cedar mulch
- Pine bark mulch
- Hardwood mulch
- Wheelbarrow
- Watering can
- Perseverance 😉
Concluding Thoughts on DIY Sheet Mulching
So who’s now up for a little planting and gardening? Now I will say, is this a foolproof way to deter all weeds! Nope! I’ve had to pick some stubborn grass and dandelion leaves out (a perfect job for the kiddos, I might add). But honestly, surprisingly not that many!
And of course, I would have had to do that with a plastic weed barrier too, because I have used those in the past. Comparing the two methods I would definitely choose cardboard sheet mulching vs. the alternative, plastic weed barrier.
I’ve had to pull up that plastic stuff because I decided that it was not where I wanted it. It was a complete “bear” to get rid of if the grass had grown through it. And finding all the little spikes that were holding it down was like looking for a needle in a haystack!
One thing to note is that I’ve done sheet mulching both ways. Digging out the layer of sod before putting cardboard down (as in this post), and just laying the cardboard over the grass. You have to do a little bit more weeding if you don’t dig up the layer of sod!
Just a word of caution for those of you who live in areas where termites are prevalent. I researched this and just like wood, termites will eat cardboard. A comprehensive article titled “Mulch, Termites, and Your House Foundation” by thespruce.com gives some great information about this. I would recommend reading it if you have concerns about termites where you live.
I do have to say, 2 years later this sheet mulching project is holding up wonderfully. We usually do put new mulch down in the springtime but if you choose to use mulch instead of stones, that’s to be expected.
Thanks so much for stopping by! Questions or comments, please post below!
Related Posts for Gardening and Planting
Hardy and Low Maintenance Cottage Style Perennials
I also buy the open bags of soil, compost, mulches at Lowe’s that are half off. Go to the very back of the store either first thing in the morning or before closing for better selections.
That’s a great idea! Thanks for the tip!!
That’s how I started my edible front yard food forest. With boxes from the hospital.
An edible front yard food forest sounds wonderful! 🙂