

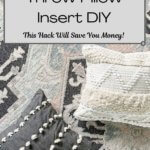
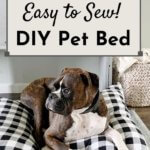
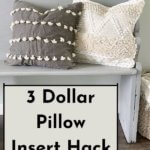
I love saving money, and this 3 dollar pillow insert DIY for throw pillows will save you big bucks, especially if you have a bunch of throw pillows like me! And stick around for a way to use these 3 dollar pillows in a DIY pet bed too!
Who else has a bunch of throw pillows for home decor? And who else hates to buy expensive inserts for their pillow covers?
I’ve tried buying cheap pillow inserts, however, those just don’t fill out the pillow well, and leave them looking a little flat.
And to buy pillow inserts for 20 dollars a pop, well I just can’t bring myself to do that. Cheap, maybe, but I prefer to call myself frugal.
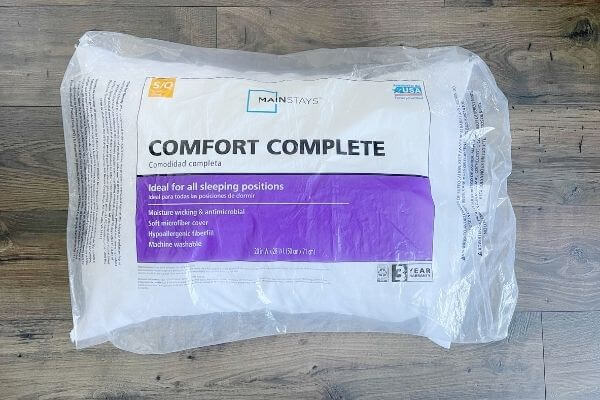
So, I was actually browsing Walmart for bed pillows, and thought to myself, couldn’t I use these cheap ones in my throw pillows.
They seemed fluffy enough to fill out the pillow covers. So I came up with an easy hack to get myself some cheap pillow inserts.
Read on for the how-to, and get yourself some 3 dollar pillow inserts too!! The best part, no sewing is required!
And stick around all you pet lovers out there, at the end I’ll give you one more idea to put those 3 dollar pillows to use!
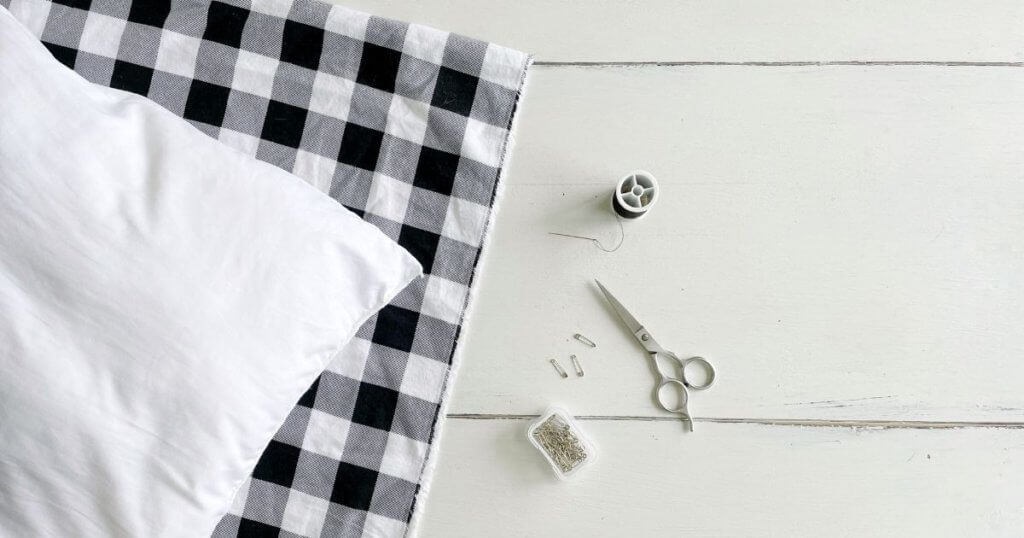
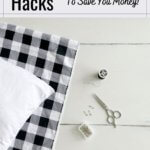
Supplies for 3 Dollar Throw Pillow Insert Hack
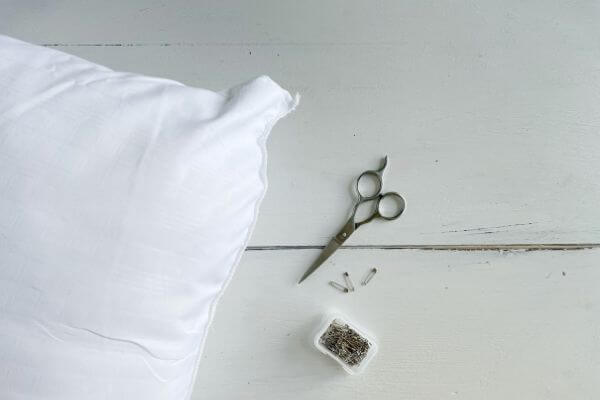
What’s nice about this hack, is only 3 supplies are needed. You only need a three-dollar pillow from Walmart, scissors, and a few safety pins!
Create Your Throw Pillow Insert DIY
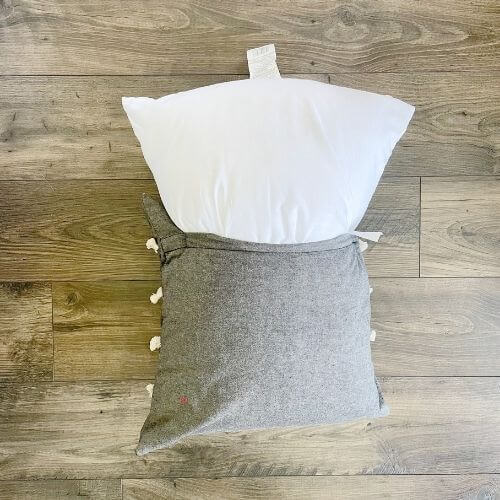
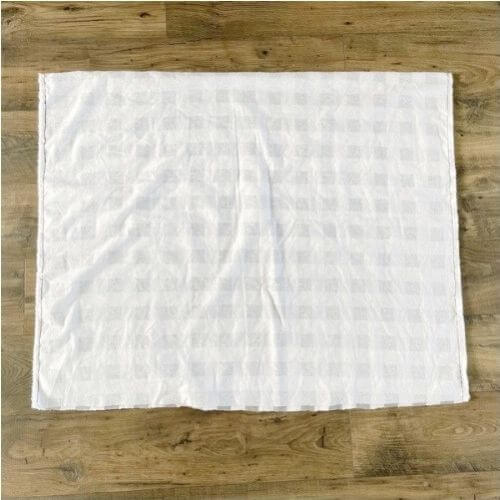
First, I took an 18×18 pillow cover I had bought previously from Hobby Lobby. They have some great deals on pillow covers by the way!
Next, I pushed my 3 dollar pillow down into the cover. I tried to make sure to push it all the way into the corners of the cover.
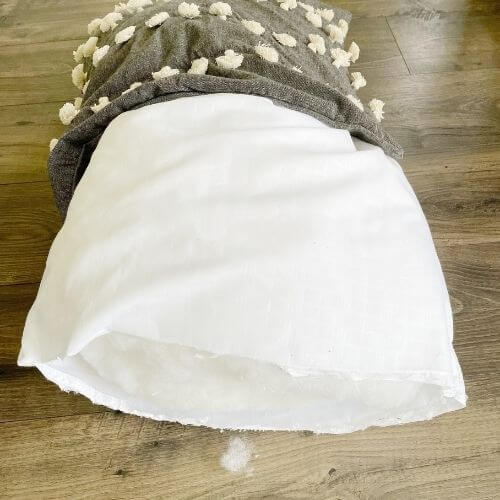
Then I cut the top off the pillow exposing the stuffing. I pulled out some stuffing, eyeballing about how much I would need for a nice, fluffy pillow.
Don’t worry about being exact, you can always stuff more back in there! 😉
I then folded the excess over and pushed the insert into the pillow cover. Zip up the pillow cover to see if it looks fluffy enough and then decide if you need to add more stuffing back in!
The steps are all pictured below!
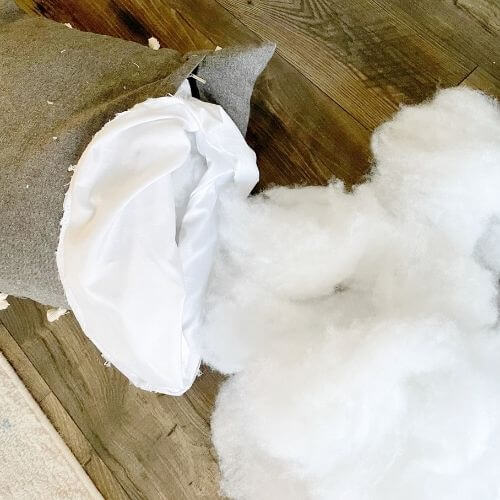

After you have the right amount of stuffing in there, simply fold your extra fabric over and use 3 safety pins to hold your form together.
I did fold the edge in before pinning to make it look a bit neater.
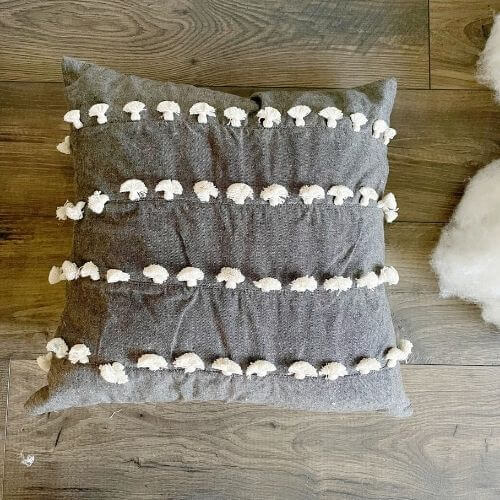
That’s it! You created an inexpensive pillow insert DIY with just a few supplies and only 3 dollars! Below is a comparison of the pillow insert hack (left) vs a pillow insert that I purchased (right).
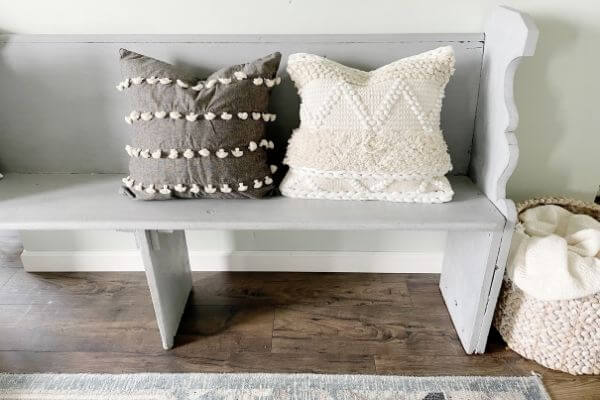
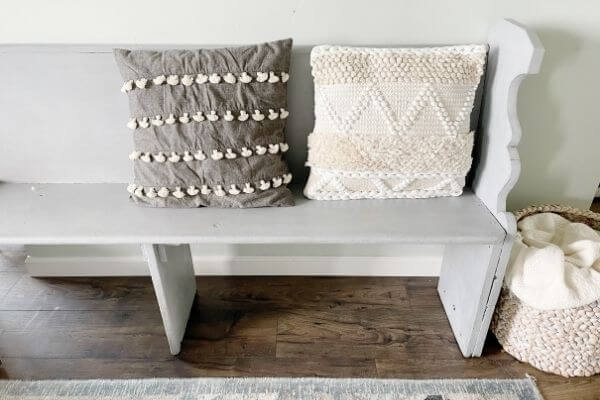
The pillow insert DIY makes for a fluffier pillow, whereas the purchased one (the cheapest I could find was 5 dollars) leaves the pillow looking a little flat.
So who’s with me? Isn’t this an easy and inexpensive way to create DIY pillow inserts? Especially for people, like you and me, 😉 who love to have a lot of throw pillows for home decor!
But wait, didn’t I promise one more hack for all the pet lovers out there?
On to the next 3 dollar, pillow insert hack to save you some money!
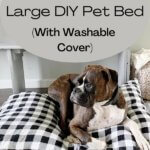
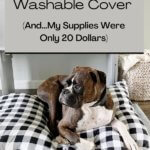
3 Dollar Pillow Insert for DIY Pet Beds
This one does require a bit of sewing, unfortunately, there’s no way around that. But the nice part is that you can pick any fabric you like and DIY your own pet bed!
We won’t be cutting the pillows in this one. We’ll be using two whole 3 dollar pillows to use in our pet bed.
Read on for the how-to!
Supplies for DIY Pillow Insert for Pet Bed
Just a few supplies are needed for this DIY and all were purchased at Walmart.
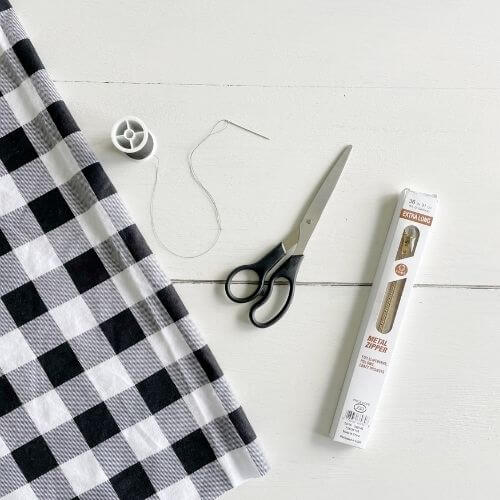
Product List:
- Flannel fabric (2 to 2.5 yards)
- Needle and thread
- 3 dollar pillows (2)
- 36-inch zipper
- Scissors
Measure and Sew Two Sides of Flannel Fabric
I decided to create a dog bed for my rather large beast of a dog using 2 of the inexpensive Walmart pillows.
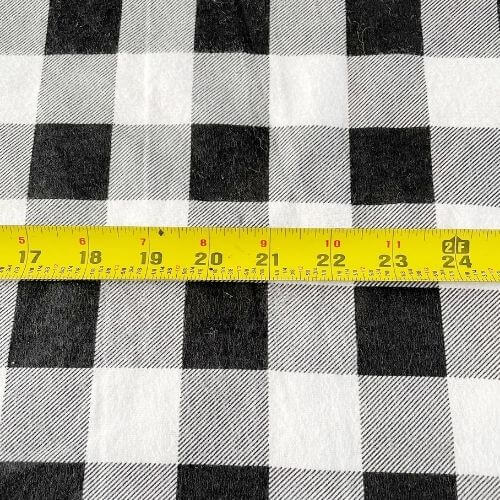
I purchased 2.5 yards of flannel buffalo check fabric at Walmart and then measured about 60 inches and trimmed off the excess (I ended up using the excess for a cat bed). You would only need to purchase 2 yards if you’re not planning on making the extra cat bed though! 😉
Then I folded the fabric in half (inside-out) which made the fabric dimensions 30 inches by 42 inches.
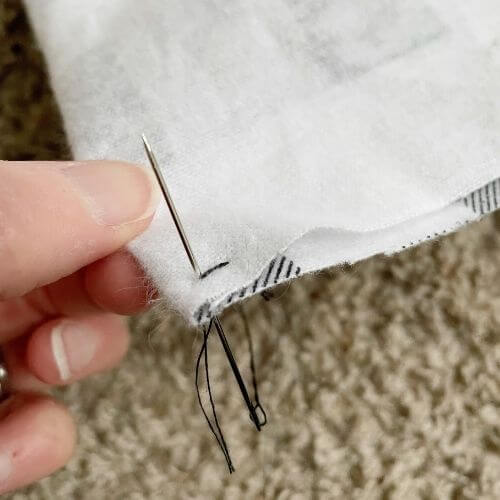
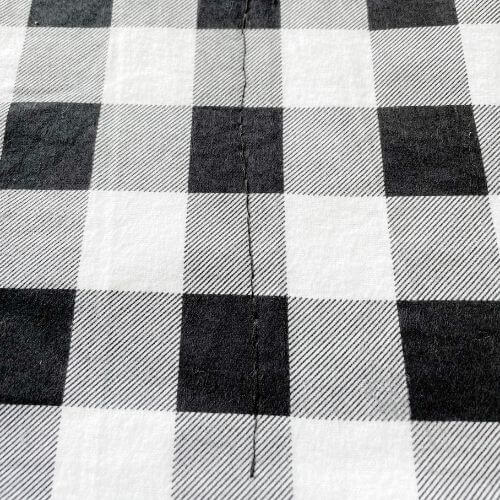
After folding the inside-out fabric in half, I sewed the 2 shorter sides using a backstitch (as shown below), which is a sturdy stitch (to withstand the beast).
First, I knotted the end of my thread. Next, I looped my first stitch around twice to anchor it. Then I went into my backstitch.
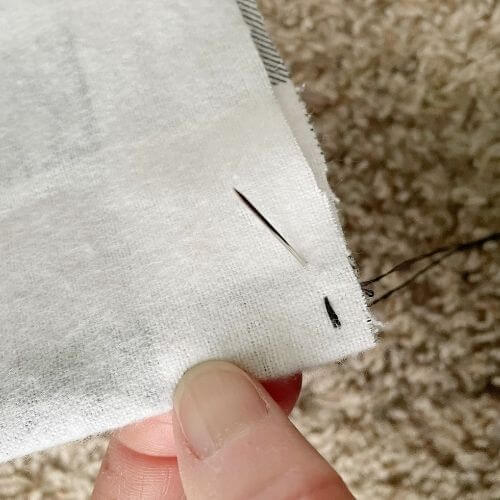
To do this, you bring your thread up through the fabric, then take the needle back through the previous hole.
Then make your next stitch, and do the same, until you have a line of stitches.
Just in case the backstitch in pictures is a little confusing, here’s a post that contains a great little video from a sewing website called craftymarie.com that shows it in detail.
Flannel fabric inside out and folded over. Sewn on the shorter (right and left) sides using the backstitch.
Dimensions for this large DIY pet bed are 30 by 42 inches.
Sew Line Down Middle to Separate Pillows
The next step is to turn your fabric right side out. Measure about halfway in between the wider part of your fabric.
For me, since my fabric was 41 inches (after sewing), I measured to about 20.5 inches and marked it with a pencil.
Then I backstitched a line in the middle of the fabric, just to separate the 2 pillow inserts.
DON’T stitch it the whole way from end to end. We need to sew our zipper in there and have enough room to insert our pillows.
This is what it looks like after stitching the middle. I trialed the 3 dollar pillows in each side.
The beast decided to photobomb! For a laugh, check out this post about funny moments with this challenging fur friend.
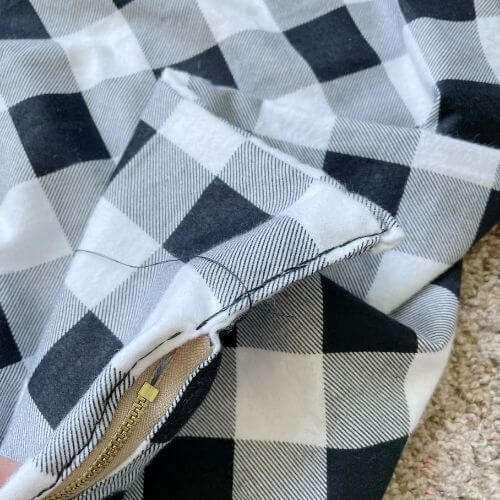
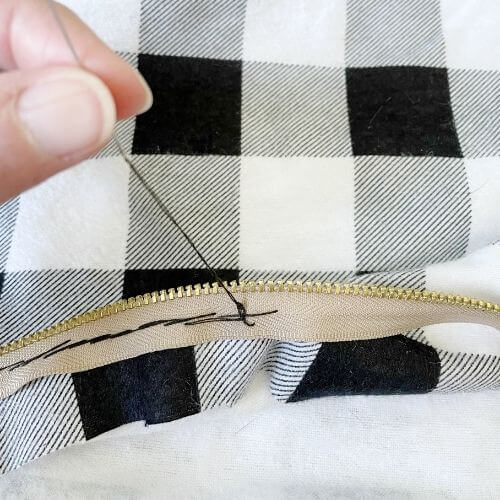
Sew Your Zipper into Pet Bed DIY
The next step is to sew your zipper onto the remaining open side of your fabric. I folded back about a 1/2 inch of fabric and used clothespins to hold it in place.
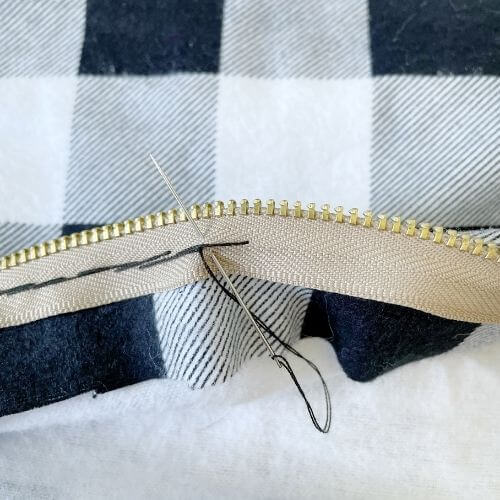
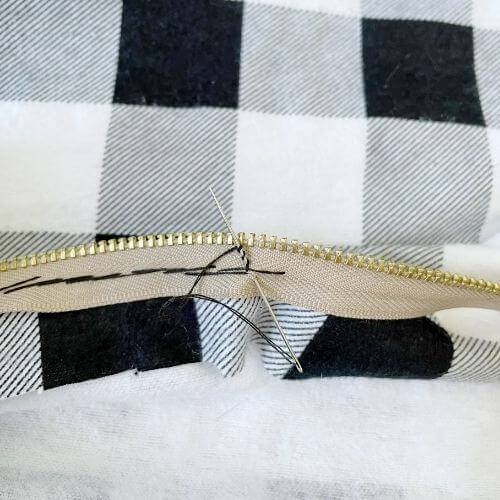
I positioned my zipper in the middle of the fabric and began using the backstitch to sew along the first side of the zipper (as shown below).
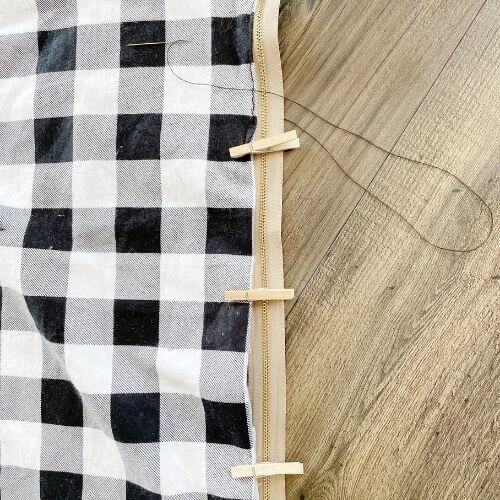
Then, I turned the fabric over and using clothespins again, sewed the other side of the zipper. Just be sure to place both zipper sides in alignment, so it zips easily!
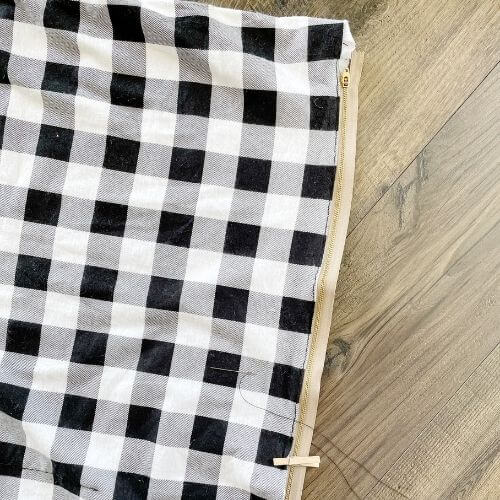
Sew the remaining side of the zipper. This is a good view of how the back stitch looks on the reverse side as well.
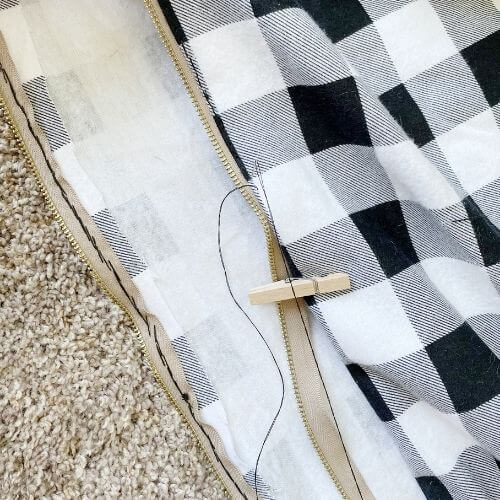
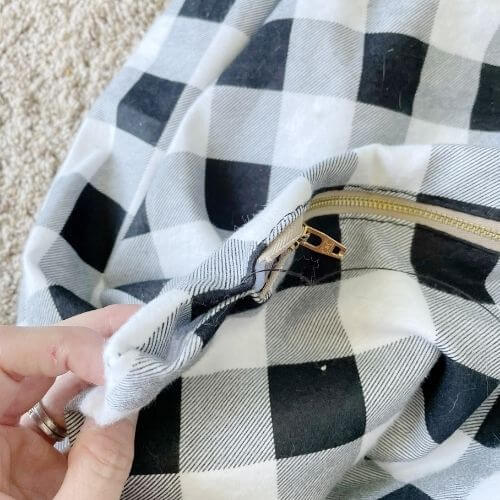
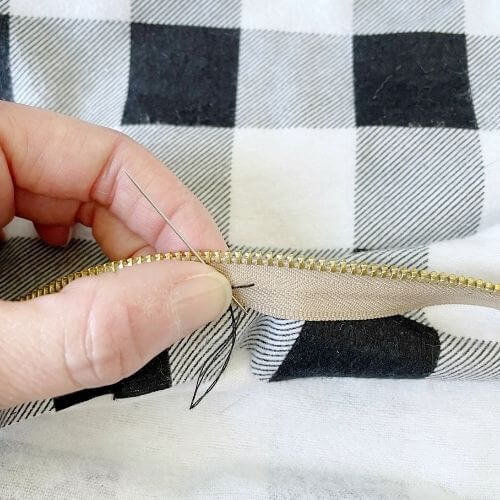
Finally Sew Remaining Extra Fabric and Complete Pet Bed DIY
After sewing the zipper to the fabric, I had a little fabric left at each end. I simply used my backstitch again and sewed the ends of the fabric together.
This secured the remaining bits of fabric and finished up my pet bed DIY!
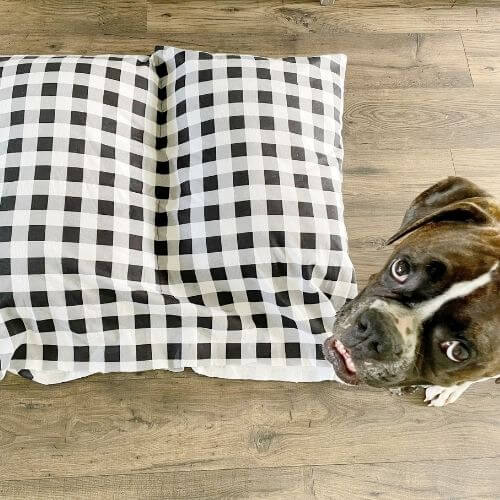
I then tucked my 3 dollar pillows into each “slot” I had made for the pillows. And voila! A DIY pet bed for under 20 dollars!
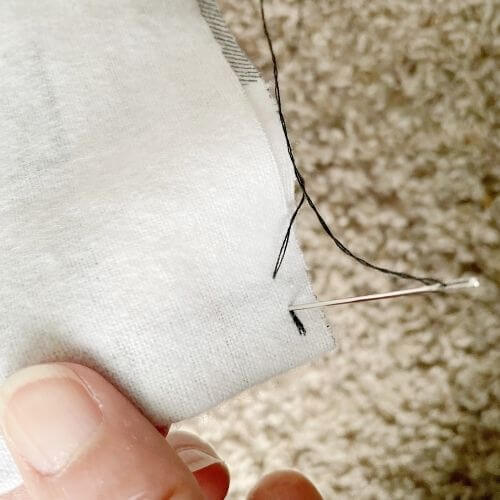
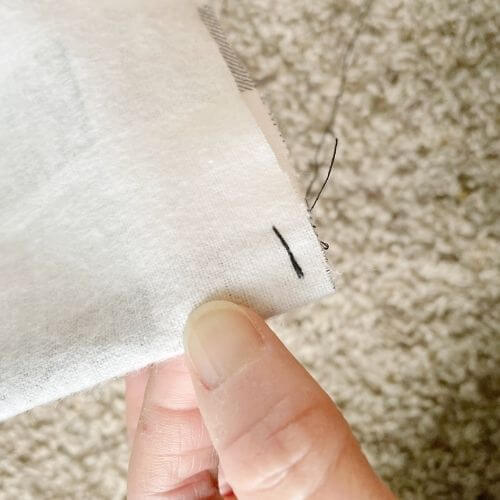
Quick Knot Tutorial for Sewing
Here is a quick picture tutorial for securing a knot when you get to the end of your string. Be sure to leave enough string at the end to make your loops!
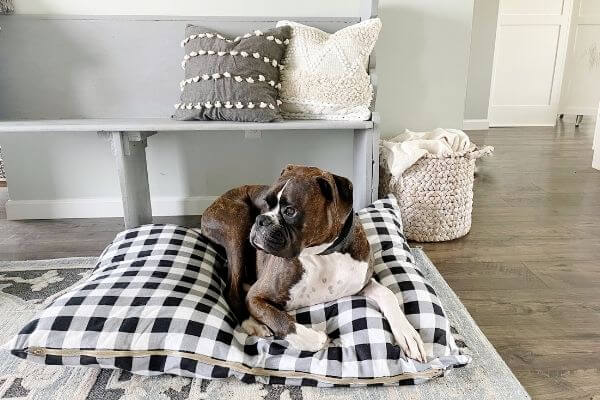
Final product….beast approved!
Final Thoughts on DIY Pillow Inserts
Who knew there could be so many uses for 3 dollar bed pillows found at Walmart!?
I love that the 3 dollar throw pillow insert DIY is no-sew and is a good bit fluffier than the inserts I purchased! If you don’t have small safety pins at home you can find them at Walmart for a few dollars.
And the pet bed is even washable since you can unzip it and pull out the pillows before laundering! I had a hard time finding an affordable pet bed online with removable inserts!
My total for the pet bed came to about 20 dollars. The total included around 11 dollars for the fabric (it was 4.44 per yard), 3 dollars for each pillow, 3 dollars for the zipper, and the remaining supplies I had on hand.
I even used the extra fabric to make a smaller pet bed for our cat!
I did end up using two additional old, flattened pillows we already had to fill out the bed just a bit more. But just the two Walmart ones would have sufficed!
Great thing is, if you already have some worn out bed pillows, you can stuff 2 of them in each side of your pet bed. Then go buy yourself some new ones!
I love saving some dollars, don’t you? And these pillow insert hacks will save you some bucks! That way you have more money to buy extra throw pillow covers! 😉
Leave me a message with any questions or comments about this DIY project!
Now, who’s ready to create some pillow insert DIYs for your throw pillows? And perhaps a DIY pet bed using 3 dollar pillows too?
Pin me on Pinterest! ⬇️
Please consider subscribing to my email newsletter below for DIYs delivered right to your inbox 👇
I adore this idea & will be stopping at my local Walmart on way home from work today!
Bought 2 beautiful pillow covers from Ikea (28×28!) & am on round two of $$ flat inserts from Amazon!
Love frugal tips!
Hi there! I’m so glad you enjoyed this post! 😊 Thanks so much for leaving such a nice comment and good luck with the project!
I have two Boxers and I know they will love these pillows. I have been buying stuffing from Walmart in the fabric department (boxes of them) and using one of the campus throws they always have on sale at Walmart around back to school time. I take and sew three sides together and stuff the pillow beds. Problem is, in time, the stuffing flattens and I have to remove it and start all over. I can machine wash these beds but it flattens the stuffing even more. The pillows you made are perfect, I can just remove the pillows and wash the covers. Perfect! Thank you.
Hi there! Thanks for your sweet comment about the DIY pet beds! 🙂 My favorite part is that the cover is machine washable too!
I actually just sewed a new one the other day after purchasing that precut Better Homes and Gardens fabric at Walmart that is 2 yards. I didn’t even have the extra step of cutting it, I just folded it over and sewed the sides and zipper in! I need to get a pic and include that as an update at the bottom of this post.
Thanks again for your kind comment and happy sewing!!