


Hey again friends! Ready for a quick and easy DIY that gives you farmhouse wood bead garland to use for your home decor displays?
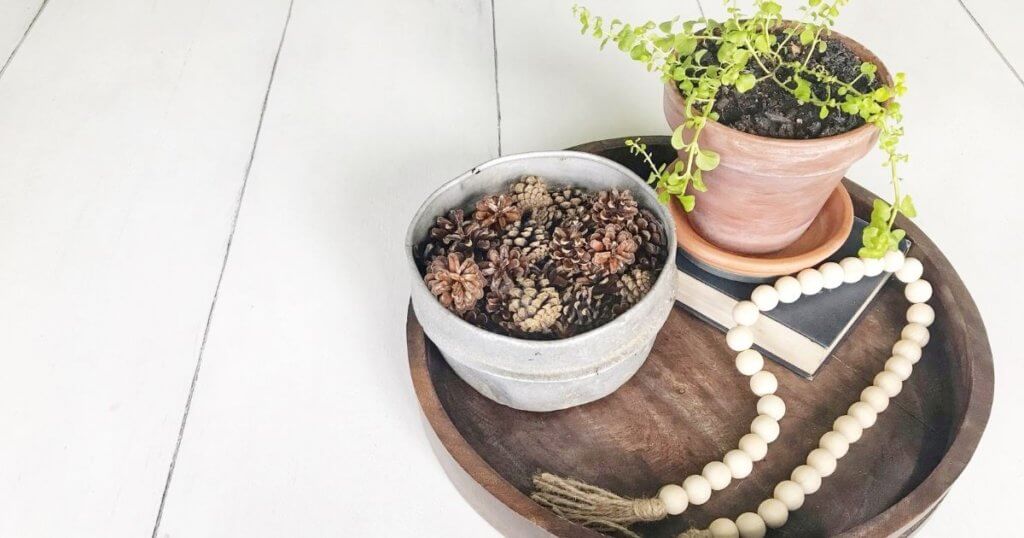
I just love decor with a meaning behind it, don’t you? In the featured picture of this post, I used a tray purchased from Hobby Lobby as my base. Within it, I placed a well-worn book given to me by my mother-in-law, with a plant in a terra cotta pot that I aged.
Also pictured is an old metal bowl that my grandmother used as a child for picking blueberries. I put pinecones that the kids and I collected in the bowl.
To complete the look, I have my farmhouse bead strand draped over the vintage book!
Farmhouse beads are a great complement to many different displays, and that is the topic of this DIY post! So here’s how to make this farmhouse wood bead garland! Inexpensive and easy as pie! Here we go!
Grab Your Supplies – Natural Wood Beads and Jute Twine
First off, I used a bead set I purchased to make two long strands of wood bead Christmas tree garland. I used the leftover beads to make two sets of farmhouse beads that I am talking about in this post!
These are shown below.
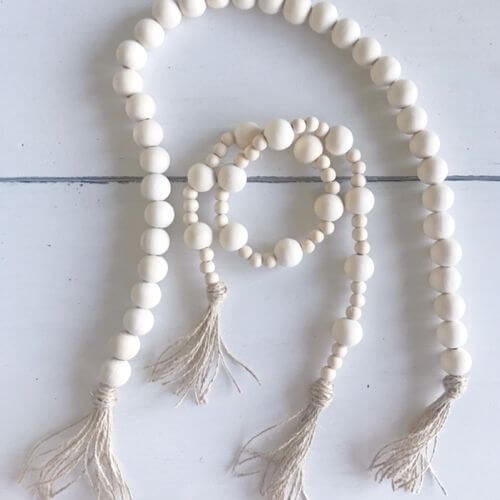
That’s four strands of garland from one set of wood beads! Below is my materials list with items found on amazon!
This post contains affiliate links. As an Amazon Associate, I earn from qualifying purchases. This means when you click a link, I may earn a small commission at no cost to you. This helps me to run this website. Thanks in advance for your support!
- Wood bead set
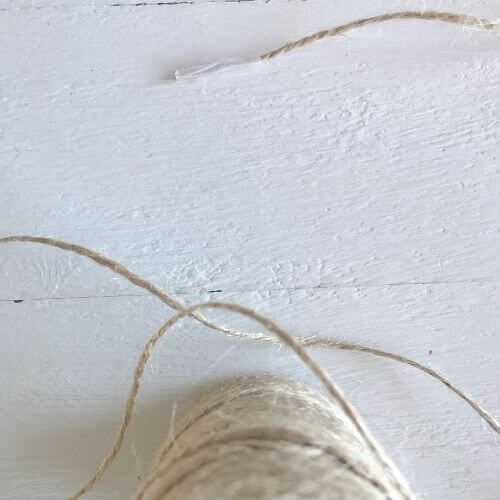
- Jute twine
- Glue gun (will only need this for the first way to make a tassel)
- Scotch tape
- Scissors
***NOTE*** Read through the post before beginning the DIY, as there are 2 different ways you can make your jute tassel!
#1 – Farmhouse Wood Beads With Tassel Using Glue Gun
I was left with fifty large 20 mm beads and about 48 small 10 mm beads after making my longer wood bead garland strands from my previous Christmas garland post.
So, as pictured, first I used a small piece of scotch tape to wrap around the end of the jute twine to make the beads easier to string.
For my first farmhouse garland, I then strung thirty-five of the large 20 mm wood beads on the string. You’ll need about 6.5 to 7 feet of string left at each end to make your tassels. Continue reading for how to make tassels using a glue gun.

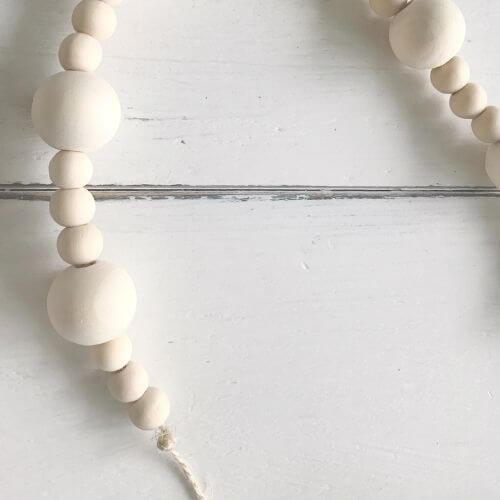
To make my second strand of farmhouse beads I used thirteen large 20 mm beads and forty-two small 10 mm beads.
I used a pattern of one large bead, then three small beads, and continued in that pattern. Again I left about 6.5 to 7 feet of jute twine at each end in order to make my tassels.
Create Your Tassels With Jute Twine and Glue Gun
At the end of both sides of each strand, I made a knot, then knotted over the original one twice more. This was to ensure that my beads would stay on the twine!
Then I made nine loops, looping up around the knot as shown. I placed a small square of tin foil to protect my table, and then applied a glob of glue with my handy glue gun.
I then wrapped the remaining string around and around the knot, adding glue to keep it in place. If I felt that the top of my tassel needed a little more twine, I just cut some more and wrapped it around using my glue as needed.
After I was finished, I then used scissors to cut the loops at the bottom, leaving the strands for the bottom of my tassel. Below are my pics of the process.


The only thing I came across with making the tassel this way, is that you tend to have more twine on one side of the knot. This makes the ball of the tassel a bit larger on one side than the other. And also the strings can pull out if you don’t have them hot glued in there securely enough.
That being said…
Here’s another way to make a jute twine tassel that makes it more symmetrical.
#2 – Alternate Way to Make a Jute Twine Tassel
This kind of tassel is a little more time consuming, but creates a stronger and more symmetrical tassel. I make my wood bead garlands for my Etsy shop using this kind!
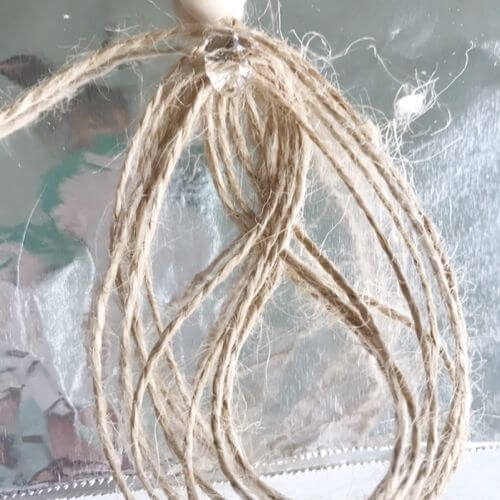
First I wrap jute twine about 17 times around my hand creating loops.
Next, I cut the end of the string so that the loops are detached. Take your next piece of twine and knot it around the loop part as shown. Be sure to leave the end of the twine as long as the loops end. This will just become on of the strands of the tassel when you are making your tassel neck.
Then measure out enough twine to make your desired length of farmhouse beads and leave a little extra twine at the end to connect your second tassel. Cut the twine because you’ll need to make your tassel neck next. For the garland I was making it was about 32.5 inches.


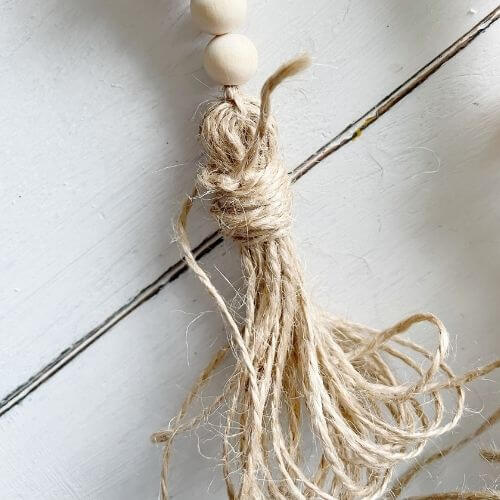
Next, tie off your tassel neck leaving enough of an end so that you are able to knot it after wrapping your twine around. Wrap your twine around as many times as you like, to achieve the look you want. Then tie the end with your original knot end.
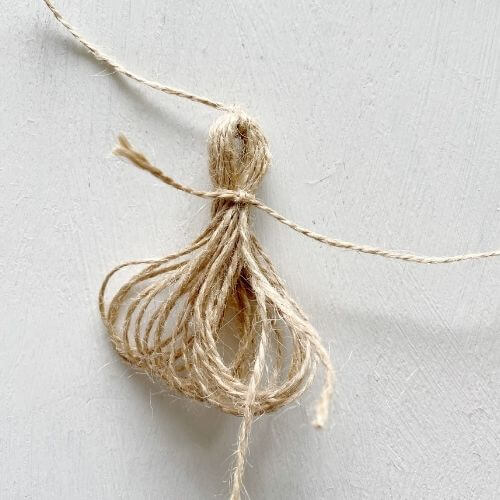


Trim excess and push the small knot down into the wrapped neck with the point of your scissors.
Next start stringing your beads. For this I am using the 20 mm and 10 mm beads in a pattern (just like I did in the above tutorial). It helps to put a little piece of tape around the end so it doesn’t fray as you push it through.
Create your second tassel by winding 17 loops around your hand again. Now tie it to the other end of your string of beads and make a knot as shown in the second picture.
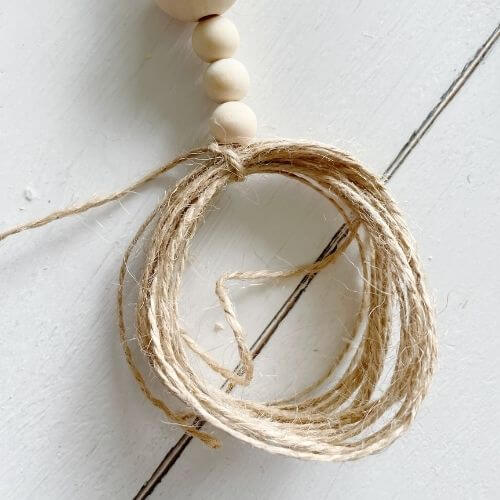
Once your second set of loops is tied on. Then create the neck of the tassel as discussed previously. Cut the ends of your tassel loops to finish it up!

Final Thoughts on Farmhouse Wood Bead Garland DIY

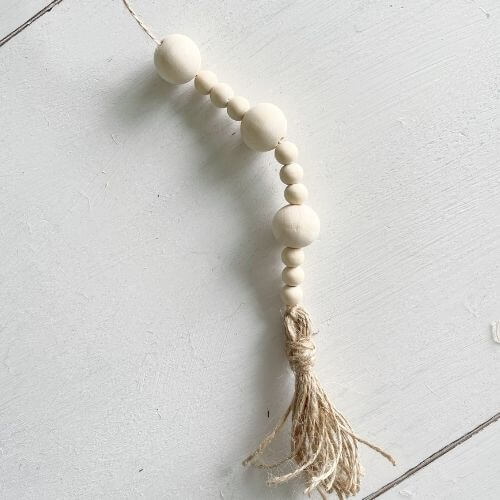
This is the finished product!
Both of these jute twine tassels will work on your wood bead garland. However, the second way may be a little more time consuming but it does result in a tassel that is more secure, will withstand the test of time, and kids throwing it around. 😉
Remember if you purchase the bead set above it should give you two long strands of Christmas wood bead garland (8.5 foot each) AND these two farmhouse wood bead garlands discussed in this post.
These look great on tiered trays, wrapped around vases and antique jars or next to your other farmhouse decor on a shelf!
And that’s a wrap! Thanks so much for stopping by! If you have questions about the project, please comment below! Happy crafting!