
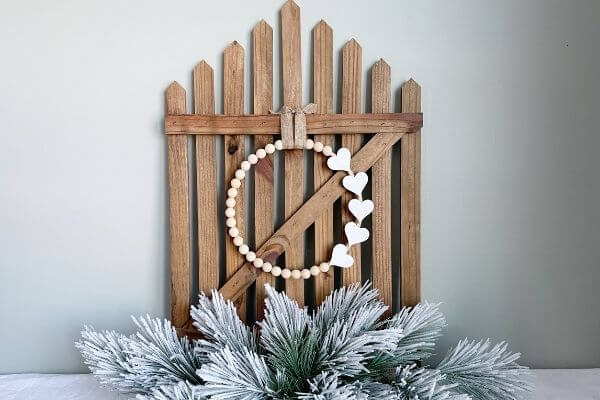


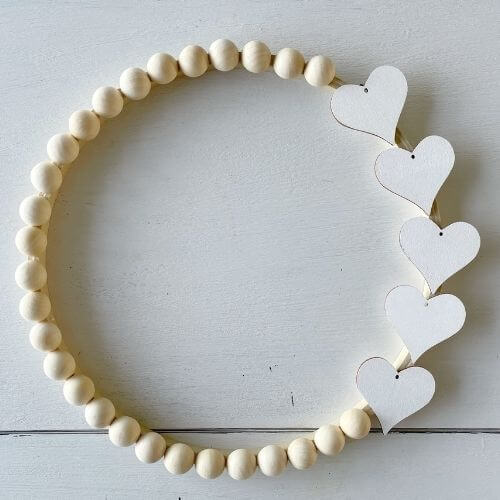
Let’s create some neutral Valentine’s Day home decor today. We’ll use wood hearts, wood bead halves, and an embroidery hoop for this rustic-style wreath DIY.
Hi there, guys! It seems these days during the chilly and snowy winter months I’m into creating neutral Valentine’s Day wreaths and garlands.
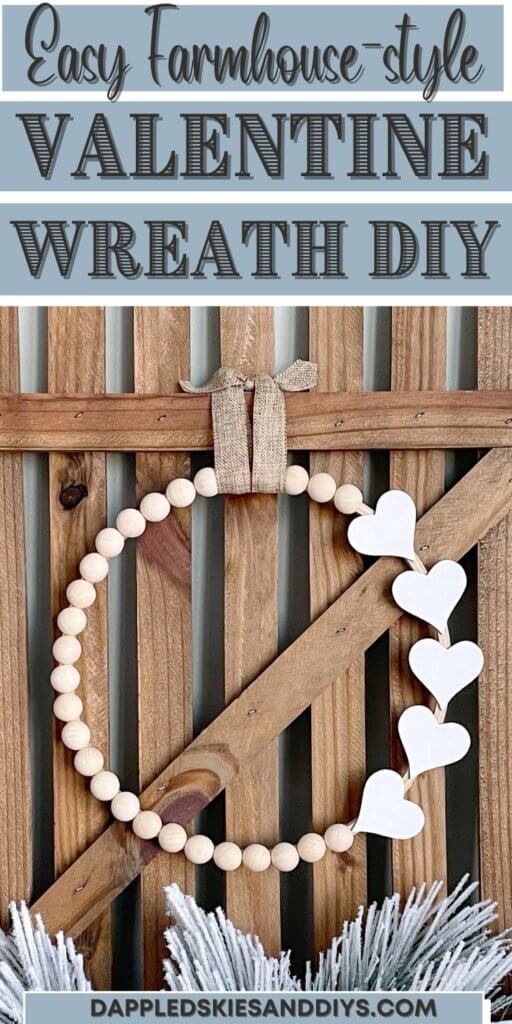
I’m going to link all of my farmhouse-style Valentine’s Day decor at the bottom of this post, so be sure to read to the end!
All of this Valentine’s Day decor puts to use wood, yarn, twine, burlap, and other natural elements.
And the DIY wood bead Valentine’s Day wreath that I’m creating in this post is no exception.
Read on for this quick and simple how-to create this easy wreath DIY using half wood beads and wood hearts.
Neutral Heart and Wood Bead Wreath Materials
So, before I begin, I just want to say that I used wood hearts that I already had purchased to make Valentine’s Day DIY garland. Therefore, these had holes in them.
I used spackle to fill the holes, and I will show you the process. However, I’m going to link some other wood hearts below that are similar without holes.
This will give you the option of both. If you’re just making the wreath, it’s easier to get the “non-hole” hearts. However, if you’d like to make the garland too, then the hearts with holes will give you more bang for your buck. 😉
And my newest post uses paint and Rub n’ Buff to make these same wood hearts with holes into Rustic Wooden Heart Ornaments, so be sure to check that tutorial out too if you’re buying that set!
This post contains affiliate links. As an Amazon Associate, I earn from qualifying purchases. This means when you click a link, I may earn a small commission at no cost to you. This helps me to run this website. Thanks in advance for your support!
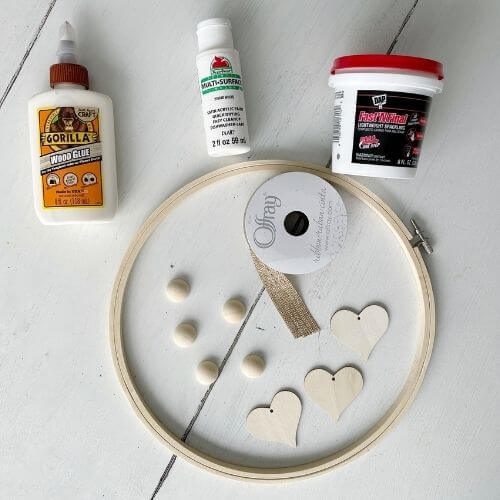
- 20 mm Half Wood Beads (be sure to purchase the 20mm wood bead version)
- My wood hearts were OOS so I’ve linked two similar versions below
- Wood Heart Set w/Holes
- Wood Hearts w/out Holes (similar size to mine)
- 10″ Embroidery Hoop (Hobby Lobby)
- White Multi-Purpose Paint (Walmart)
- Gorilla Wood Glue
- Spackle (optional depending on which hearts you buy)
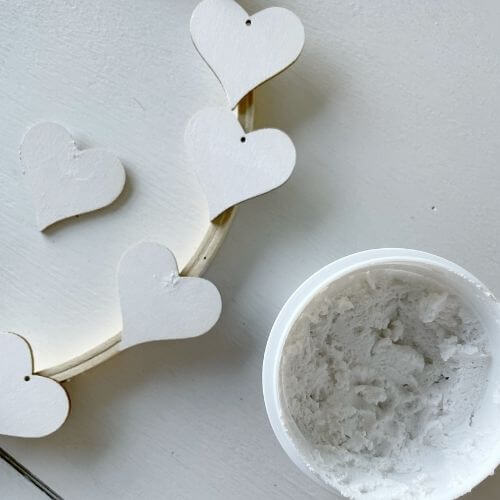
Spackle the Wood Hearts
If you’re using the hearts with holes, then this step is for you!
I used spackle that I had on hand, and using my finger pushed a little into the hole. I repeated the process twice allowing for dry time in between.
Just watch because the spackle comes out the back, but just wipe it away!
I then took a tiny piece of fine-grit sandpaper and smoothed out the spackle. If you don’t have sandpaper, a nail file would probably work too!
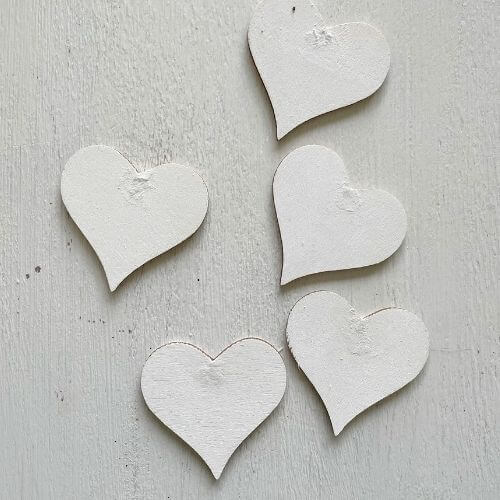
Paint Wood Hearts
The next step is to paint your wood hearts. I ended up putting 3 coats of the white paint on each.
I had painted them with two coats already and then realized I needed to spackle the holes. So, I put an additional coat on after the spackle was dried and sanded.
Put on as many coats of white paint as you like to get the look you want.
Glue Wood Hearts to Embroidery Hoop
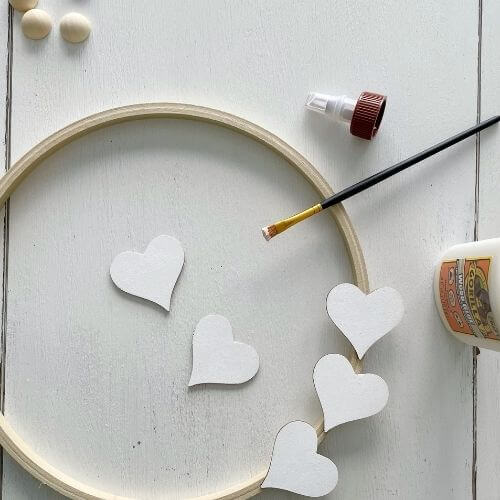
I arranged the wood hearts and wood beads on the embroidery hoop before getting out my glue. Just to make sure I had them in a pattern that I liked.
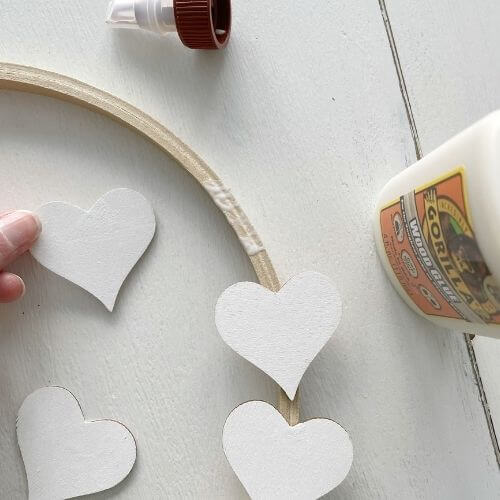
As shown below, glue your first heart onto the embroidery hoop so that it’s covering the metal connector part. 😉
Then I positioned the 4 remaining wood hearts above that first one in a pattern that I liked and glued them with the gorilla wood glue.
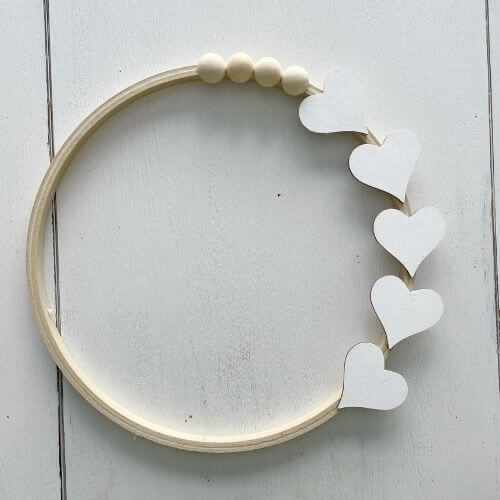
Glue Wood Bead Halves to Embroidery Hoop
Next, I started on my 20 mm wood bead halves. Using the wood glue, I secured them to the remaining part of the embroidery hoop.
For my wreath, I ended up using 28 wood bead halves.
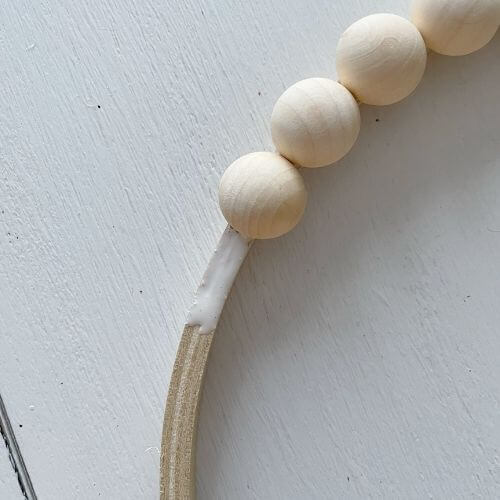
I kept them a natural wood color, but you could easily paint them any color that you prefer!
Place Burlap Ribbon on Wood Heart & Bead Wreath
To finish up this simple, neutral heart wreath for hanging, I secured a piece of burlap ribbon to the top.
I tied the burlap ribbon in such a way that it allows the wreath to hang and keeps the wood hearts on the side. No twisting!
Let me show you how I did it!
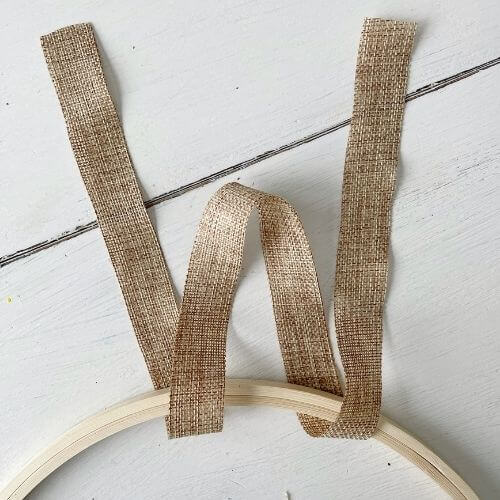
Cut about 24 inches of burlap ribbon in length.
Turn the embroidery wreath over so that the back is facing up.
Arrange burlap ribbon as shown.
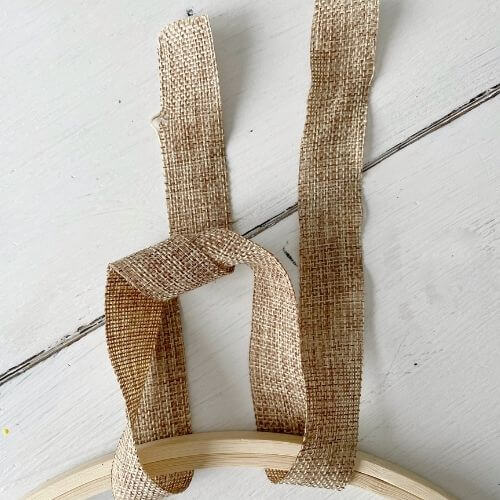
Take one side of the burlap ribbon and loop it around the central bump as shown.

Loop the other side of the burlap ribbon around the central bump. Make sure that this burlap end is coming around from the opposite direction.
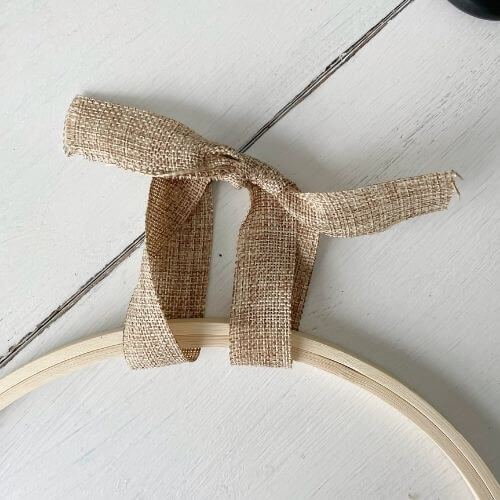
Tie ends of burlap ribbon making a knot.
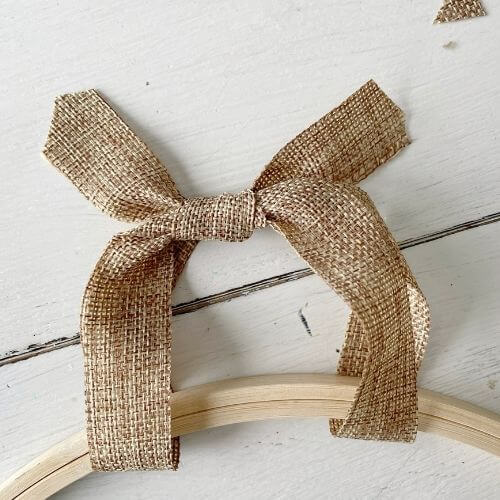
Flip over your wreath and it should look somewhat like this!
Snip ends with scissors to make them more decorative.
Now your wood heart Valentine’s Day wreath is ready to hang!
***Note: I tied and untied this a few times until I liked the way the knot looked. So, don’t tighten the knot until you achieve the look you want.
Display Your Farmhouse-style Valentine’s Day Wreath DIY
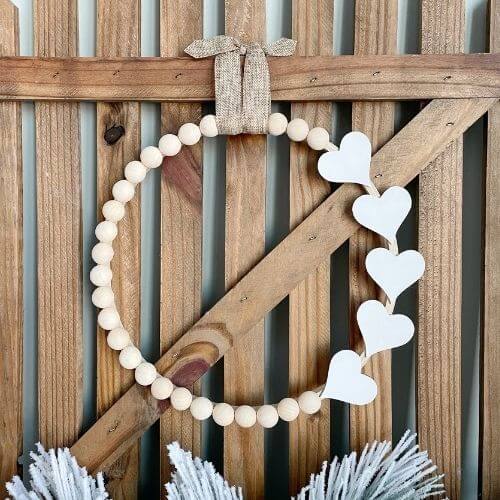
Easy peasy, wasn’t it? I love understated Valentine’s Day home decor.
You could really do so many variations with these wood hearts and wood beads. Arranging them in different patterns on your embroidery hoop or even painting them whatever color you fancy at the time!
And there are many different sizes of embroidery hoops too!
So. Many. Possibilities.
So, are you on team-neutral Valentine’s Day DIY home decor? Or do you go all out with the red and pink and sparkly? Let me know in the comments!
Related Articles for Neutral Valentine’s Day Home Decor
Valentine’s Day Wood Heart Garland
Burlap Wreath with Dollar Tree Heart Form
Pom-Pom Valentine’s Day Garland
Neutral White Dough Heart Wreath DIY
Now grab your wood hearts, wood beads, and the perfect sized embroidery hoop, and let’s craft some neutral Valentine’s Day home decor!
Pin me for Later!
Please consider subscribing below for more DIY ideas delivered to your inbox 👇