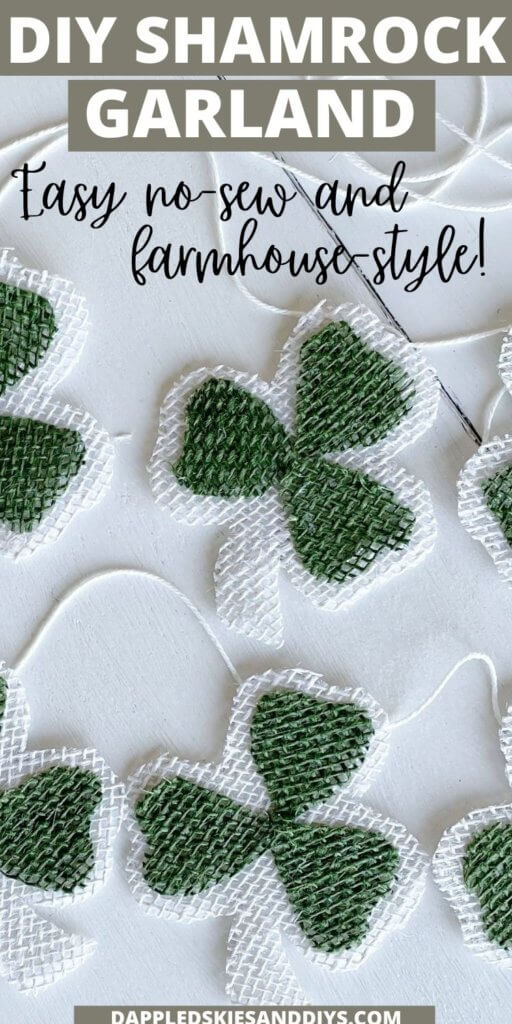
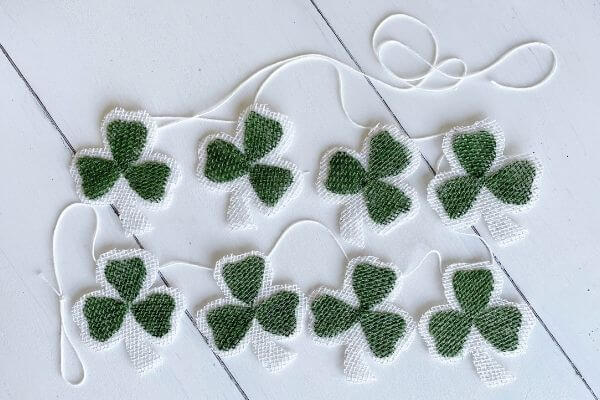
Ready to make shamrock garland for St. Patrick’s Day decor? We’ll be using green and white burlap, and some cotton string to craft this farmhouse-style garland perfect for your mantel!
A question that popped into my head as I crafted this garland is, why do we decorate with clover for St. Patrick’s Day anyway?
Shamrocks are three-leaved clovers whose scientific name is Trifolium Repens. Just an aside…I had a friend in college who had the amazing ability to find the lucky 4 leaved variety of clover on many occasions. The odds of finding one are 1 in 10,000 by the way!
But why is the shamrock a symbol of St. Patrick’s Day anyway? It turns out that St. Patrick was a Christian missionary who used the shamrock as a way to explain the Holy Trinity to the people of Ireland. If you’d like to read more about the life of St. Patrick here’s a link to a post from thoughtco.com!
Therefore, this lucky little plant is used as the symbol of Ireland. What better way to celebrate it and its meaning than to use it as a decoration for the upcoming St. Patty’s Day holiday?
So, without further chit-chat, here’s the step-by-step tutorial on how to create this burlap shamrock St. Patrick’s Day garland DIY.
Annnnnd, if you’ve traveled on over here from my shamrock wreath tutorial, you can easily use your extra brown and green burlap (instead of the white) to create this garland. So be sure to pin this for later!
Material List for Burlap Shamrock Garland DIY
This post contains affiliate links. As an Amazon Associate, I earn from qualifying purchases. This means when you click a link, I may earn a small commission at no cost to you. This helps me to run this website. Thanks in advance for your support!
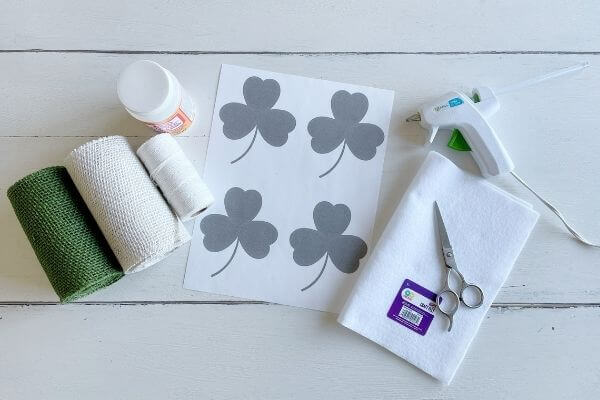
- White or Brown Burlap (Walmart)
- Green Burlap (Walmart)
- Cotton String or Jute Twine (Amazon)
- White Felt (Walmart)
- Scissors
- Mod Podge OR Glue Gun (Walmart or Amazon)
- Free Printable Template (Link/Button below)
First, Measure Your String or Twine
To start, I measured out about 8 feet of my cotton string. My mantel is about 5 feet long, but I wanted to leave some extra just in case.
Make a loop at one end of your string for hanging. Then it’s on to the next step! 😉
Print Out Shamrock Free Printable
Right above this sentence is the button for the shamrock free printable, which should make the project a bit easier!
You can print this out onto cardstock. Or, if you don’t have that on hand, you could print it out onto regular paper and then use that as your template.
Either would work, however, the cardstock may make tracing your shamrock easier.
Cut Shamrock Out of Cardstock and Trace Onto Felt
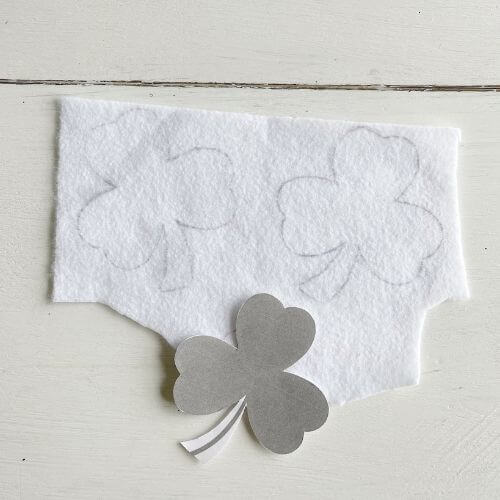
Next, cut your shamrocks out of your cardstock. Leave some room around the stem if you want your stem to be thicker.
Now it’s time to get out the white felt. I purchased this at Walmart for super cheap in the craft section. I only needed two sheets to make my 8 shamrocks.
Then I traced the shamrock out onto the felt using a regular pen. I tried to make this side (with the pen marks) the back of my shamrock. So decide which way you want your stems to go before tracing.
Cut Holes at Top of Felt Shamrock for String
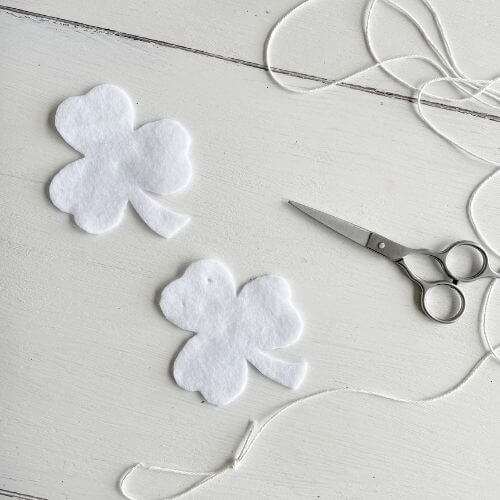
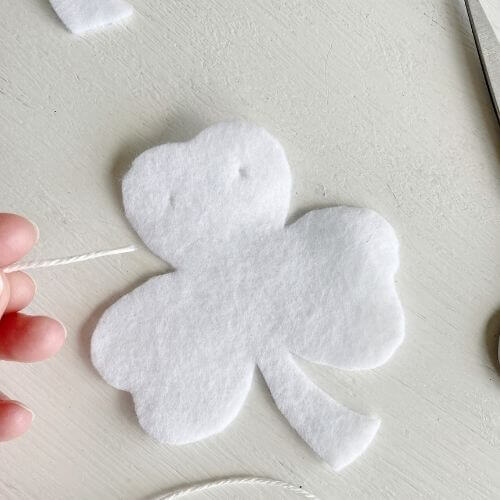
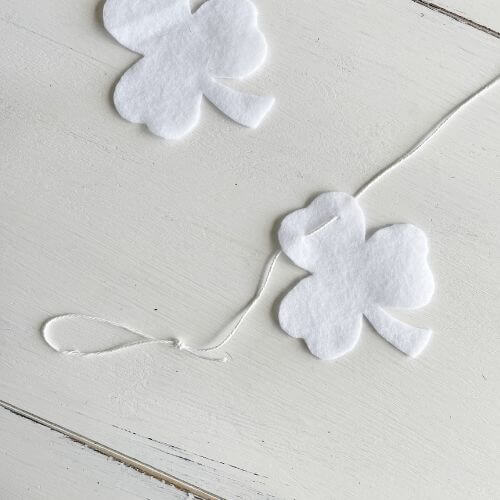
Next, you’ll want to cut two small holes out of your felt shamrock with scissors. Then slide your string through the holes. It makes it easier if you wrap a little piece of scotch tape around the end.
I slid my string through the shamrock as shown in the pics below.
Glue White or Brown Burlap onto Felt Shamrock
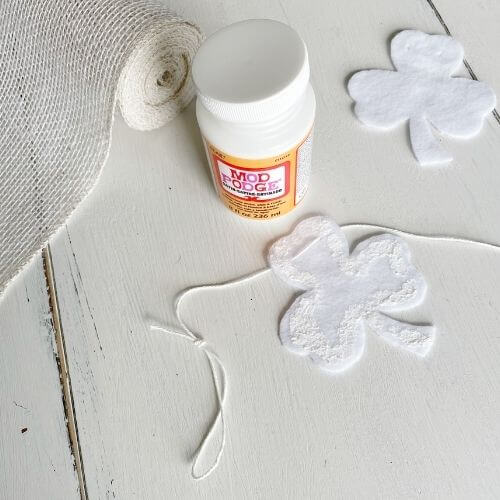
Get out either your mod podge or trusty glue gun for this next step!
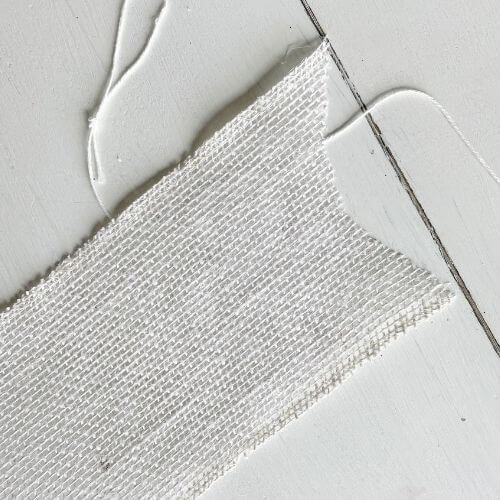
Place mod podge all the way around the felt shamrock avoiding the string. I just dipped my finger in and slathered it on. 😉 Then carefully lay your brown or white burlap on top of it.
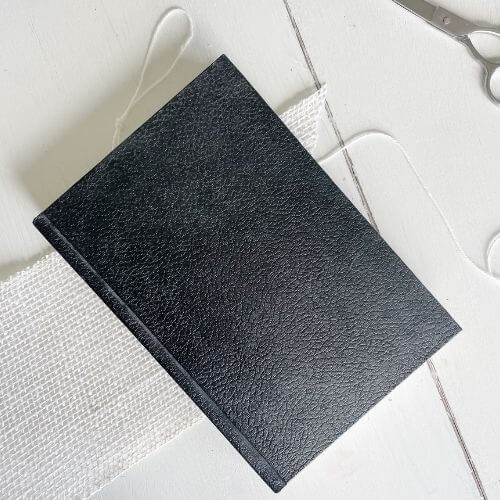
I found it was a good idea to use an old book to push it down flat and then left the book on there for about 15 minutes to allow the glue to set.
If you don’t have mod podge, but instead have a glue gun on hand, you can also use that!
I applied it the same way as the mod podge, however, be careful not to burn your fingers when applying the burlap. This is shown below.
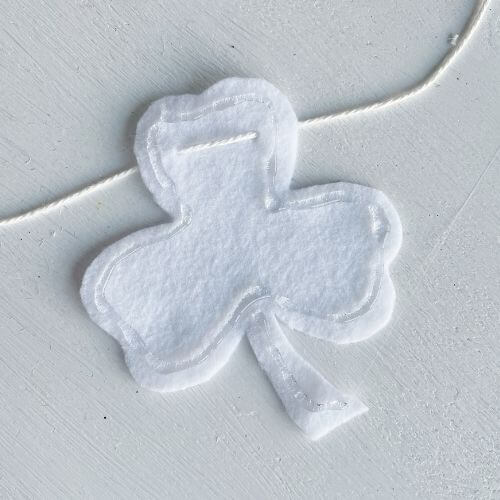

Use Scissors to Trim the Burlap
Now you’ll want to trim your burlap by using your scissors to cut all the way around the shamrock. As you can see, I left a little edge of burlap as I went.
Be careful not to cut your string as you go!
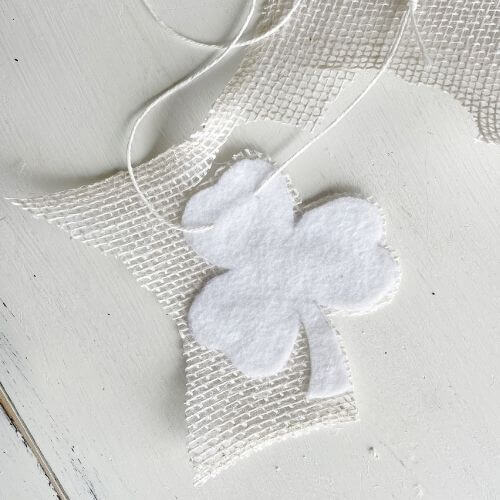
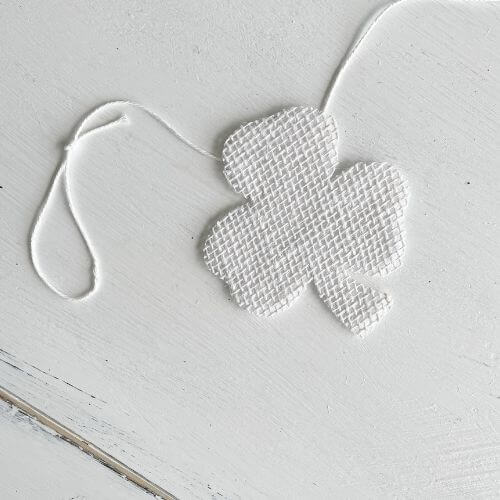
Use Green Burlap to Cut 3 Shapes to fit into each Clover Leaf
To make this burlap shamrock a little more like St. Patty’s Day, I decided to use my green burlap to cut 3 heart-like shapes to fit into each cloverleaf.
I free-handed the shapes, however, you could also use your shamrock templates. Just trim down the shamrock leaves a bit and use them as a template to cut your green burlap.
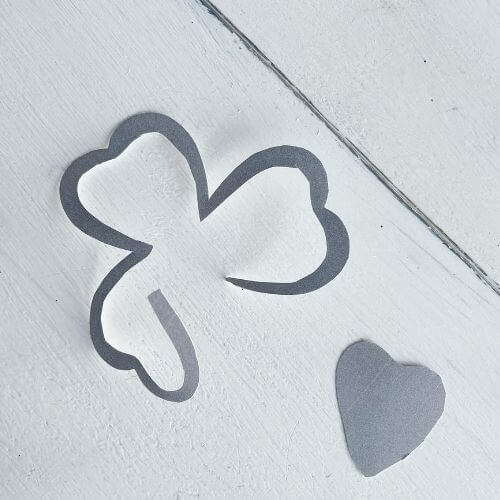
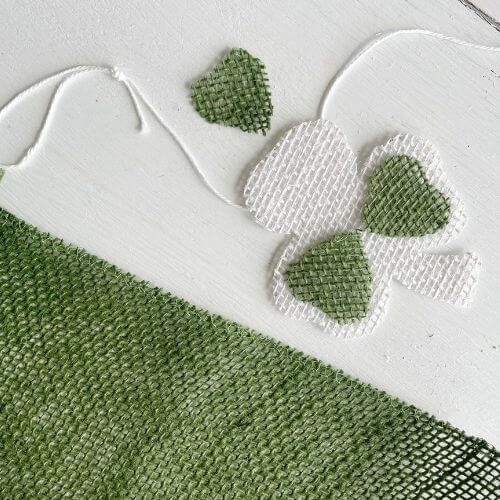
Glue Green Burlap to Shamrock
Mod podge the 3 green burlap shapes to your burlap shamrock. I used a book to flatten this out as in the previous step. Don’t worry the glue dries clear!

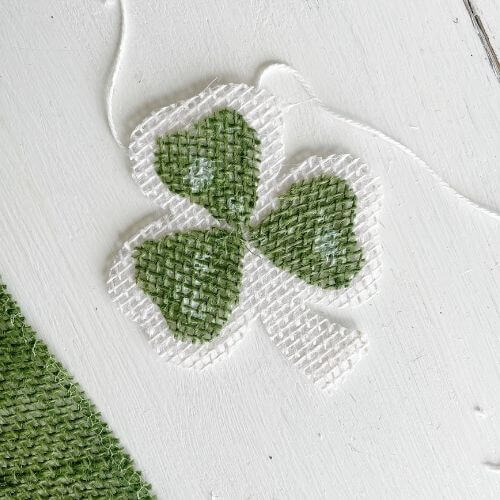
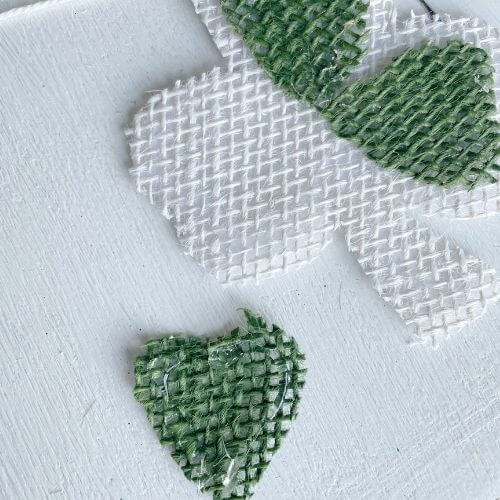
Continue creating your burlap shamrocks until you have the desired length of garland.

I made 8 shamrocks as shown. They are the perfect neutral and textured St. Patrick’s Day decoration if you like farmhouse decor as I do!
Finishing Up This Burlap Shamrock Garland DIY Tutorial
So, did you think this tutorial was easy peasy? I sure did, as long as you can avoid hot glue gun burns on your fingertips!
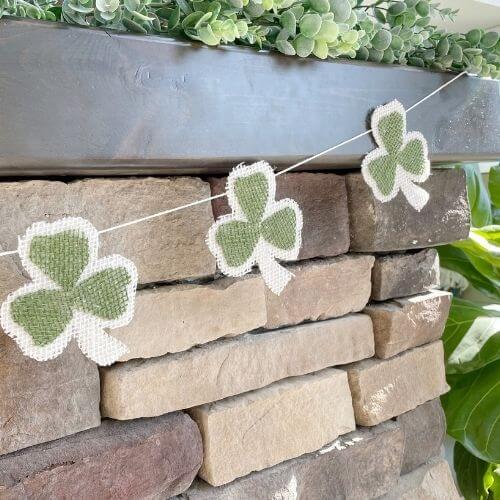
I’m loving this white burlap I found at Walmart and am looking forward to using it in future DIY projects! However, I think the brown burlap would work great too!
And of course, if you created my Dollar Tree Shamrock Wreath DIY, you may have had extra burlap on hand to make this garland too! Be sure to pin this post for later crafting!
Fabric, burlap, and felt are some of my favorites to work with. Let me know yours down in the comment section!
Related Farmhouse-Style St. Patrick’s Day Decor Ideas
Free St. Patty’s Day Printable for Farmhouse Shelf Decor
Neutral Farmhouse St. Patrick’s Day Wreath
Now grab your burlap, felt, free printable, and string, and let’s craft some neutral farmhouse St. Patrick’s Day DIY home decor!
Pin me for Later!
