


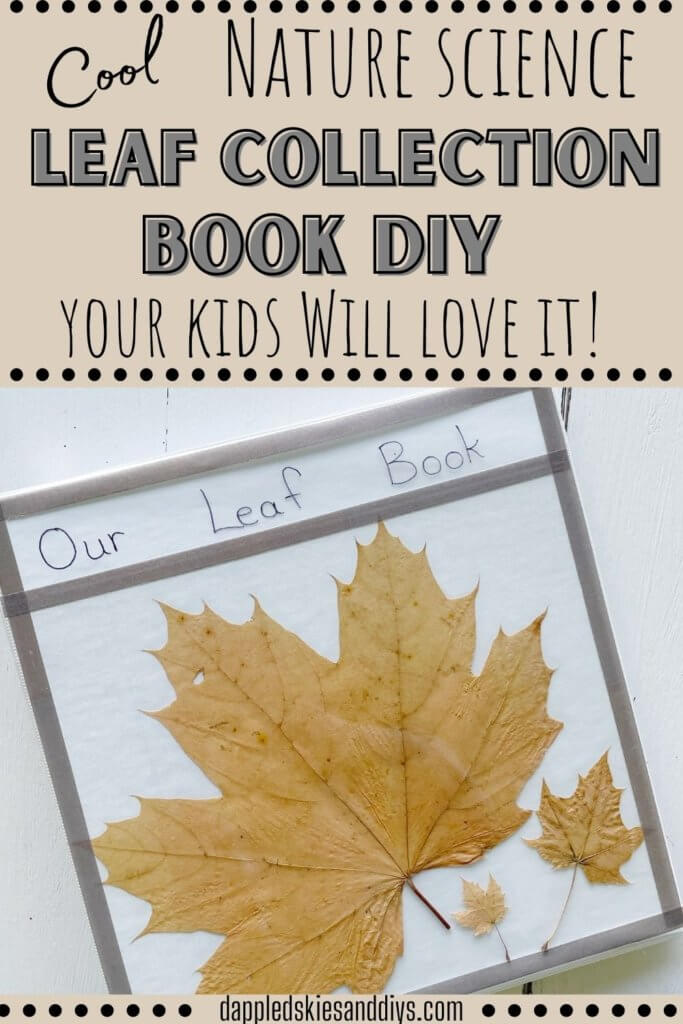
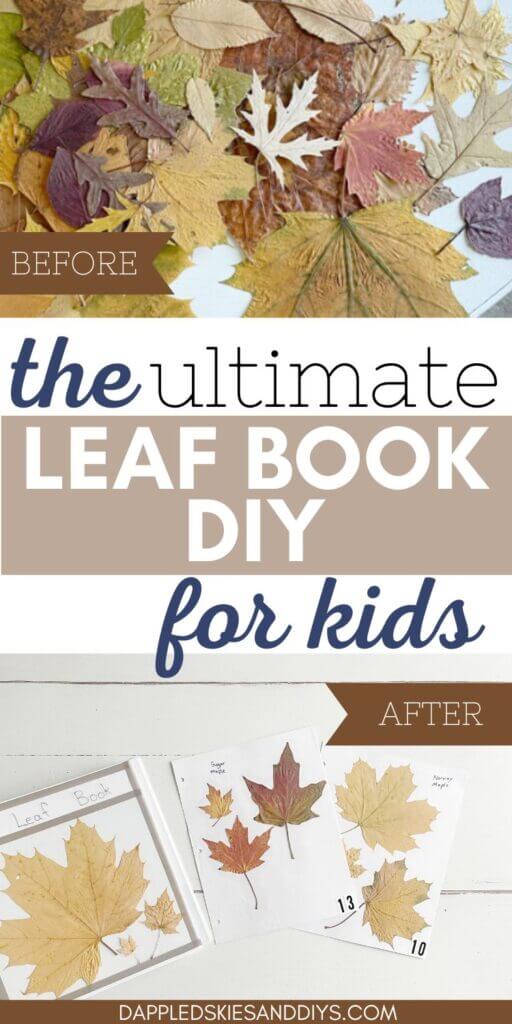
Since we’ve officially entered the fall season, a great nature science activity is creating a DIY leaf identification book with your kiddos!
Who remembers the old-school leaf collection books? I remember it seemed like we used to complete one at the beginning of every year.
We’d go out looking for leaves in the fall, soon after school was back in session. Then we would press them in a book or use wax paper to preserve them.
Next, we would have to identify the leaves, be it an oak or maple, giving us a good science lesson on what types of trees were native to our region.
Creating a book with a leaf index was also a good teaching tool. We learned about how to search for specific items in a book using an index.
Now we have the internet and such things as apps that identify the leaf for us simply by taking a picture of it.
But today let’s do this old school, shall we? But we’ll throw a little tech in too with a plant identifier app! We’ll search for leaves with our kiddos and create our own leaf collection book. And learn a little nature science in the process. Here we go!
Go Out and Collect Your Leaves
First, get out and take a walk around the house, or down your street. Even visit a local park and hike a trail.
You want to find a variety of different leaves to identify and learn about. So, it’s a good idea to take a nature walk in different local areas.
I know around our house we have a large number of chestnut trees, but not many other types. We collected some from around the school and went on a hike to collect different ones there too.
When we came home, we pressed them into a heavy book. If necessary, stack extra books on top so that the leaves can flatten out well.
It’s a good idea to press them in the book for a few weeks until they are dry. Here is a great post from thespruce.com about different methods to preserve fall leaves.
This post contains affiliate links. As an Amazon Associate, I earn from qualifying purchases. This means when you click a link, I may earn a small commission at no cost to you. This helps me to run this website. Thanks in advance for your support!
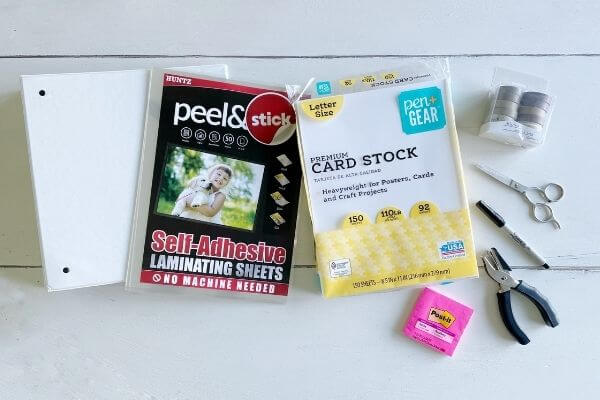
MATERIALS LIST:
- 1 and 1/2 inch binder (Walmart)
- Laminating sheets (Amazon)
- Card stock (Walmart)
- Ultra-fine sharpie (Walmart)
- Washi tape (Amazon)
- Hole punch and scissors (Had on hand)
- Post-it Notes (Walmart)
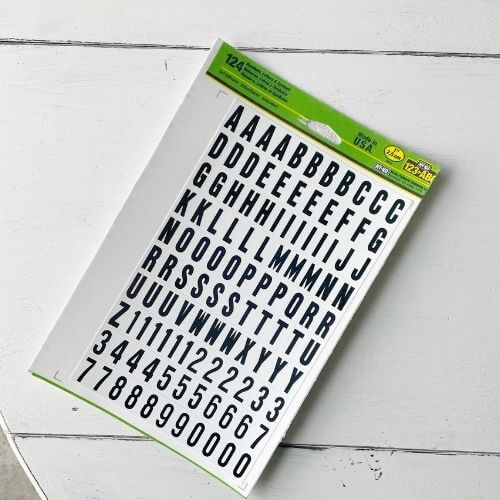
- Number Stickers (Walmart) – we needed 2 sets
- Leaves 😉
Spread Your Leaves Out and Identify the Species
First, we spread all of our leaves out on the table. We then grouped the leaves into the categories that we thought each one went into. We took our best guess which was fun!
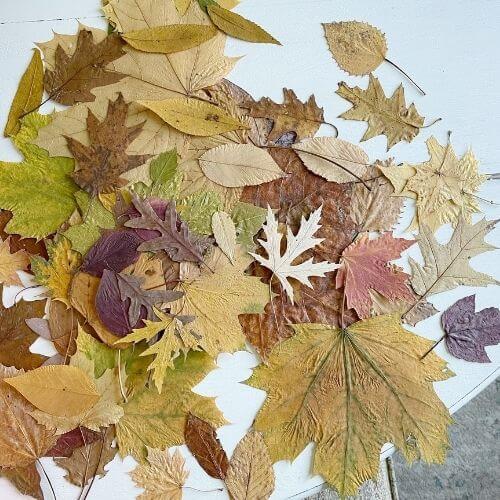
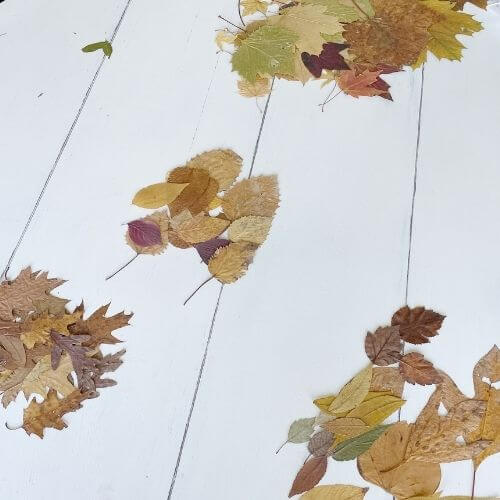
For example, we made a pile with all Oak leaves, then all Maple leaves, and so on. Ones we weren’t sure of we put in a pile all together.
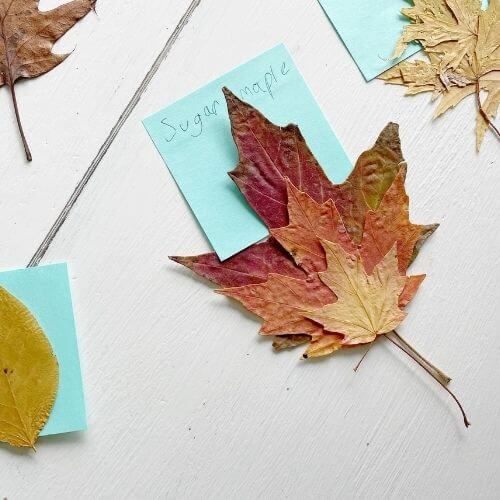
Next, we used our plant identifier app that the kids had downloaded on my phone, and identified each of the leaves more specifically. In our Maple pile, we found different varieties such as silver, red, sugar, and black.
After further dividing them into these more specific piles, we used a post-it note to write down the name of each type of leaf.
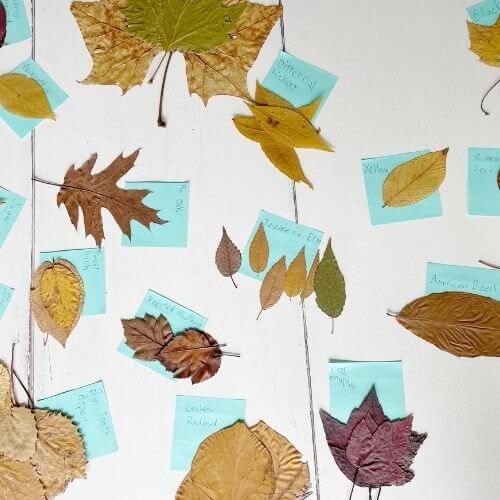
We had little piles of different species of leaves scattered all over the table, identified by blue post-it notes!
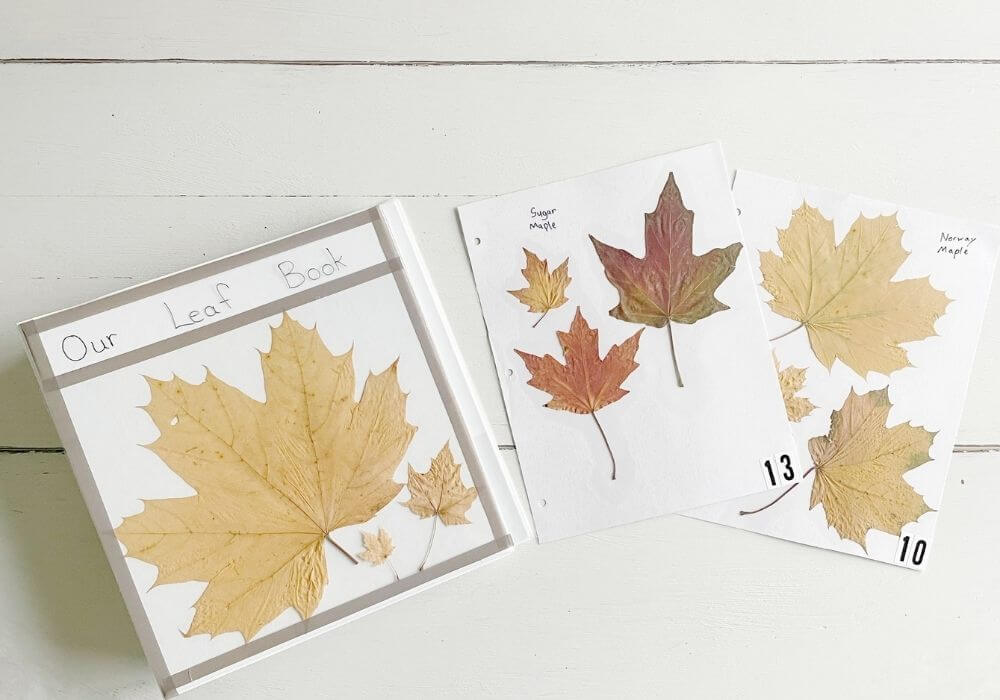
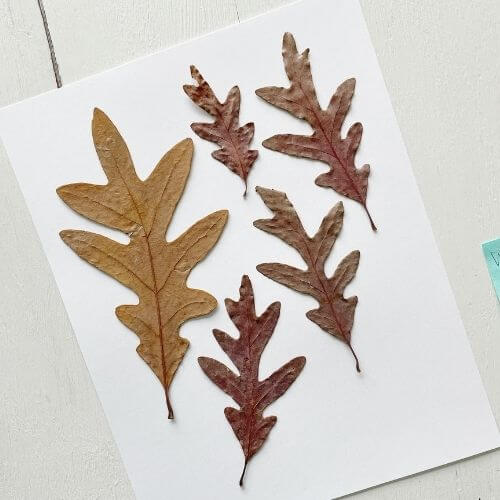
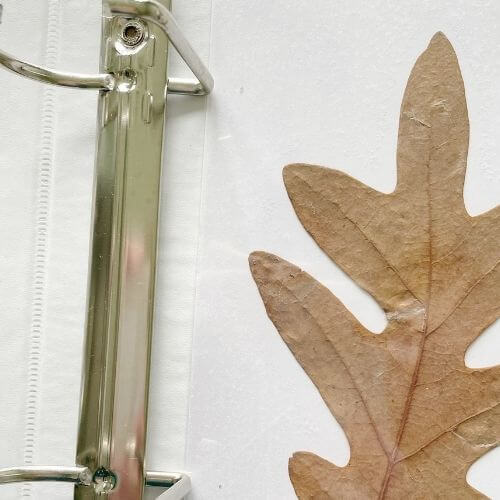
Place Species of Leaves on Cardstock and Laminate
Our next step was to place a piece of cardstock on the table and lay the leaves on it in a nice pattern.
We took our laminate sheet and laid it over the top sealing the leaf onto the cardstock and pushing the clear sheet all around the leaf. I helped with this as the leaves tended to cling up to the sticky laminate sheet as I placed it on.
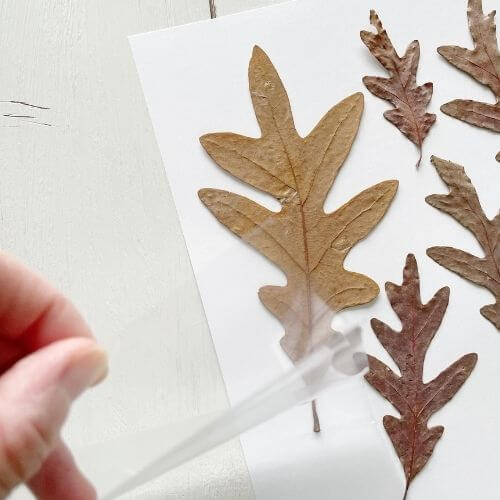

Then we cut off the excess laminate and discarded it. You could also use clear contact paper, but I thought the sheets would make the project a bit easier. Just don’t put the leaves too close together, or the laminate sheet may have trouble sticking to the card stock!
We placed our blue post-it note on it to make sure we knew which species it was for our later steps of making our book.
Next, I estimated where the holes would be and punched out three holes using my hole punch.

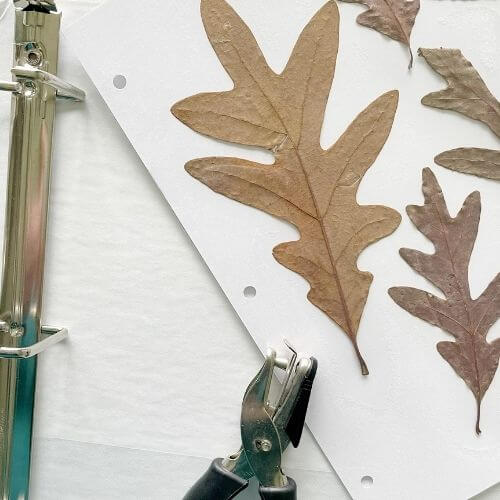
We repeated these steps for each species of leaf. I used the first holes I punched as a template for the rest of the sheets.
One species was used per page, that way if they decided to add different types in later, it would make the process of doing so easier.
Alphabetize Your Leaves Within Your Binder
After all the leaves were laminated and the holes were punched out, we began placing them in our binder.

We alphabetized each of the pages within the binder, which was a great lesson especially for my littlest. She learned that if two species started with the same letter, you have to move to the next letters in order to alphabetize them.
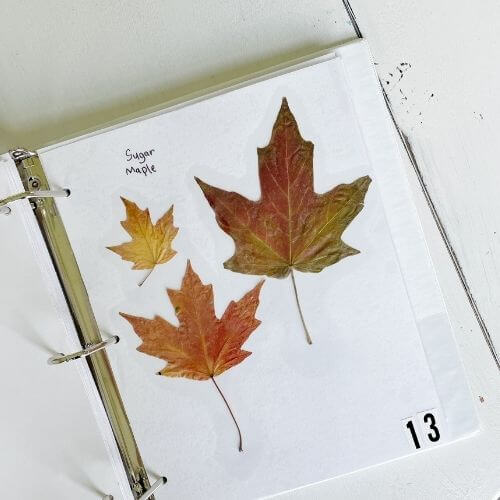
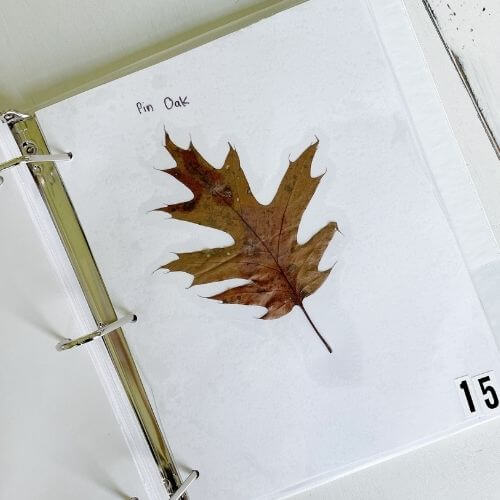
Write the Name of Each Leaf on the Laminate
The next step is taking an ultra-fine sharpie and writing the name of each leaf on the pages.
Use the post-it notes for reference.
Place Sticker Numbers on Each of the Pages
Next, we numbered the pages with little numbered stickers. We could have written them on the page, however, I did it this way just in case we added extra pages in the future.
Create Your Index for the DIY Leaf Collection Book
The last step is to create your leaf book index. This was a very basic index. But it was educational in that they learned how to make their own index.
We alphabetized the categories (Ash, Aspen, Beech etc.) in the index and then listed the species (Yellow, Big Tooth, American etc.) under each one with the page numbers (shown below).

They also learned how to use an index in a book to look up information. A win-win!
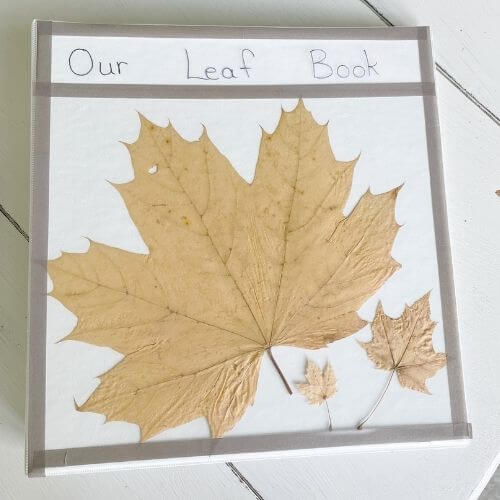
Finishing Up Your Autumn Leaf Identification Book
We decorated the front cover with a few of their favorite leaves and that was a wrap!
I used the one of the laminate sheets to stick the leaves onto the front cover of our leaf book. Then placed washi tape around the edges to give it a little pizazz.
Then simply wrote our title on the front with my ultra-fine sharpie marker.
The leaf book collection was a success. The kids enjoyed the process, and it was both educational and fun.
We learned about the different types of trees in our area and now are able to identify them when we are out on a walk. A great nature science experience!
They also learned about how to create an index and how to alphabetize their leaves in the collection.
We even talked about what it means to be deciduous vs conifer in the leaf world.
Overall, we did this fall leaf book old-school style but added a little tech in there too with the plant identifier app!
Related Articles for Kids’ Nature Science Activities
Super Useful Tips for Shark Tooth Hunting
Shell Art Project using Seashells and Craft Wood
So, who’s ready to get out in nature, collect some fall leaves and create their own leaf identification book for your kids?
Pin me on Pinterest to save this idea! ⬇️
Please consider subscribing to my newsletter below for more kids’ activities and DIY ideas! 👇