

I tried out two different sealers on my terracotta pots that I had painted with white acrylic paint mixed with baking soda! Here are the results!
Hey guys! This was a fun one because who doesn’t love a good experiment?! This is a sequel post to my post about aging terra-cotta pots with baking soda and paint.
A reader of mine had asked…Don’t you need to seal the inside of the clay pot too? Well, that gave me an idea. Let’s try out some different ways to seal terra cotta pots using two sealers that are popular.
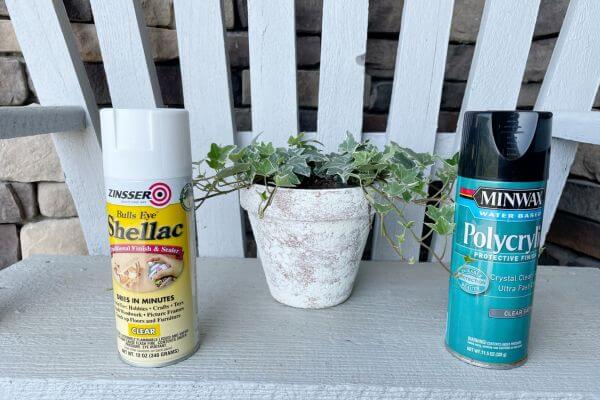
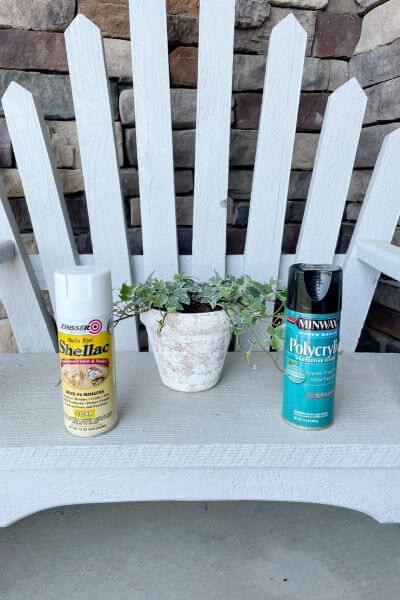
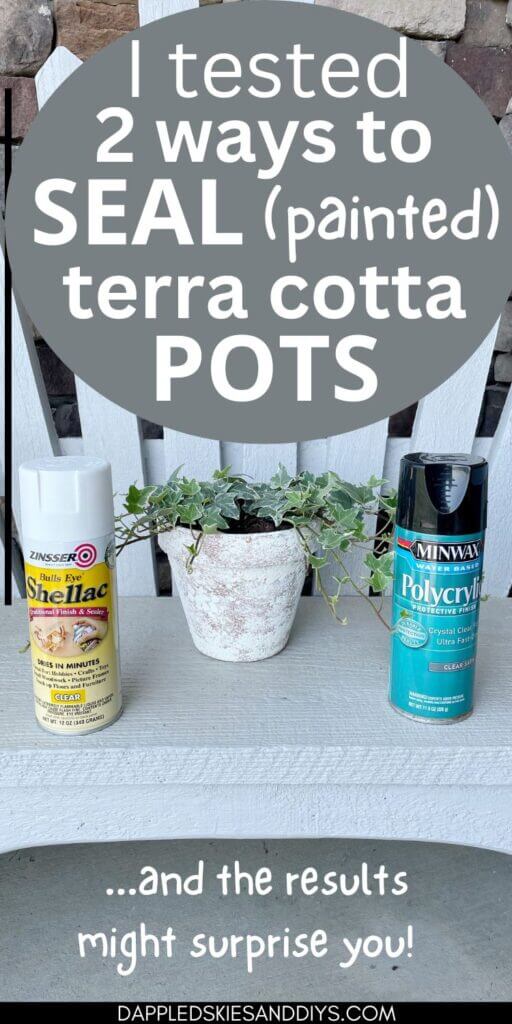
The two I chose were both clear sealers, Polycrylic Spray and Shellac Spray.
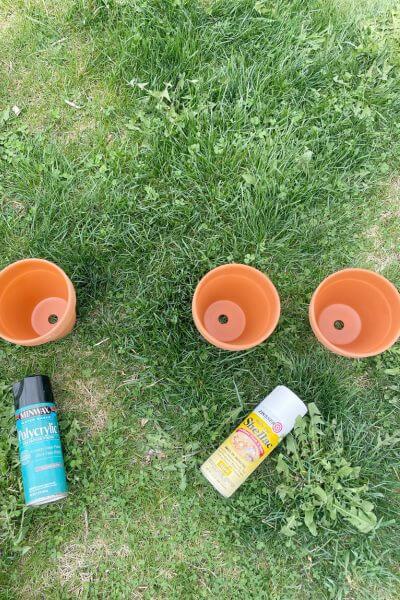
I painted six terra cotta pots that I purchased at Walmart with my baking soda and paint mixture. However, I sealed these pots in different ways. Some I coated just the outside, and some both the inside and outside. And one was the control and didn’t have any sealer.
I left them out in the elements for 4 weeks and the results were actually a little surprising. Keep reading for the results of what I found to be the best sealer for painted clay pots!
This post contains affiliate links. As an Amazon Associate, I earn from qualifying purchases. This means when you click a link, I may earn a small commission at no cost to you. This helps me to run this website. Thanks in advance for your support!
The Sealer Experiment
Now, I do have to say, I only tested these two types of sealers because I’ve used them both a lot and was curious to find out which worked better. The two kinds were Minwax Polycrylic spray and Zinsser Shellac Spray.
I included six clay pots in the experiment and coated them as follows:
- Pot #1 – No Sealer
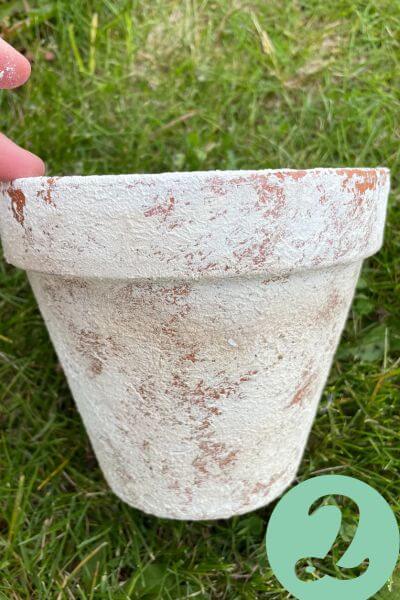
- Pot #2 – Polycrylic on the Outside Only
- Pot#3 – Shellac on the Outside Only
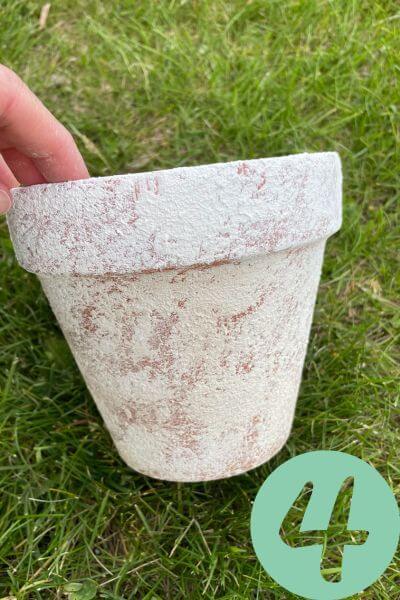
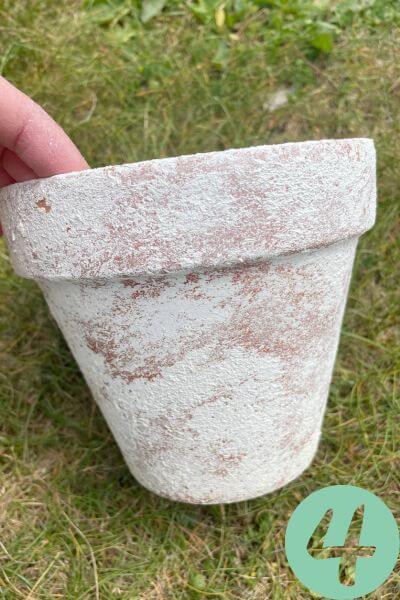
- Pot#4 – Polycrylic on both the Inside and Outside
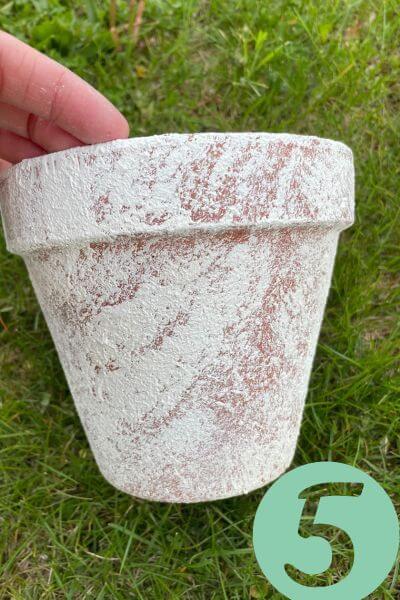
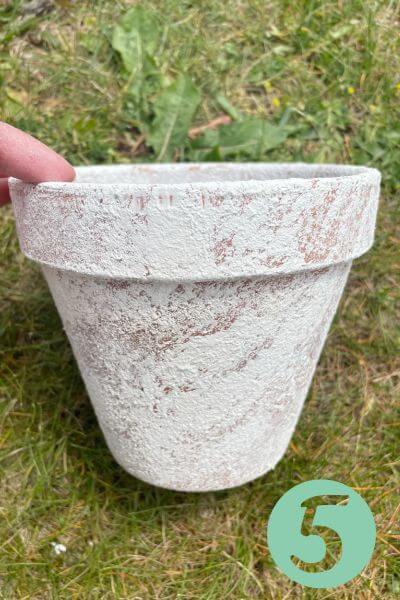
- Pot#5 – Shellac on both the Inside and Outside
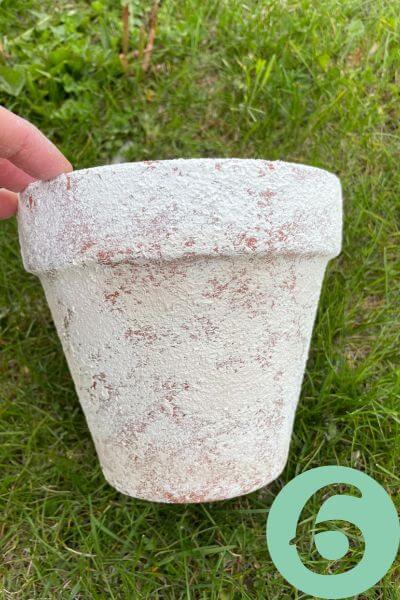
- Pot #6 – Shellac Inside and Polycrylic Outside
First Coat the Inside of the Clay Pots with Sealer
For the experiment, I coated the inside of one clay pot with Minwax Polycrylic Spray and the inside of the other two with Zinsser Shellac Spray.
I gave each flowerpot 2 coats of the spray leaving about 2-3 hours dry time in between coats.
Next, Age Your Flowerpots with Baking Soda and Acrylic Paint
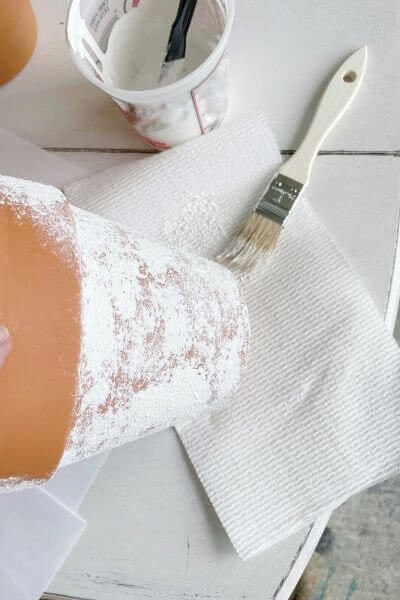
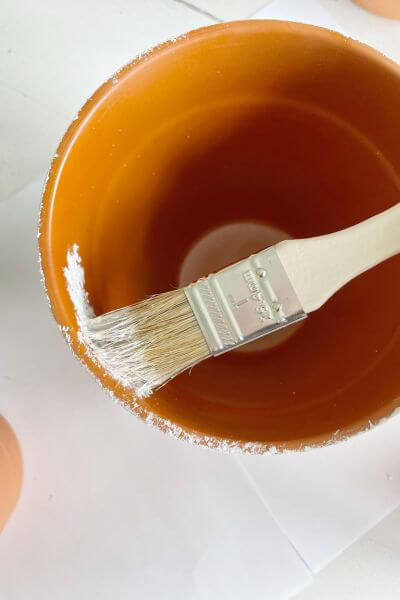
The next step is to age your terra cotta pots with baking soda and white paint. I mixed them at a 1:1 ration and used a small chippy brush to apply the mixture.
For more detail, check out my post on aging clay pots with baking soda and paint.
Instead of just wiping it on, I dabbed the brush onto a paper towel before applying it. Then I used the end of the brush to dab it onto the pot.
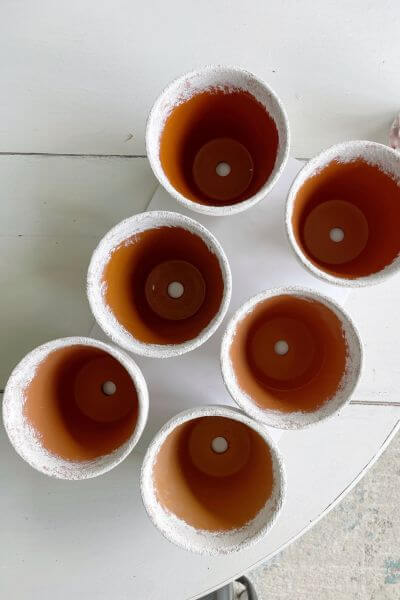
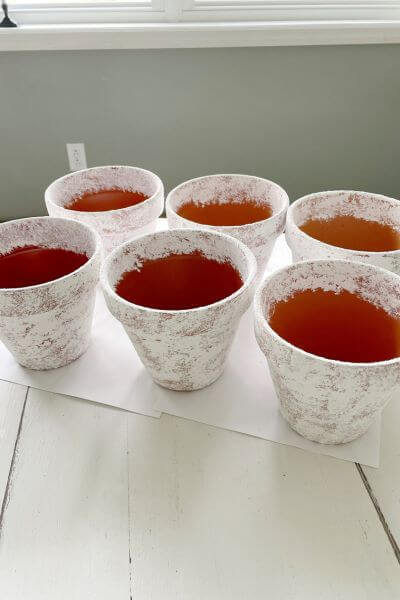
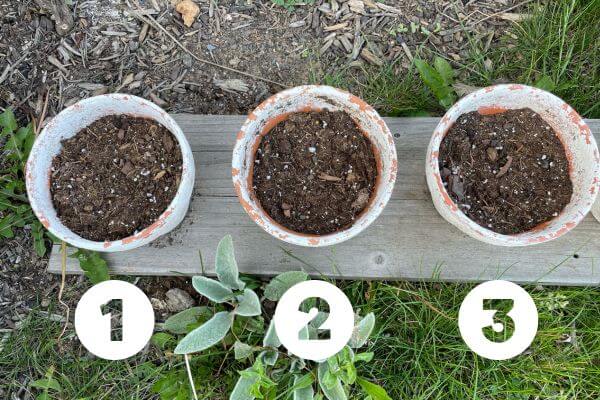
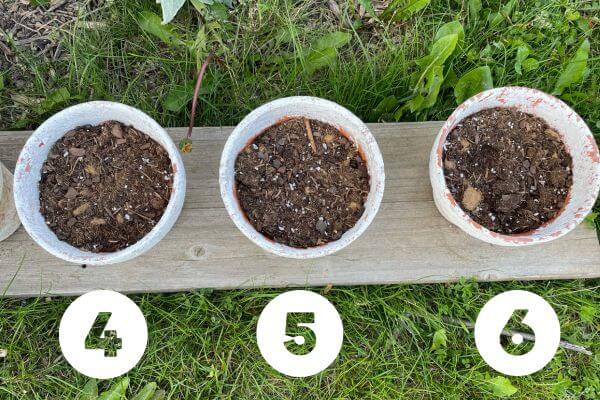
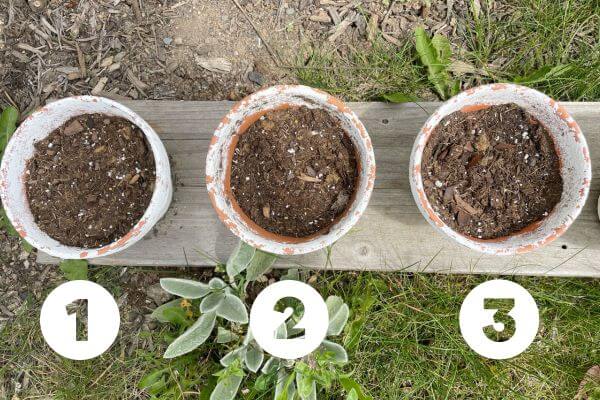
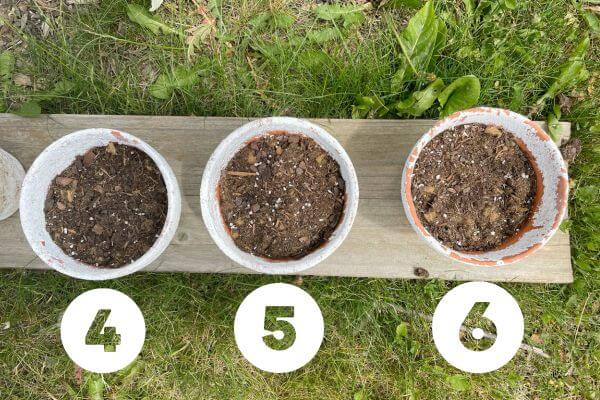
This is how the six pots looked after painting.
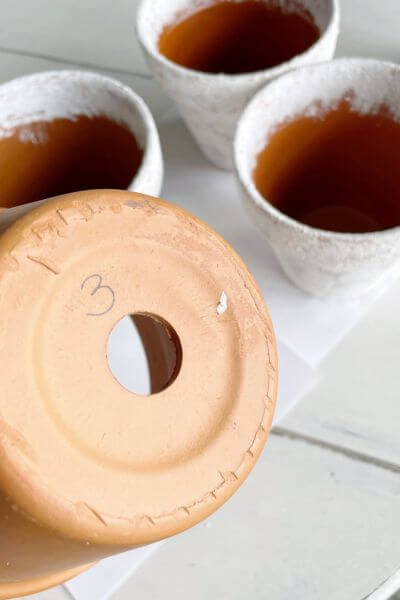
I used a sharpie to put numbers on the bottom of each pot to keep track of the sealers.
Coat the Outside and Inside Lips of the Clay Pots with Sealer
Next, I gave the outside and inside lips of the pots 2 coats of clear sealer. I waited about 2-3 hours between coats.
The only one I left alone was the control pot #1 which had no sealer.
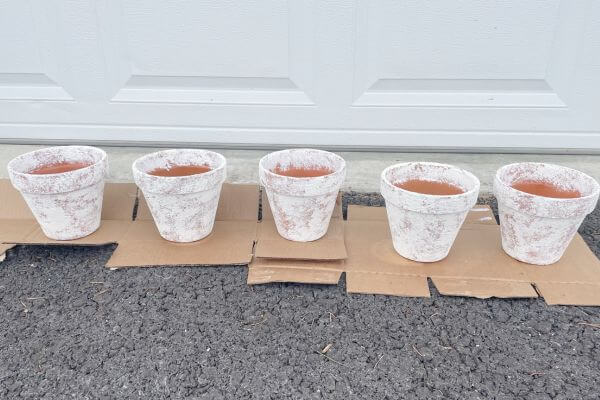
I placed them on an old board and left the clay pots out with no protection from the weather.
One Week Later
The pots were all filled with soil. I was also going to place plants in them and did so with the first three. However, literally one day later the plants had been chewed apart by those darn little, long eared furballs that inhabit my yard.
I didn’t want to move all the pots away from the spot I had chosen initially. So, I moved what was left of my poor plants to a different area, and just left the pots filled with soil.
We had A LOT of rain the whole week and this is what the pots looked like after 1 week. You can already see that pots 4, 5 and 6 which had been sealed both inside and out are doing better than the first three.
Two Weeks Later
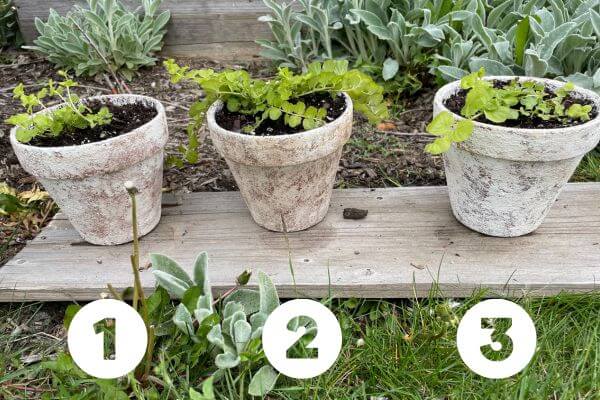
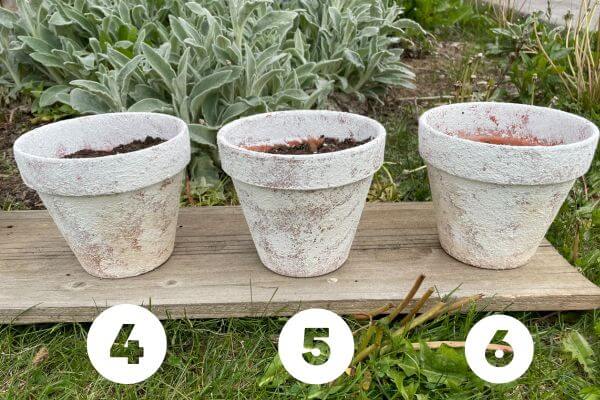
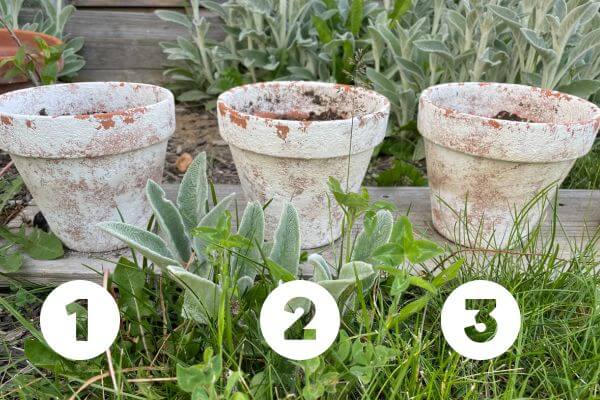
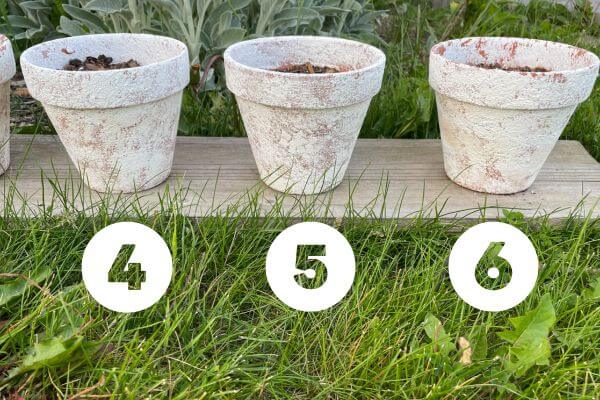
For the second week, I got close up pictures of each of my six clay pots. Here they are.
I’d say after two weeks out in the weather, pots 5 and 6 are doing the best!
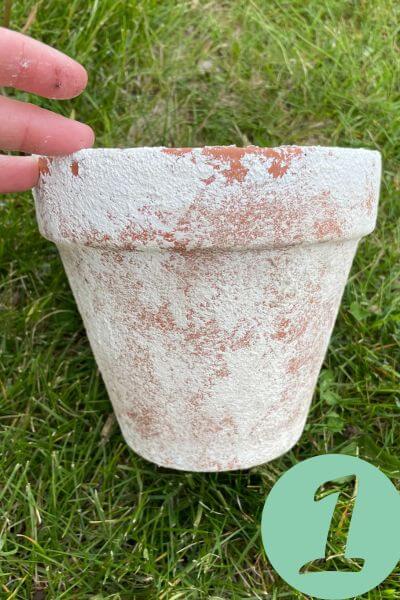

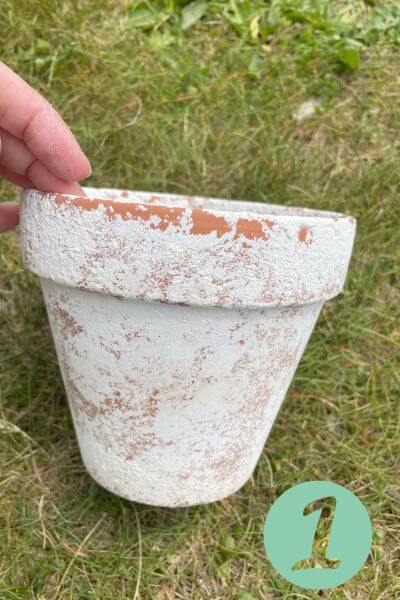
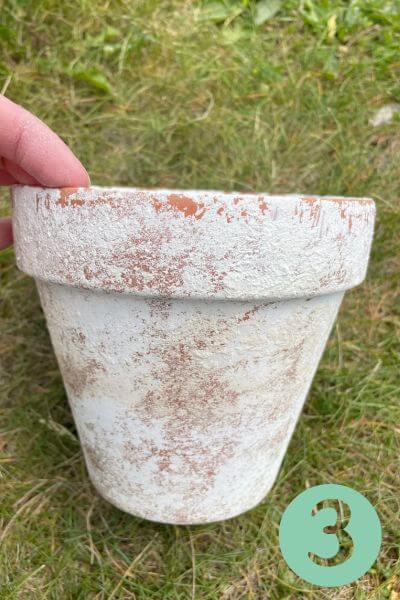
Three Weeks Later
After three weeks a clear winner was emerging. Can you see which one it is? It’s a bit hard tell in the pictures, but terra cotta pot #5 is holding up the best so far.
Here’s the top view.
Here’s the front view.
Four Weeks Later
And the fourth and final week later, here are the pictures.
Top view of the aged and sealed terra cotta pots.
And a front view of each of our pots. Again, the list of how and what they are sealed with is as follows:
- Pot #1 – No Sealer
- Pot #2 – Polycrylic on the Outside Only
- Pot#3 – Shellac on the Outside Only
- Pot#4 – Polycrylic on both the Inside and Outside
- Pot#5 – Shellac on both the Inside and Outside
- Pot #6 – Shellac Inside and Polycrylic Outside


Although I feel that clay pot #4 deserves second place, terracotta pot #5 is the clear winner in this test!
Summing Up the Winning Pot Application Process
A reader requested a brief synopsis of the process used for clay pot #5. So, here goes …
First, the inside of the clay pot was sealed with Zinsser Shellac Spray two times, waiting 2-3 hours in between coats.
Then, I waited about a day and painted the clay pot using the baking soda and white paint mixture.
After waiting another day or two (basically make sure your paint finish is completely dry), I put two coats of Zinsser Shellac over the paint. I sprayed around the inside rim as well where the pot was also painted. Wait about 2-3 hours between coats.
And that was it! 🙂
Final Thoughts on the Best Clay Pot Sealer
So, a bit surprisingly, Zinsser Shellac Spray, which was clay pot #5, held up the best when it was coated on both the inside and outside of the aged terra cotta pot.
Did you know that shellac is made from the secretions of the lac bug? So, the Zinsser Shellac Spray winning is a super cool finding. I guess the results speak for themselves, nature-made is always better than man-made!
I gave both the inside and the outside 2 coats of the shellac spray, so the finish might hold up even better with 3 coats.
Of note, the pots did get a little more brownish colored when they got wetter as you can see in the pictures, however after they dried out, they resumed the white appearance again.
Now, I can’t say that this shellac spray is the best of the best, being that I only tested 2 kinds of spray sealers. But it did a dang good job to keep the finish on this aged terra cotta pot.
And I left it out, rain and shine, night and day, for 4 weeks just to get the most wear and tear I could on these terra cotta pots. We got a good solid week of rain during the 4 weeks, but the other 3 were mostly on the drier side.
It is good to note that people live in different climates, so I can’t guarantee that this will absolutely protect your finish for months and months. But these are my findings and I have to say, I’m pretty happy with the Spray Shellac.
I’ll be using it more frequently in future DIY projects due to this experiment!
UPDATE: Recently, a reader had the idea that maybe before applying the paint finish, both the inside and outside of the pot should be sealed. In this post, the best performing pot was just sealed on the inside and over top the finish. A new experiment may be on the horizon, so stay tuned!
Now, we know that the Shellac Spray did the best job holding up against the weather. So, go pick a cool plant, age a terracotta pot with paint and baking soda, and try it out for yourself!
Pin me on Pinterest! ⬇️
Please consider subscribing to my newsletter for unique DIYs and home projects delivered right to your inbox! 👇
Just what i was looking for! THank you 🙂
You’re welcome! Glad the info came in handy! 😊