


Let’s use some yarn and wood to craft a yarn tree DIY perfect for your cozy farmhouse decor!
Hey there… it’s almost thanksgiving and everything Christmas and all things red, green, peppermint, warm, and cozy are out in full force already!
It’s just about time to put up our Christmas tree, we usually try to go out to the local tree farm the weekend after thanksgiving. And that got me thinking…
How about a fun-to-do craft that we can use for holiday home decor involving one of the first signs of Christmas in our house…trees!
I absolutely love working with yarn, fabric, and wood, so what better way to add some holiday coziness to a space than with a yarn tree DIY.
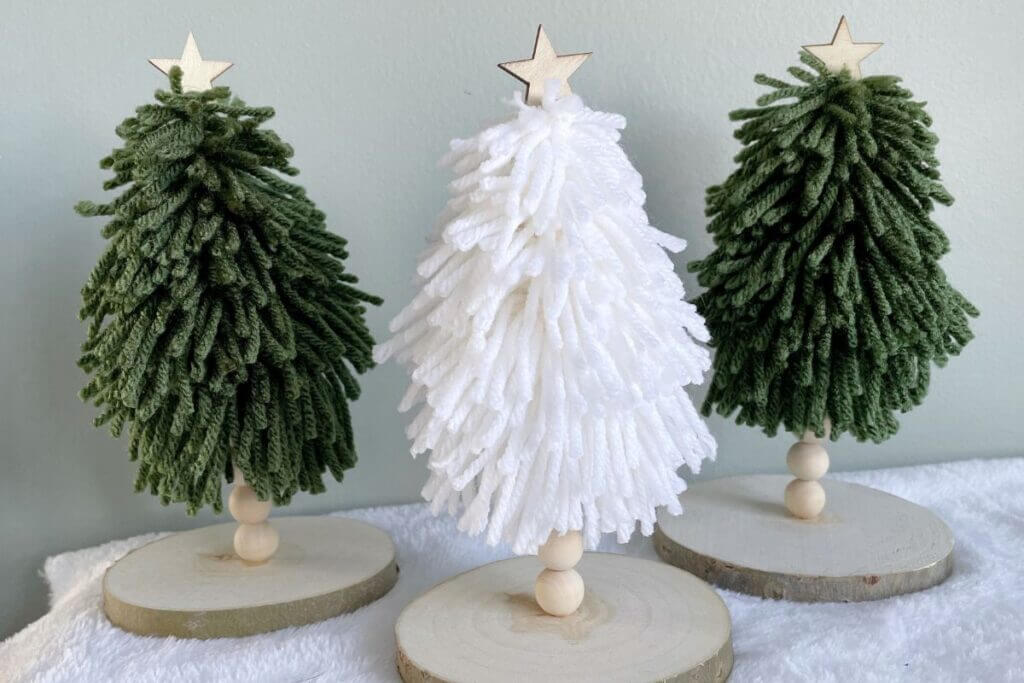
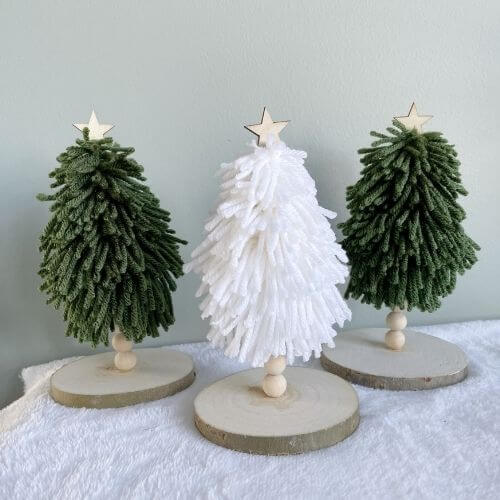
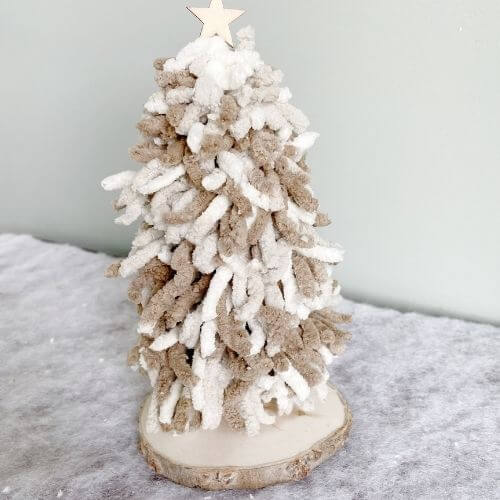
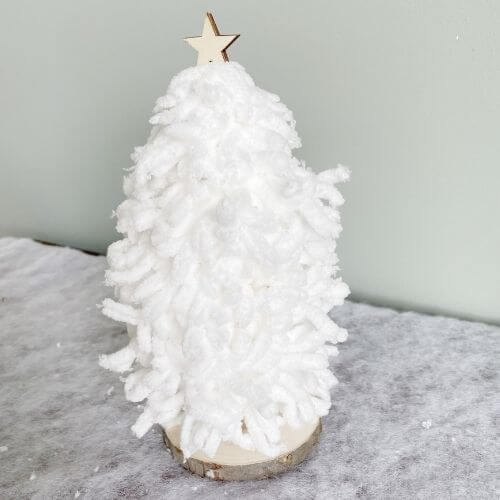
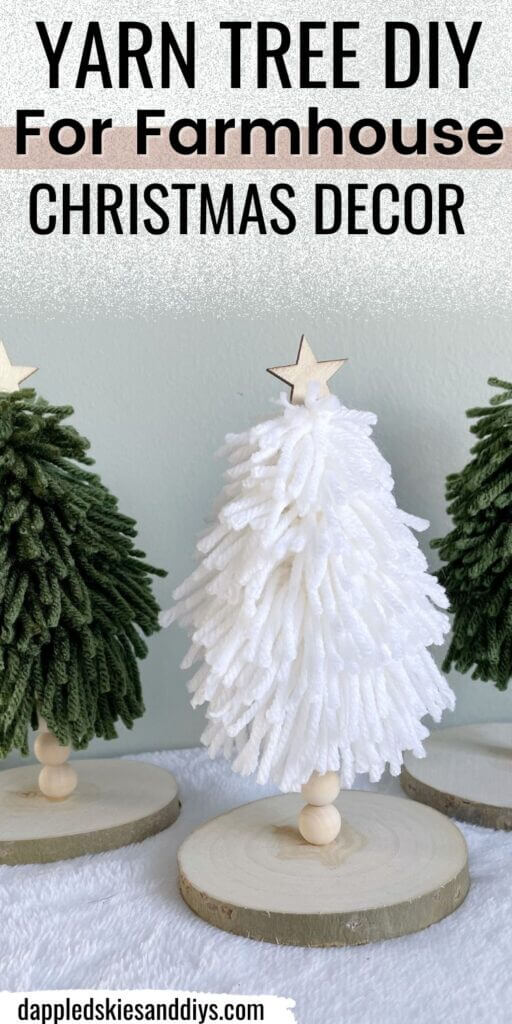
QUICK NOTE: Two different types of yarn (shown below) are used in this post to create the trees, so be sure to read to the end! 🙂 These two sets of trees are made the exact same way, they just look different due to the thickness of the yarn.
The only difference is that the white and green trees (right pic) have a few more beads added to the skewer so that you can see the trunk more easily.
Yarn Christmas Tree Materials
This post contains affiliate links. As an Amazon Associate, I earn from qualifying purchases. This means when you click a link, I may earn a small commission at no cost to you. This helps me to run this website. Thanks in advance for your support!

- Yarn (Walmart) – for whichever tree you’re creating
- Skewers (Walmart)
- Wood Beads (Amazon)
- Gorilla Wood Glue (Amazon or Walmart)
- Wood Slices (Walmart)
- Cardboard
- Drill
- ***BELOW OPTIONAL***
- Wood Stars (Amazon)
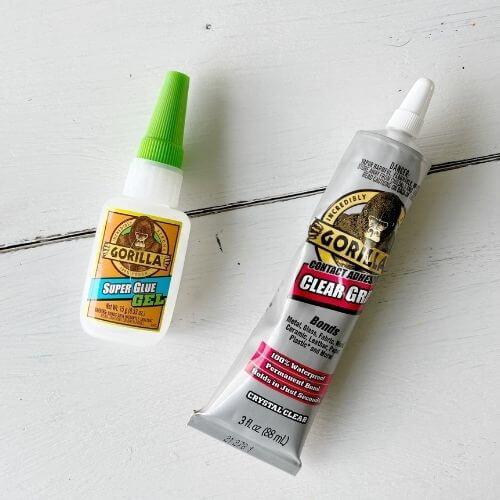
- Gorilla Super Glue Gel (Amazon/Walmart) OR
- Gorilla Clear Grip Glue (Walmart)
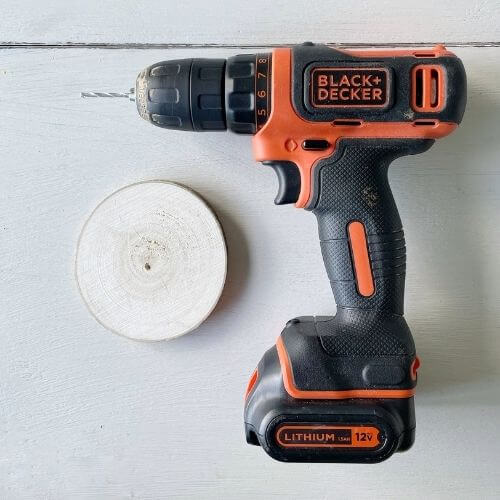
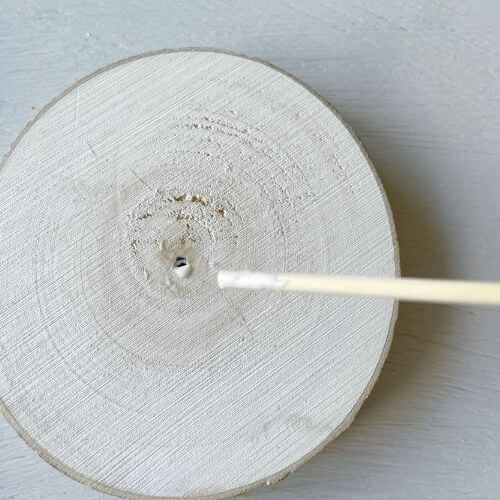
Grab Your Drill and Wood Slice
I used an 1/8″ bit and my trusty old Black and Decker drill to make a hole in the center of my wood slice.
You can measure to find the middle of your wood slice, or I just estimated most of mine. If the very center of the rings was near the middle, that’s where I drilled the hole. Doesn’t have to be perfect!
Tip: The drill goes through the wood much easier right in the center of the rings!
Once you have drilled your hole, it’s on to the next step…
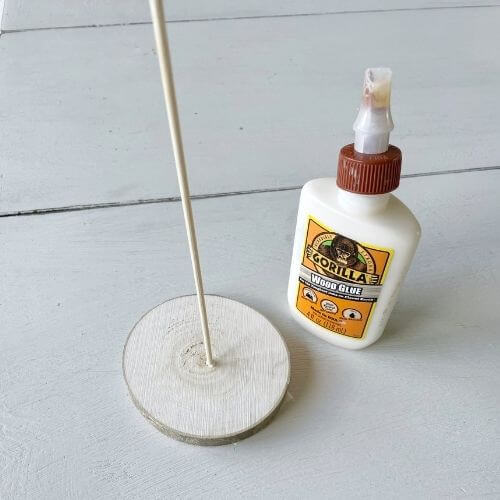
Glue Your Skewer into the Wood Slice
I used gorilla wood glue to glue my skewer into my wood slice. I put a bit of glue on the blunt end of the skewer and pushed a little glue into the tiny hole.
Then I pushed the blunt end of my skewer down into the hole. Voila, you have your tree trunk.
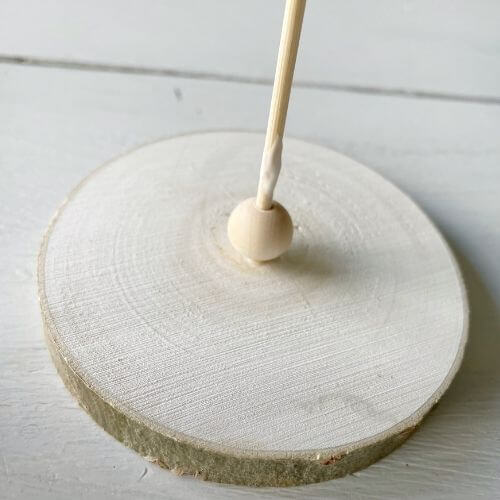
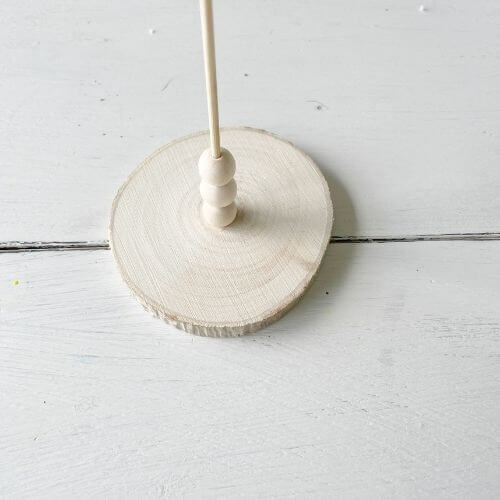
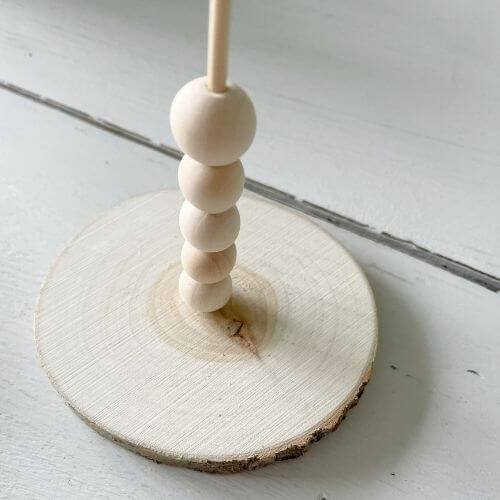
Place Wood Beads on Skewer to Make Tree Trunk
Next, place three of your 14 mm wood beads on your skewer. I placed a bit of gorilla wood glue on the skewer before sliding them on.
This will help to increase stability as well as hold your yarn up above the wood slice.
Create 5 Yarn Pom-Poms with Cardboard
The next step in the DIY yarn tree process is to make your pom-poms and you’ll be creating 5 in different sizes so that your tree will taper from bottom to top.
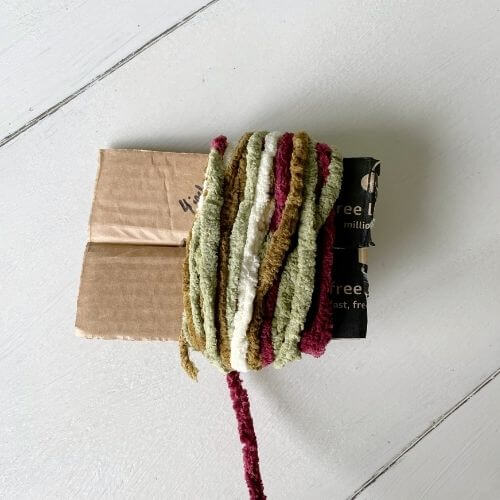
I used cardboard cut-outs with a slit in the center to create my pom-poms. Below listed are the 5 sizes I used, along with the number of yarn loops for each one.

- Largest 4 inches wide – 45 loops
- 3.5 inches wide – 35 loops
- 3 inches wide – 25 loops
- 2.5 inches wide – 15 loops
- Smallest 2 inches wide – about 6 loops
Starting with the largest, wrap your yarn 45 times around the cardboard. Then, take another piece of yarn and tie the middle, using your slit you made in the center of the cardboard.
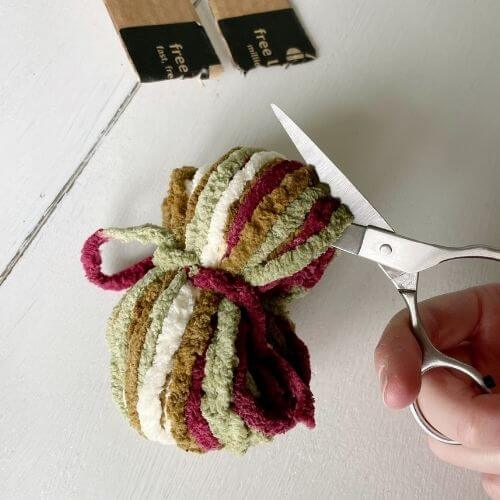
I double knotted my pom-poms.
Once you’ve tied the middle, then slide it off your cardboard and cut each end with your scissors. You’ve made your pom-pom! Yay!
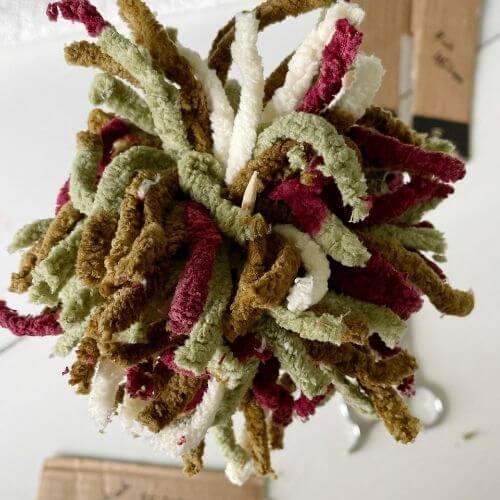
Do the same for each of the 5 sizes so that you have 5 pom-poms of varying sizes to craft your yarn tree.
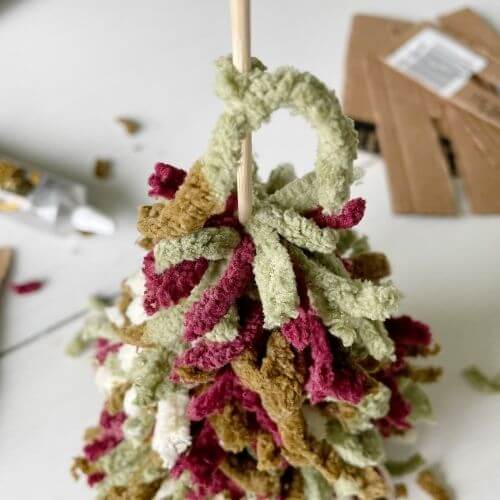
Place Yarn Pom-Poms on Your Skewer
Now it’s time to slide your pom-poms onto your skewer. Starting with the largest, and moving down to the smallest.
Make sure that you are sliding them on in the middle of your pom-pom. Right in the middle of where you tied the pom-pom off.
This will ensure your pom-pom stays on the skewer.
Next, gently push the yarn ends down so it looks more like evergreen tree branches. Trim off longer yarn pieces as needed.

Finish Top of Yarn Christmas Tree DIY
After adding all five pom-poms to your skewer, take a small piece of yarn and tie it around the skewer. I double knotted mine.
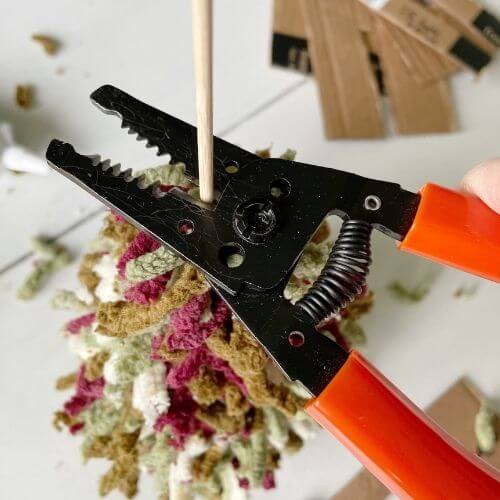
Push the pom-poms and last piece of yarn together and style as you like. Then it’s time to trim off your excess skewer. I used my wire cutters, but you could also use a good pair of scissors.
The next step is to add a star, and this is optional. If you choose not to, I would paint the top of the skewer to blend in with your yarn.
Add Wood Star to Yarn Tree DIY
After completing your yarn tree DIY, you can add a wood star to top off your Christmas tree.
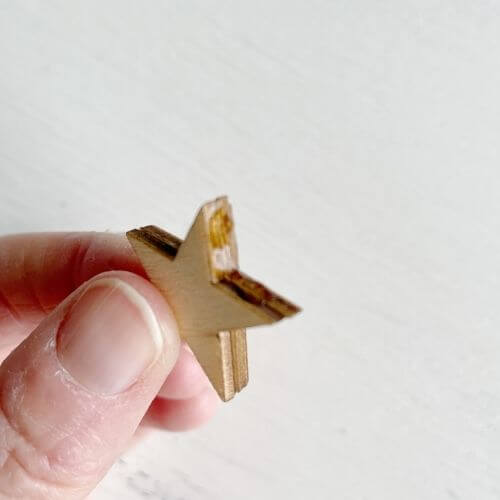
I purchased these wood stars from Amazon. First, glue two of them together using either gorilla clear grip glue or gorilla super glue gel.
Both of them work, but in my opinion, the gorilla super glue gel is the less stinky option. However, the gorilla clear grip glue does have a stronger hold.

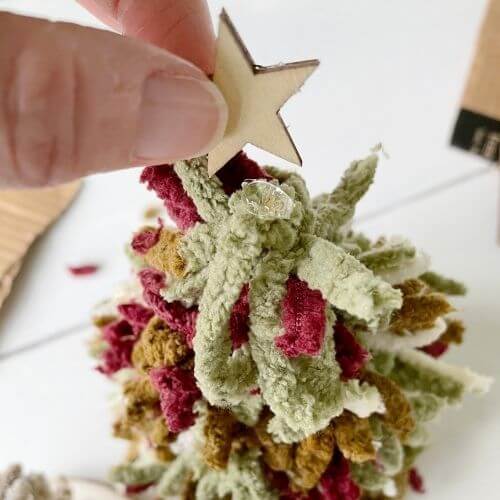
After the star has dried, which doesn’t take long. Put your glue gel on the bottom part of the star as shown below.
Then place it on top of your yarn tree. Make sure the glue is adhering to both the wood skewer and the surrounding yarn piece.
You may have to hold it on there for a bit until the glue sticks and the star is stable.
I tried two ways – placing the glue on the tree and placing the glue on the star. Placing the glue on the star appeared to be less messy and worked better for me!
And if you’re looking for a way to use up those extra wooden stars, check out my newest post that’s also an inexpensive and pretty DIY for the holiday season… Dollar Tree Jenga Block Christmas Tree Craft.
Finishing Yarn Christmas Tree DIY
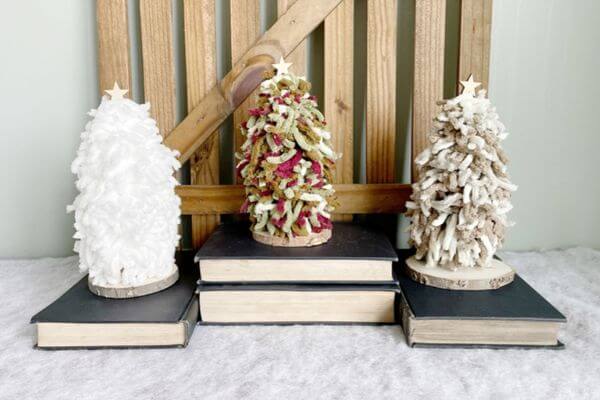
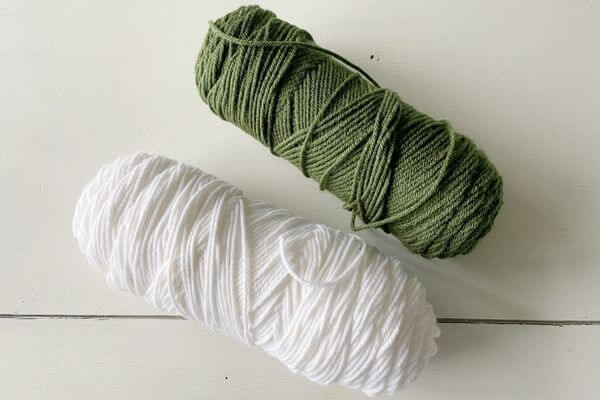
I tried out several different colors of the Bernat Blanket Yarn I found at Walmart, and they are shown below.
These yarn trees are great for cozying up to your farmhouse Christmas decor! However, the trees could be used throughout the rest of the winter months too!
Just One More Thing…
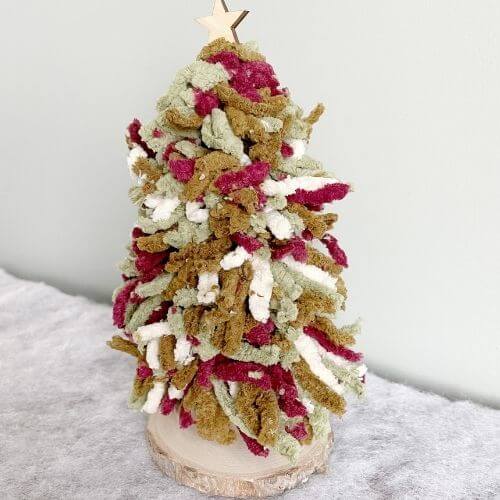
I also tried out a different style of yarn (I think this is the Red Heart brand) I found at Walmart using the exact steps above.
Just added a few extra wood beads on the skewer as in the pictures below. This allows the wood bead tree trunk to be seen more easily.
I love the different look that it creates just by using a different weight of yarn!
Any questions please comment below or tell me which yarn tree is your favorite! Thanks for stopping by!
Related Articles for Crafts Using Those Extra Wood Beads
Now, who’s ready to create a yarn tree DIY to add some rustic accents to your cozy Christmas decor?
Pin me on Pinterest! ⬇️
Please consider subscribing to my newsletter for DIYs delivered right to your inbox. 👇
The trees are beautiful! I work in an assisted living facility as a recreational Director. My residents would absolutely love to make these for their rooms. So much fun and budget friendly. Thank you so much!
Hello there! I’m so glad you like the yarn trees. And I love that you are planning to do this craft with the residents! Thanks so much for your sweet comment and have a wonderful holiday season! 🎄
How many skeins of the Barnet yarn do you need for tree? rrmcculler@gmail .com
You can make multiple trees from just one skein of yarn, so I would probably start with one skein to begin with. Thanks for your comment on the yarn trees! 🙂
So funny – I was thinking the same thing. My mom is in a senior care facility and I thought about making one for each resident on her floor. They have little shelves outside their door and there are often themed decorations on the shelves of people who have family members come visit, but not those without. So I try to get Holiday things for them too.
Hi there! My mom is in a senior care facility as well and they have the same shelves outside the doors. That’s a great idea! 😊
These are gorgeous. This year I am making these and using them as place settings. I will put the names on the star!
Your ideas are inspirational!
Hello and thanks for your kind words about the yarn trees! I’m so glad you like them, and they will look really pretty as place settings! Great idea! Have a wonderful holiday season!
i was looking for something new for my fireplace mantle for the holiday season I love these trees. They seem simple, yet look so elegant yet rustic all at the same time! Thanks so much! I think I will try one a little bit bigger by adding to the pattern size and more loops. Hope it works!
Hi there and thanks so much for your sweet comment about the yarn trees! I think that would be great to add more loops for a fuller look. You may even be able to find longer skewers to make them taller. Happy crafting!
So cute & manageable! How many trees can you make per skein? I want to make several so just trying to decide how much yarn to buy. 🙂 Thanks!
Hello and thanks so much for your comment about the yarn trees! 😊 They are pretty easy to create for sure! I don’t have an exact number of trees, but I’d say you can definitely make several from just one skein! Happy crafting! 🌲
I am so happy I stumbled upon this craft. I like unique ideas and this is just that. I can’t wait to try it.
I’m so glad you liked the yarn trees! Thanks so much for your comment! 🙂
Love your trees!!!
Awe thank you so much! 🙂
I will definitely make these trees! Thank you for such clear directions and for the list of Materials with the store that carries the items. I plan to make three for my first grandson (he has a family and they decorate), three for my daughter and youngest grandson, one each for my middle and next-to-youngest grandson, a bunch for unexpected visitors, and three for me! I have all of these people for dinner between Thanksgiving and Christmas, I will decorate my table with the trees and candles, and give out the trees after dinner. I can’t wait!
Awe that all sounds wonderful! I’m so glad you like the DIY yarn trees and I think they’ll make great handmade gifts for your family! Thanks so much for reading and have a special holiday season! 🎄
trees have been a challenge for me . my husband and I have spare wood rounds with hole. so use it again. happy holidays and safe travels.
Hello there! And thanks for the comment! That’s great that you already have the wood rounds on hand. If you have any questions about the tutorial for these yarn trees, just leave me a comment and I’ll get right back to you! 😊 Happy crafting and happy holidays to you as well! 🎄
Great idea for table decor then give to guest!
Yes, that’s a great idea! Thanks for your comment on the post! 😊