


Spooky Halloween trees…yes, please! I saw cool metal trees on the Anthropology website and thought I could make my own version. Come see how these trees, made with only wire and scissors, turned out!
I have a fascination with trees as home decor for some reason. So, as I was browsing the Anthropology website, I spotted these cool metal twisted trees perfect for Halloween.
It’s always fun to see if you can create your own version, and I had just the right material for the job.
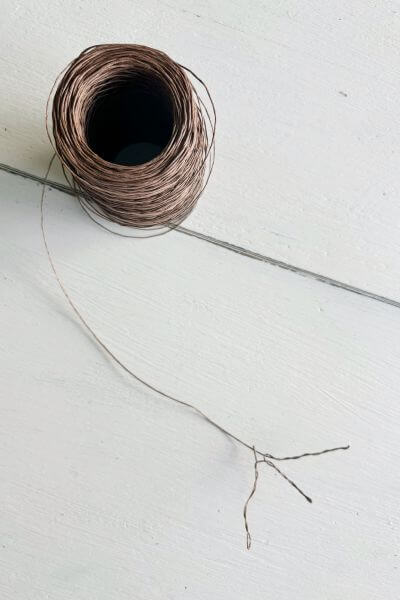
This brown floral wire comes in so handy for so many projects and the roll seems to go on forever. I’ve used it in multiple DIY projects already and there’s still so much left. Five stars for this stuff!
The awesome thing about this Halloween tree craft is that you only need two supplies. Just the floral wire and a pair of scissors.
You can create trees in all different sizes just perfect for spooky season shelf decor. And the brown wire makes the trunk and branches look like viny twisted bark.
All it takes is a just little time and patience!
Now, on to the tutorial for this hauntingly good, twisted tree DIY.

Supplies for Halloween Tree Craft Idea
This post contains affiliate links. As an Amazon Associate, I earn from qualifying purchases. This means when you click a link, I may earn a small commission at no cost to you. This helps me to run this website. Thanks in advance for your support!

- Brown Floral Wire (Amazon)
- Scissors
- Oh, and patience (not pictured) 😉
First Create the Roots of the Spooky Tree
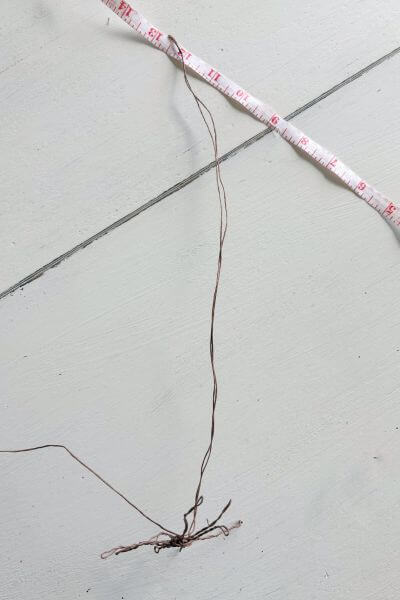
The first step is to create the roots. Do this by folding the wire over and then twisting it to form the root. Vary the size of the roots as shown.
You may need to add some extra roots at the end of the tutorial to make it more stable. But this is the starting point for this spooky Halloween tree.
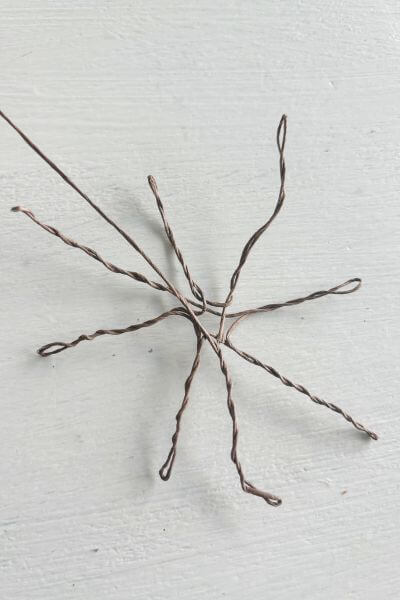
Below are the first three wire “roots” formed by doubling the wire.

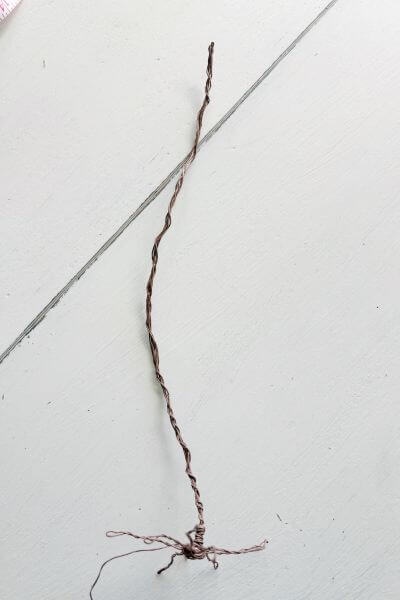
Continue creating the wire tree roots in varying lengths.
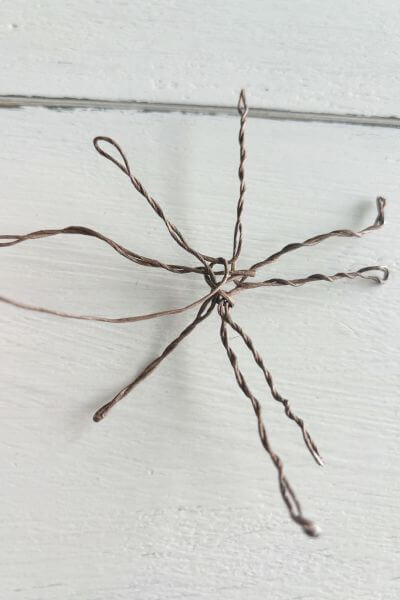
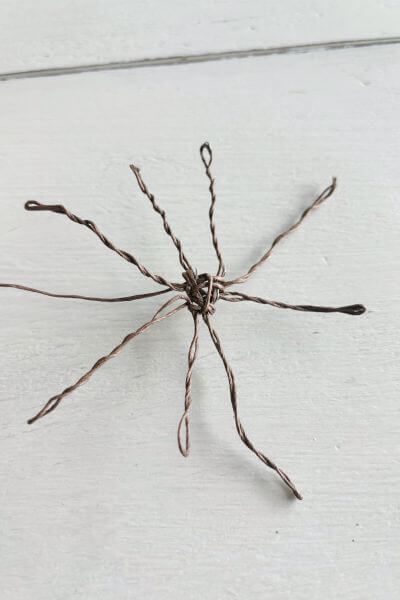
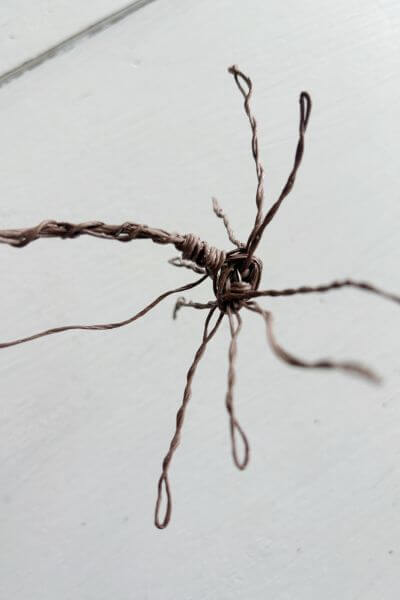
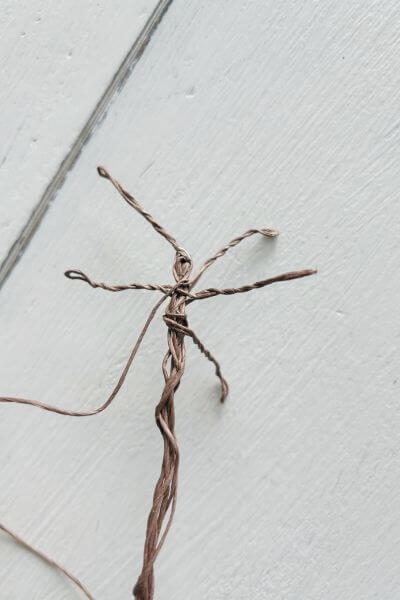
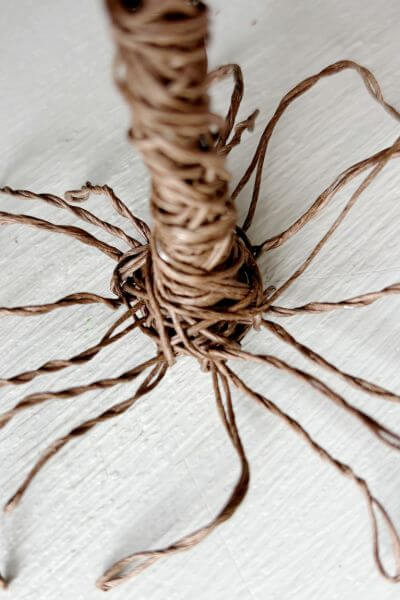
You’ll then secure the roots by wrapping the wire around, and in and out of each root. Below is a picture.
Next, Make the Trunk of the Wire Tree DIY
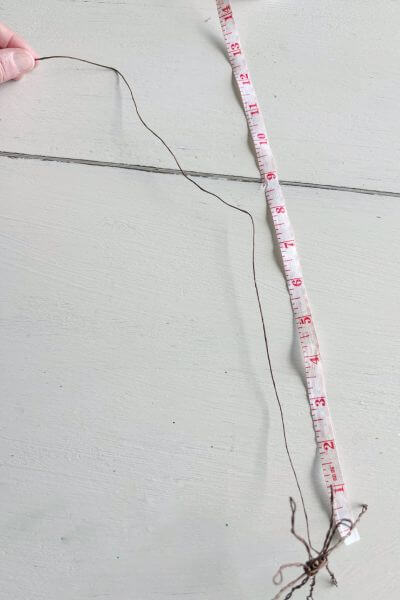
If you are trying to make a specific height, you can estimate the height of your tree using a measuring tape. Just remember that the top tree branch will curve, so take that into consideration when you are measuring.
Alternatively, you can just eyeball the heights. I aimed to make a trio of trees with varying heights for my Halloween decor.
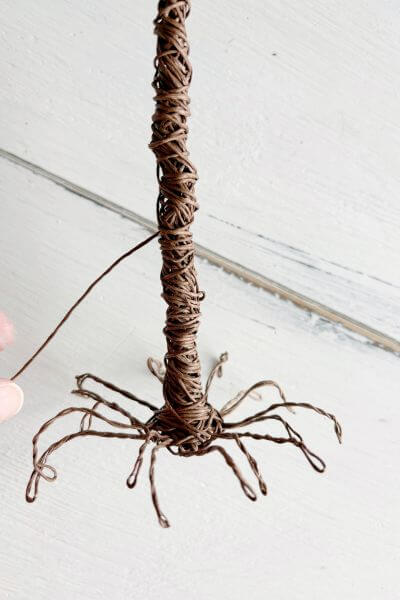
When you have the height you want, just double the wire over as a base form for your trunk.
Next, you’ll make the trunk of the tree wider by wrapping the wire up and down the trunk. Twist the wire around as you go, and each time wrap it around the bottom central portion of the roots to stabilize it.
This is how it looks with about 6 strands of wire. I wrapped it around the base of the trunk a few times as well, to make that portion a bit larger.
You’ll need to add more wire strands to the trunk later in the tutorial to make the tree more stable.
Create the Twisted Tree Branches
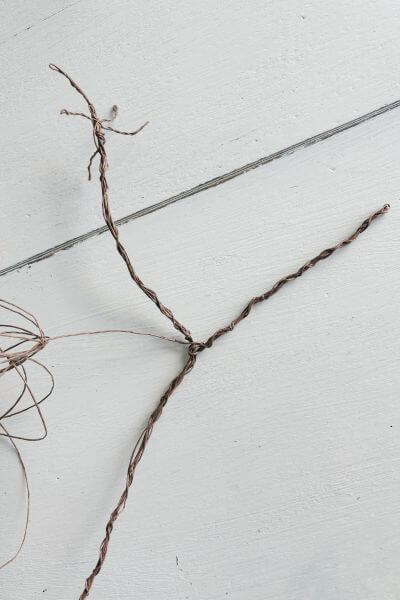
Now wrap the wire up the trunk to the top and make some smaller branches by doubling the wire. Make as many as you like, I made 5 in the picture below.
The top of the trunk of the tree will be bent to create the first limb.
Next, decide where your tree is going to branch, so you can make the next limb of the tree. I picked a spot and then created another limb by wrapping the wire up and down. This is what 6 strands look like for the second limb (pictured to the right).
Then wrap the wire back up the limb and create the smaller branches at the top. I made 6 smaller branches.
This is how she is looking so far. Don’t worry, it looks pretty cool at the end, so keep reading!

After that wrap up and down the trunk a few times to fill it out a bit. The trunk of the tree extends from the base to where the limbs begin dividing.
Now make a third limb coming out of the tree below the other two. I followed the same steps making six strands of wire. Remember we’ll be filling this all out toward the end of the tutorial.
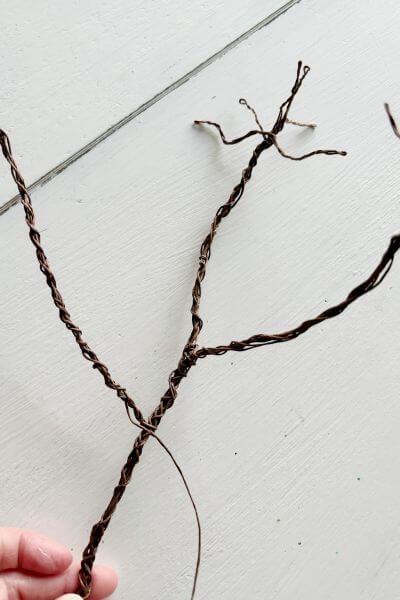
Here’s a closer look at where that third limb begins. As you wrap your wire strands around, also wrap them around the trunk to make the limb sturdier.
Doesn’t the wire make the tree trunk and limbs look gnarly? Just perfect for a haunted tree.

Again, add your smaller branches to the end of your third spooky tree limb.

Now, make a smaller limb branching from your third limb. This is a picture of how I started the smaller limb by doubling the wire.
Then thicken the wire by wrapping the wire strands around the initial one. After you’ve made about six strands, then wind the wire back to the top of the limb.
Just as before, make the smaller branches come out near the end of the limb.


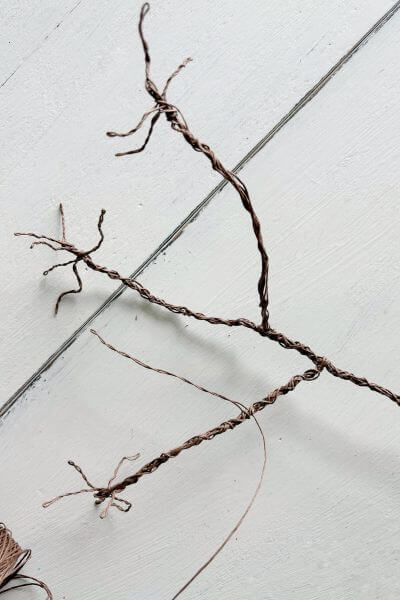
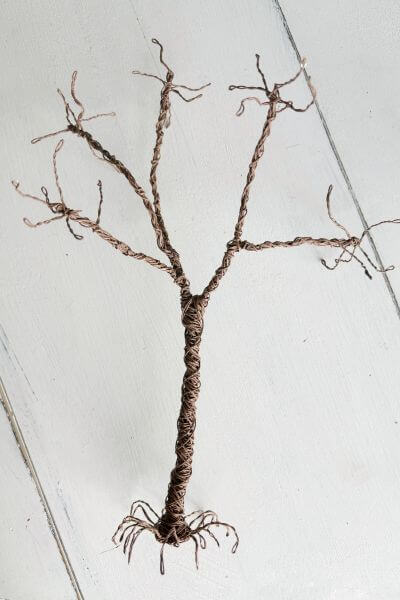
Here is where we’re at so far for this Halloween tree. Four limbs with smaller branches toward the ends. And we haven’t cut the wire yet, so it’s all one long strand of floral wire.
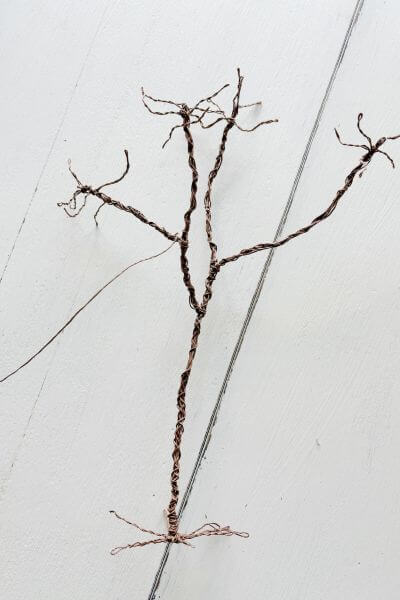
I ended up adding an extra limb out to the side to make it more symmetrical. That way I had 5 limbs in total.

Thicken the Trunk and Limbs of the Tree
Now it’s time to stabilize the trunk and limbs by making them thicker. You can get creative with it and add more wire to some of your limbs.
Be sure to make them look gnarled!
But you’ll definitely need to add more girth to the trunk to help the tree stand up.
Wrap the wire up and down the trunk, and when you get to the limbs, wrap it around one (or a few) of them to secure it at the top.
Then wrap it down to the base. Wrap it around the bottom of the roots. Sometimes I added more girth to the base as I went to help with stability.
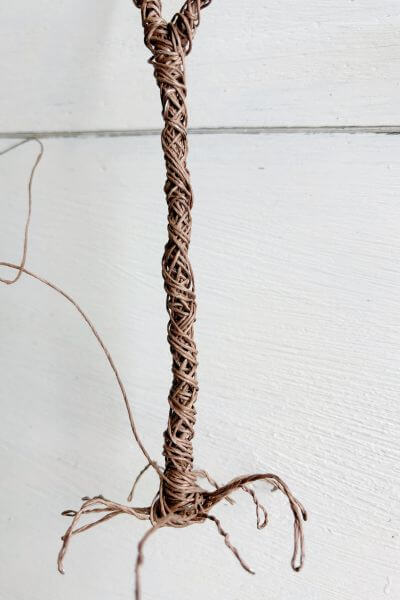
Get creative with it and make it look spooky! Below are pictures of the base, and the bottom of the wire tree.

Check for stability every once in a while, by trying to stand it up by itself.
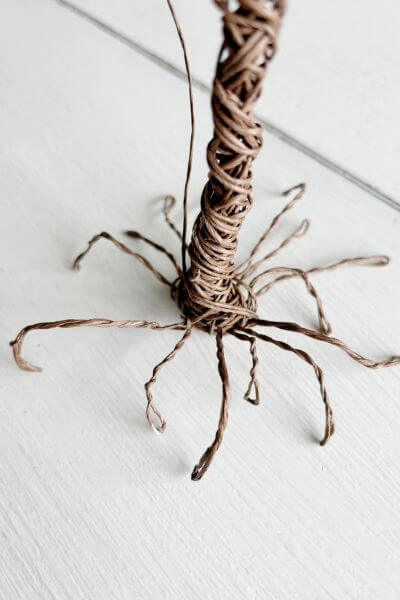
You’ll need to add more roots to the bottom as well, to improve the stability of the tree. I did this by doubling the wire at varying lengths and then wrapping the wire around the base of the tree to secure it.
You may need to push the wire flat underneath the roots so that the tree stands more easily as well. I did this by placing it on a table and then applying pressure down through the trunk.
This helped to flatten the bottom so that the tree was able to stand.
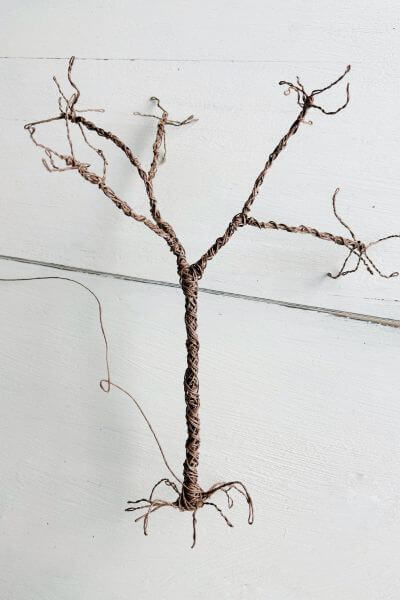
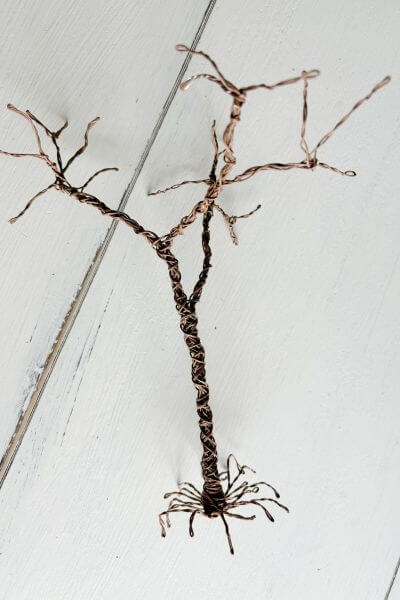
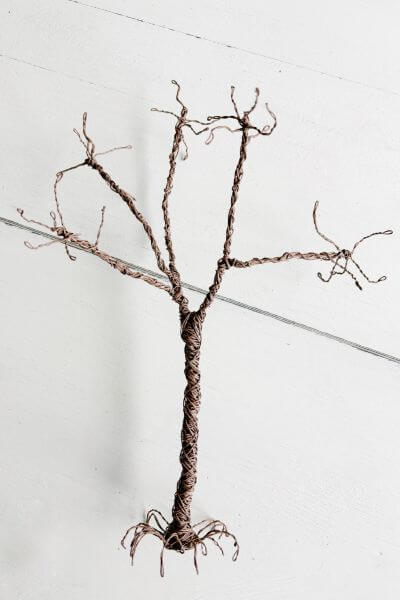
Here are a few views of the finished 13-inch tree.
Final Thoughts on this Spooky Halloween Mini Tree DIY
So, let me know your thoughts. Do you think this wire tree adds a touch of spooky to your Halloween decor?
The project was pretty simple. Just requiring wire, scissors, and a little time and patience to complete.
I do have to say, that if you have a breezy day with the windows opened or even a curious cat, these trees will tip over. You could remedy this by hot gluing the bottom to a board, tray, or plate to make them sturdier.
I may do that in the future (and will post pics if I do), but for now, I’m leaving them as is sitting on my shelf.
I made three different heights of these Halloween trees, measuring approximately 13 inches, 9 inches, and 7 inches.
The largest 13-inch tree had 5 limbs, the medium 9-inch tree had 4 limbs, and the smallest 7-inch tree had 3 limbs.
They are pictured below.


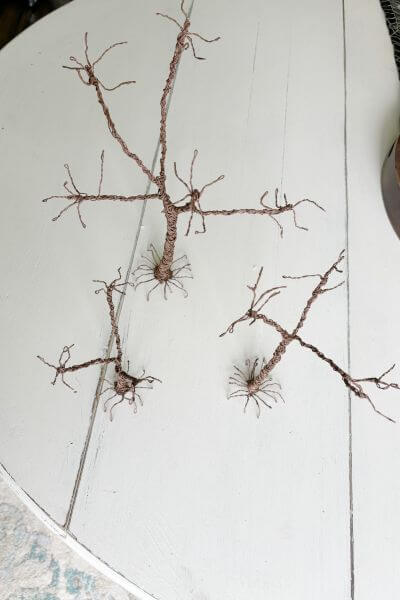
And here is the trio of Halloween trees together.
And I like that the wire makes them look earthy and gnarly and spooky all at the same time. My kids say they look like the whomping willow from Harry Potter because of the roots. 😉
You could even spray paint them black if that’s the color you prefer for your Halloween decor.
Tell me down in the comments if you have any questions. And, as always, thanks so much for reading!
This super easy wire tree DIY uses only two supplies to create a spooky piece of home decor that’s perfect for fall and Halloween.
Pin me on Pinterest! ⬇️

Please consider subscribing to my newsletter below for more simple DIYs 👇