


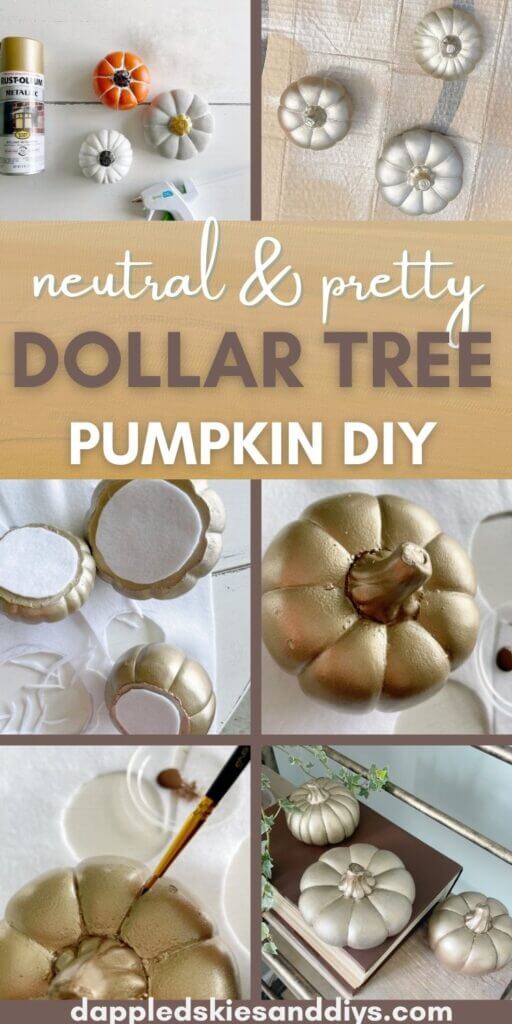
Here’s a quick and easy Dollar Tree fall craft comin’ your way! Pretty up these cement pumpkins from Dollar Tree with gold spray paint and brown paint for the details.
Dollar Tree has all kinds of fall and Halloween decor out right now, and I am here for it! I actually purchased these cement pumpkins last year and pulled them out of the back of my drawer to use them for this little DIY.
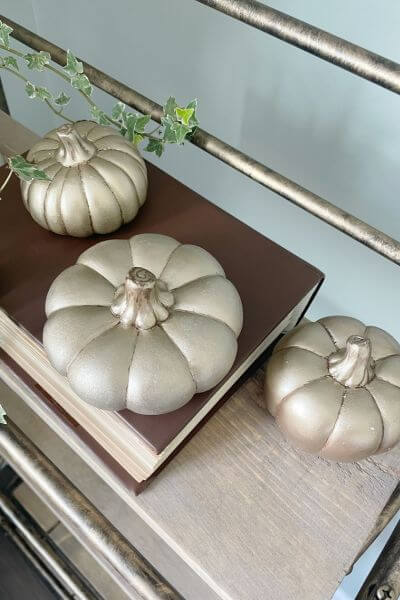
Ever since I’ve been working on my metal shelf makeover, I’ve been leaning toward gold decor, and this DIY uses a pretty shade of gold that’s perfect for fall.
These cute pumpkins that come in 3 different shapes are listed on the Dollar Tree website as “cement pumpkin decorations”, just in case you’re looking online. However, I found them at my local store.
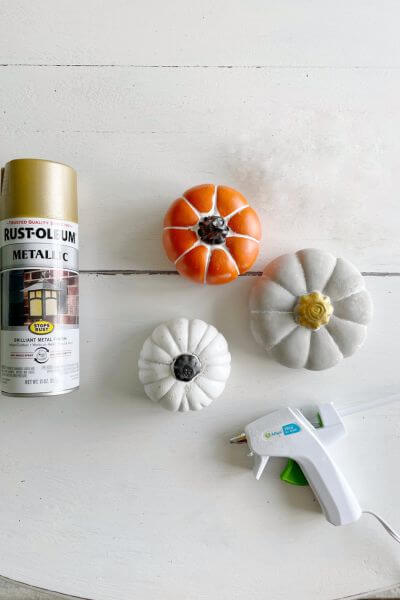
The only other supplies you’ll need are felt, gold spray paint, chocolate brown acrylic paint, craft paintbrushes, and a glue gun. Super easy!
Now on to this Dollar Tree pumpkin tutorial on how to make this cute fall craft for neutral home decor.
Supplies for Dollar Tree Pumpkin Makeover
This post contains affiliate links. As an Amazon Associate, I earn from qualifying purchases. This means when you click a link, I may earn a small commission at no cost to you. This helps me to run this website. Thanks in advance for your support!
- Cement Pumpkins (Dollar Tree)
- Warm Gold Spray Paint (Amazon or Walmart)
- Glue Gun (Amazon or Walmart)
- Felt – not pictured (Walmart)

- Chocolate Sprinkle Multi-Surface Paint (Walmart)
- Thin Craft Paintbrushes (Walmart)
- Tissues
I purchased the pumpkins at Dollar Tree, but the gold spray paint, brown acrylic paint, and glue gun are available at Amazon or Walmart. I had the felt that I had purchased at Walmart on hand already.
Spray Paint Your Cement Pumpkins
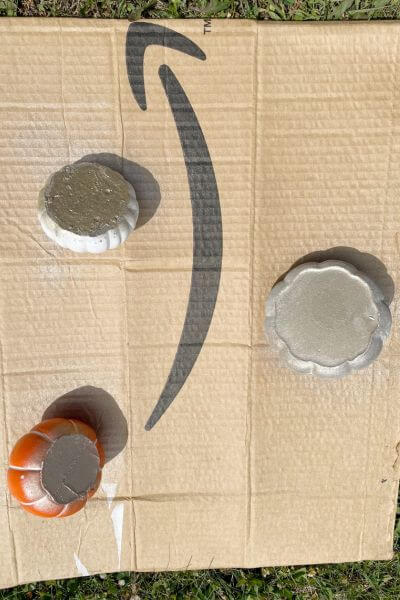
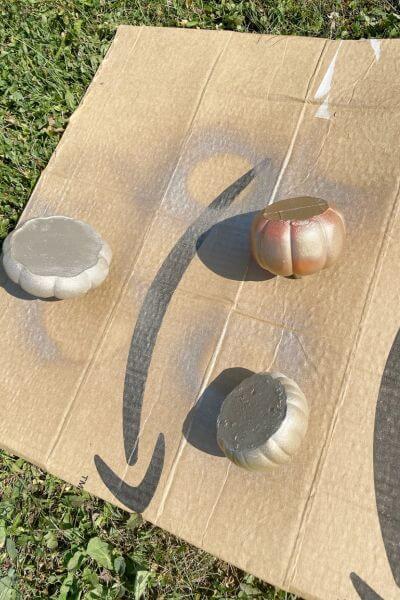
First grab your spray paint, pumpkins and some cardboard. Because now it’s time to paint those pumpkins a pretty shade of gold.
I had to spray them multiple times and turned them over different ways to get all the surfaces. Refer to the spray paint job via the pics below.
It would have helped a good bit if the day hadn’t been breezy (but it was), so preferably do this step on a non-windy day. 😉
First, give the bottom a quick spray with the warm gold spray paint. I waited about a half hour in between coats of paint.
Then spray paint the top of the cement pumpkins.
Now spray paint the sides of the dollar store pumpkins.
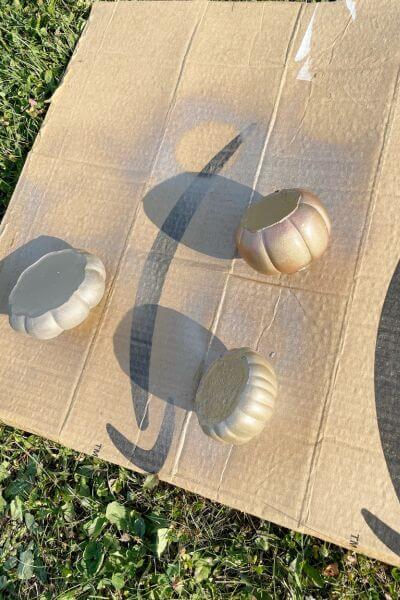
And the other side.
Then the top of these Dollar Tree pumpkins. Try to get any of the sides you may have missed too. The orange one was the hardest to cover.
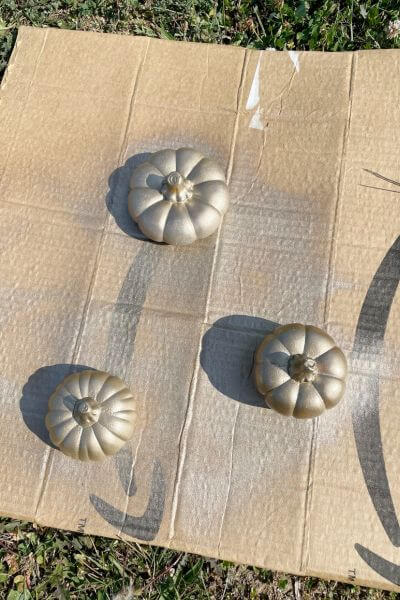
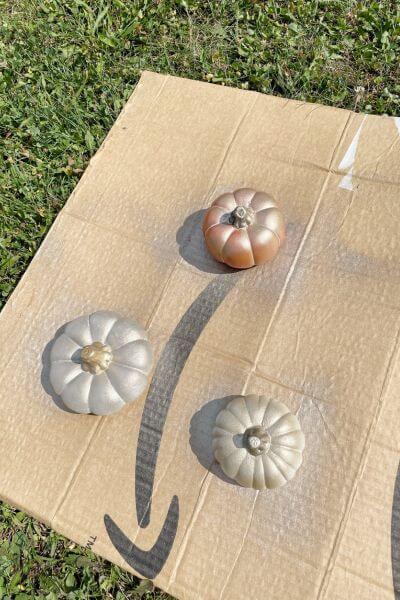
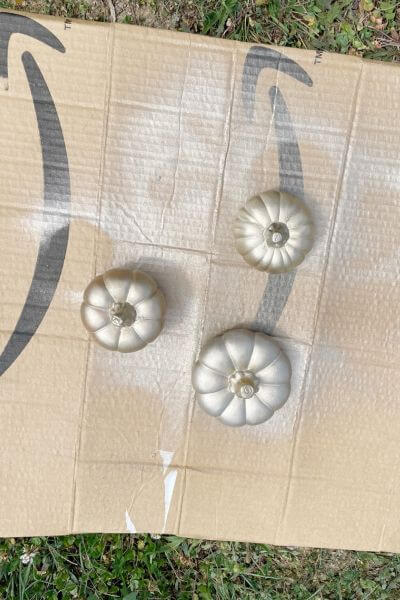
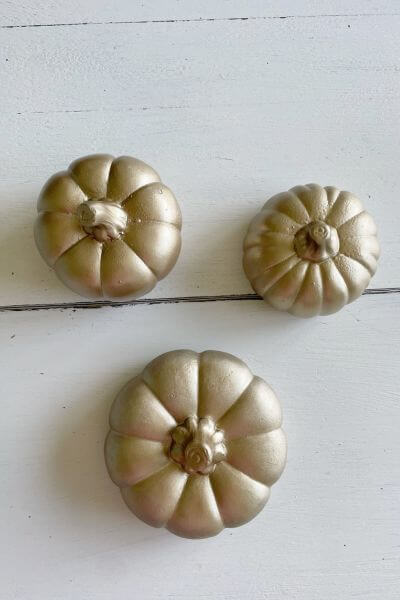
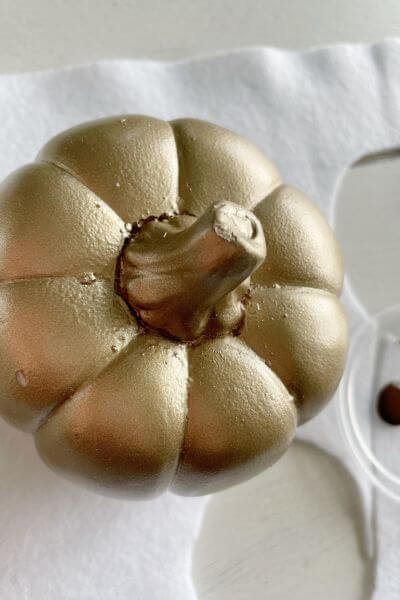
One more quick coat of this pretty gold spray paint and you’re done!
Ok, so here’s what we have so far for this dollar store pumpkin tutorial …
Hot Glue Felt to the Bottom of the Dollar Store Pumpkins
I had just finished a new shelf and I didn’t want anything rubbing off onto the newly stained and sealed shelf boards. So, I dove into my cabinet of craft supplies and found some felt.
This was cheap felt that I had purchased at Walmart. This is how I created a soft base for the cement pumpkins.
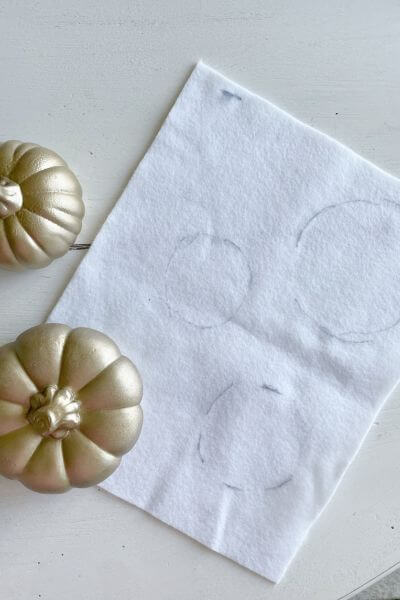
Use a pen to draw around the bottom of the pumpkins.
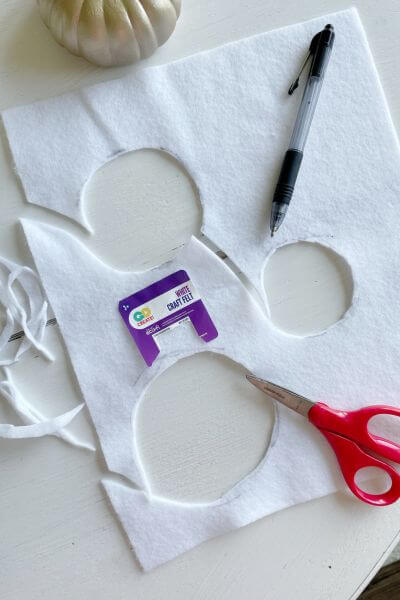
Cut out the felt circles a little smaller than the actual base of the pumpkins so it is hidden.

Place hot glue on the bottom of this painted pumpkin.

And the bottom is finished!
Add Brown Paint to the Spray-Painted Gold Pumpkin
I was originally planning to hot glue twine around the stems, but (of course) I decided to go a different direction.
I decided I liked the look of the stems and wanted to accent them a bit. So, I dug in my cabinet again and found Chocolate Sprinkle multi-surface paint that I had previously purchased at Walmart.
Here’s how I gave these pumpkins a little brown detail.
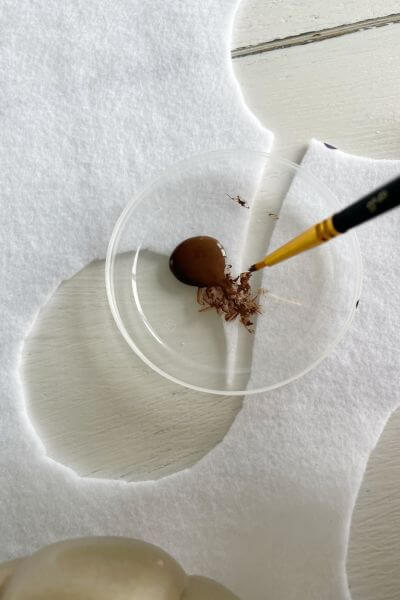
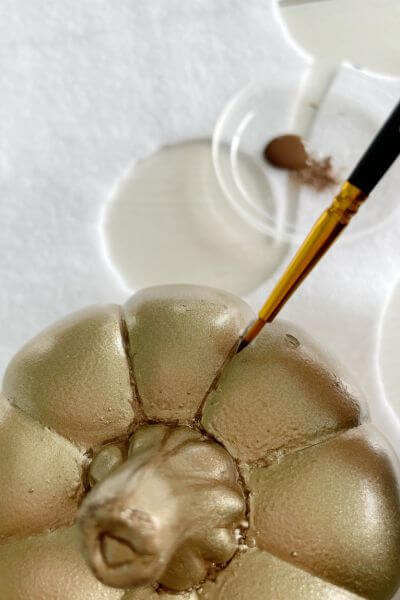
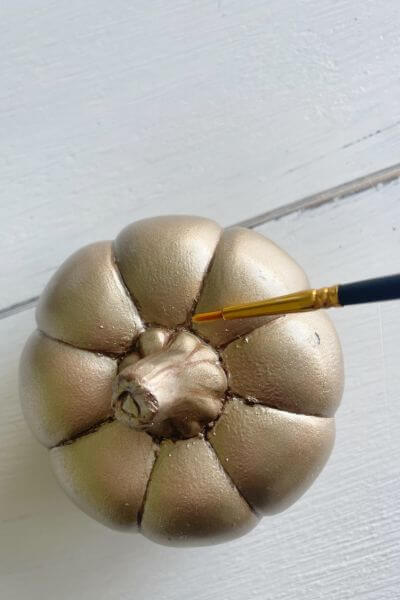
Using a slim paintbrush place a little bit of the Chocolate Sprinkle brown paint on your brush.
Begin outlining the details of the pumpkin stem with the brown paint. You can see how I began around the base of the stem.
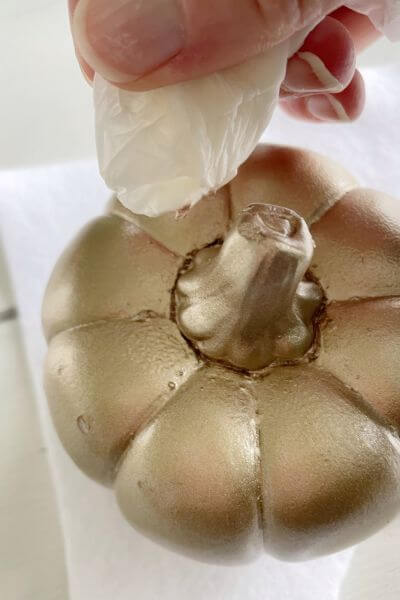
Use a damp tissue to blot off any areas that are too thick. The tissue works great!
Outline the details on the stem with the brown paint and slim paintbrush, again wiping off any areas that are too thick. This gives it more of a distressed look.

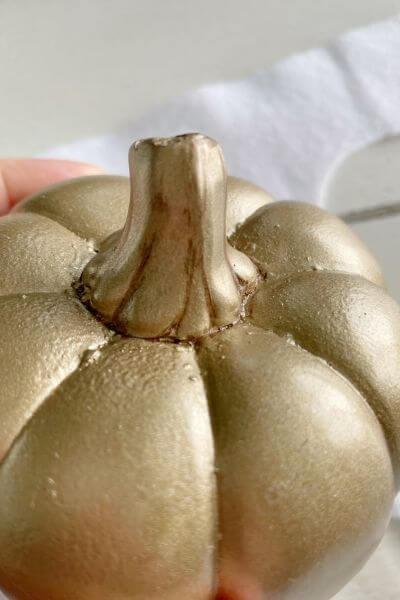
How this pretty fall pumpkin is shaping up so far!
Next, outline all the creases on the pumpkin body with the brown paint.
Lastly, you can touch up any areas that may have too much brown with a clean, wet slim paintbrush.
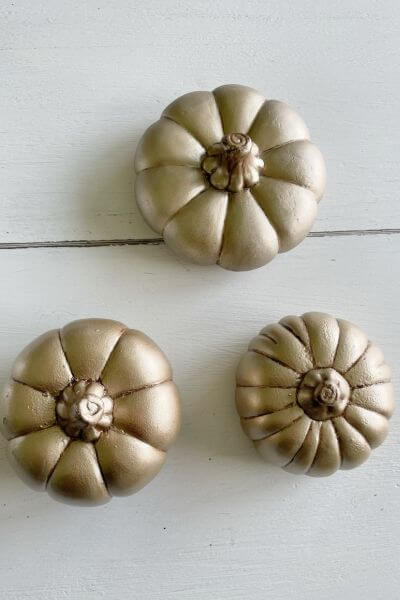
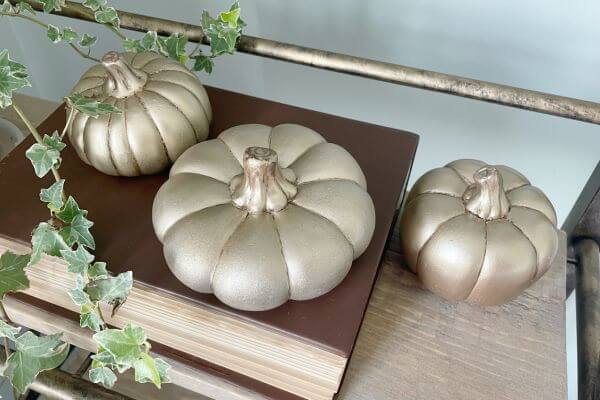
Here are the three finished gold pumpkins with brown detailing.
And now they’re ready to display! You could put a coat of sealer on them to protect the finish, however, for now I just left them as is.
Finishing Up this Dollar Tree Pumpkin Tutorial
This is a quick and easy way to glam up cement Dollar Tree pumpkins! I really like the warm gold spray paint and plan to use it in future projects. It has such a pretty gold tone.
Outlining the pumpkin with Chocolate Sprinkle paint helps the details on the pumpkin body and stem to stand out. And I love the combo of gold and brown that’s perfect for fall decor.
The fact that they are cement gives them a good weight as well, and you can’t beat the price at $1.25 a piece.
Tell me down in the comments what you think!
And, as always, thanks so much for reading. 🙂
Get yourself a few cement Dollar Tree pumpkins in different shapes and give them a makeover with gold and brown paint that’s perfect for fall decor!
Pin me on Pinterest ⬇️
Please consider subscribing to my email newsletter below 👇