

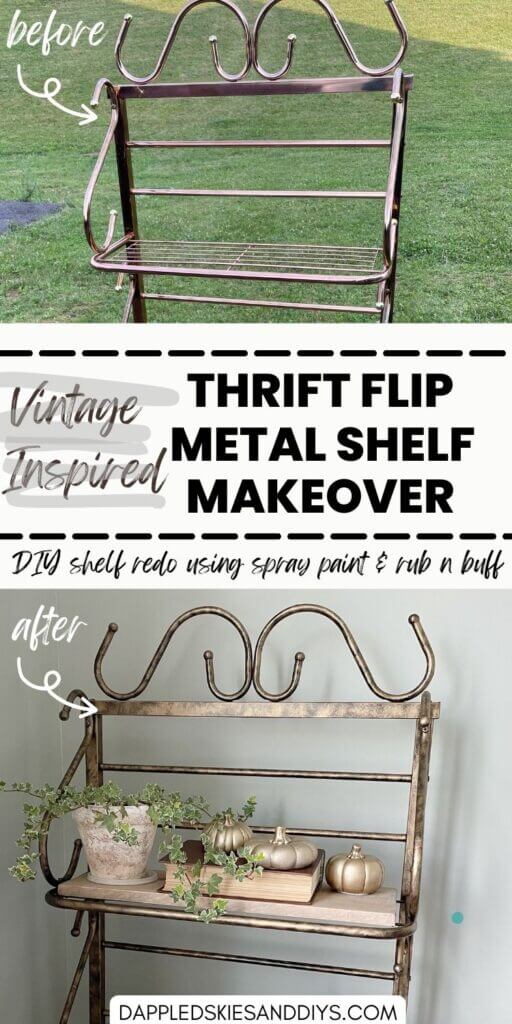
Have you ever found a metal shelf on Facebook marketplace that needed a little love? Well, it turns out, I did a few weeks ago…a little spray paint, Rub ‘n Buff, wood and stain and here are the results of this thrift furniture DIY.
Are you like me and love scrolling through Facebook marketplace for budget friendly furniture items that need a little love? Well, if not, you definitely should try it!
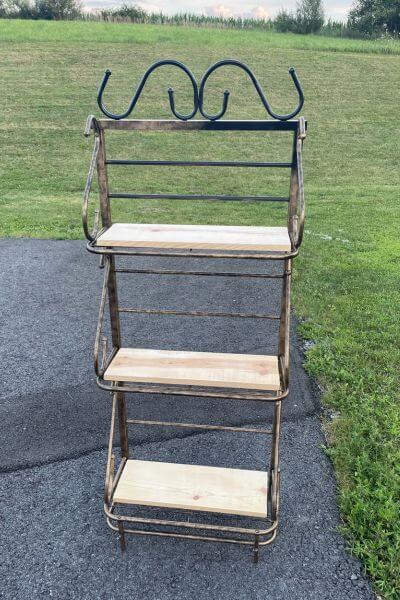
I do love yard sales and thrift stores too, but I found this gold free-standing metal shelf on marketplace for about 25.oo. When I purchased the shelf, I wasn’t exactly sure what I wanted to do with it.
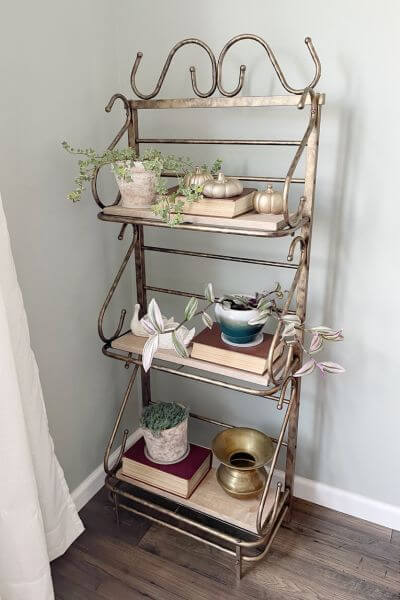
However, I’d been itching to use some Rub ‘n Buff and I figured why not try it out on this thrift piece. I had a little nook by the window in my dining room that would be the perfect spot to place it in.
It was a shiny brassy golden color initially, so here’s how I gave it an aged, antique gold look using black spray paint and Rub ‘n Buff.
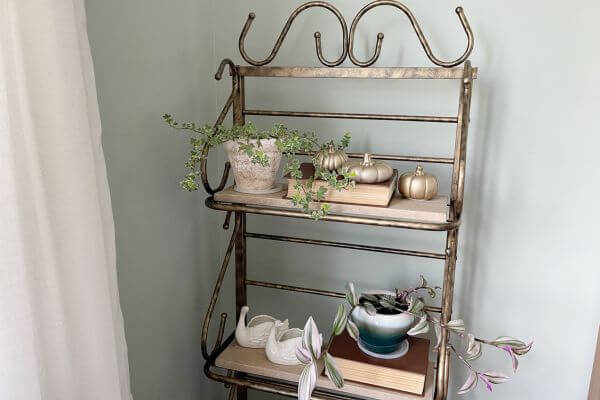
I also added some wood planks to the three shelves so it would be easier to place plants, books, and other cute paraphernalia on it.
Here’s the tutorial for this metal shelf DIY. I hope you love it! And I hope it inspires you to do your own thrift furniture hunting too!
Supplies to Paint the Thrifted Wire Shelf
Here’s what you’ll need for this DIY.
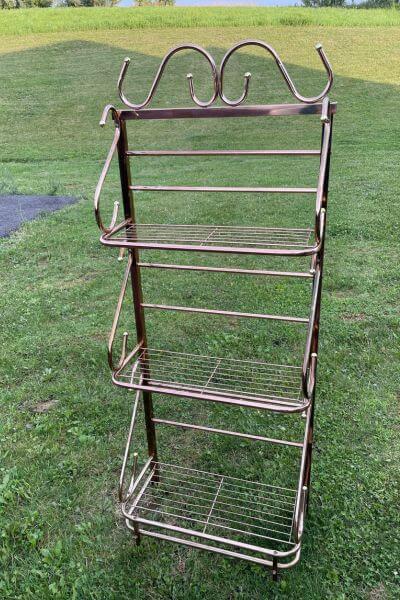
First things first, you definitely need a thrifted metal shelf.
This post contains affiliate links. As an Amazon Associate, I earn from qualifying purchases. This means when you click a link, I may earn a small commission at no cost to you. This helps me to run this website. Thanks in advance for your support!
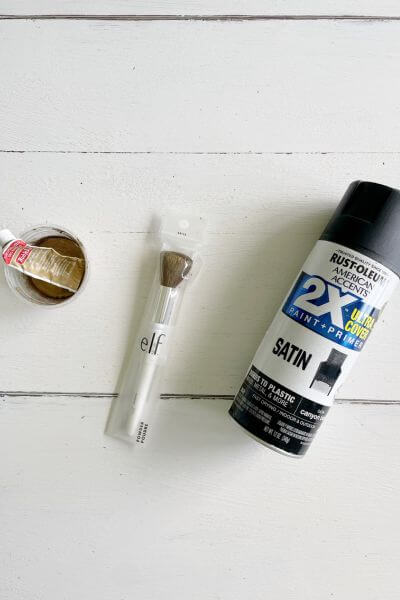
You’ll also need ….
- Black Spray Paint (Walmart or Amazon)
- Make-Up Brush (Walmart)
- European Gold Rub ‘n Buff (Amazon)
- Plastic Container or Paint Tray
Spray Paint the Metal Shelf
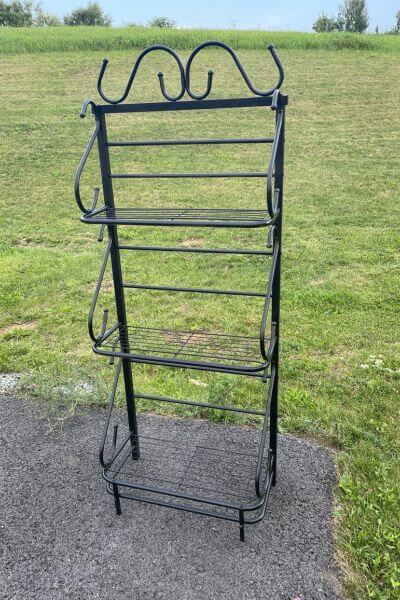
First, I simply used my black spray paint to paint the whole metal shelf black.
Once coat worked out fine. I was going to be coating it with gold Rub ‘n Buff anyway, so if a little gold was peeking through in a few spots…no big deal!
I like to repeat my motto to myself when I do my DIY projects. “Finished is better than perfect, finished is better than perfect.” 😉
Use Rub ‘n Buff to Antique the Wire Shelf
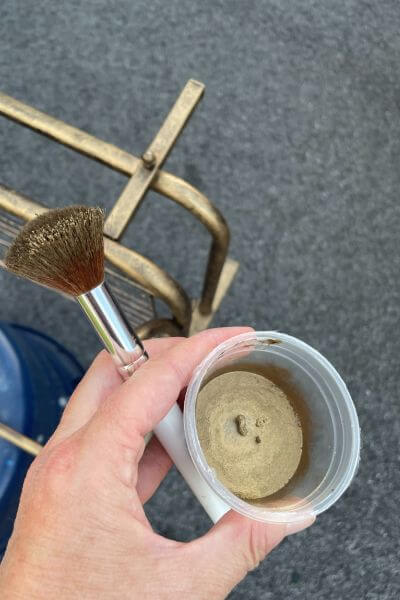
After the black paint is dry, it’s time to get out the Rub ‘n Buff. I placed a tiny bit at a time into my plastic container and then used the make-up brush to blot it on.
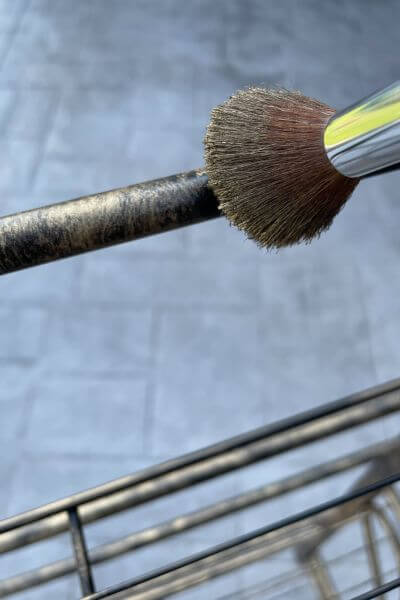
I picked up this cheap make-up brush at Walmart. I’m thinking a stiffer make-up brush may have made the job a little easier because this one was on the softer side.
I read about this technique involving using a brush to apply the Rub ‘ Buff on jennasuedesign.com. She also has a comparison of the different colors of Rub ‘n Buff in her post.
It took A WHILE to coat this whole shelf in Rub ‘n Buff. You can apply it with your finger or a cloth too, but it doesn’t give the exact same effect as the brush bristles.
Anyway, I worked on it in little chunks of time. I didn’t clean out the brush either, just shoved it back into the bag it came in between applications.
Here are a few pictures of the Rub ‘n Buff application.
Just a bit of gold Rub ‘n Buff on the plastic container …
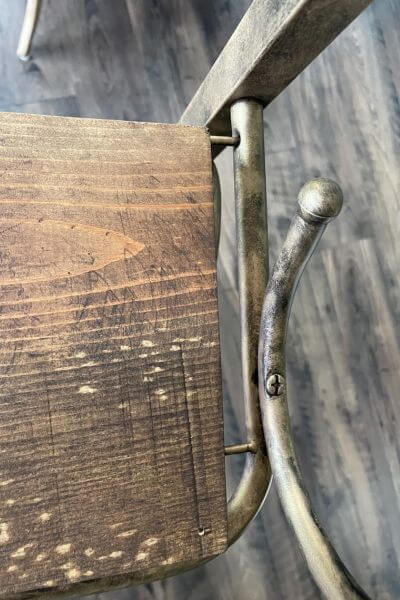
Blotting the Rub ‘n Buff onto the metal shelf …
I placed the shelf on a bucket to work on the bottom portion ….
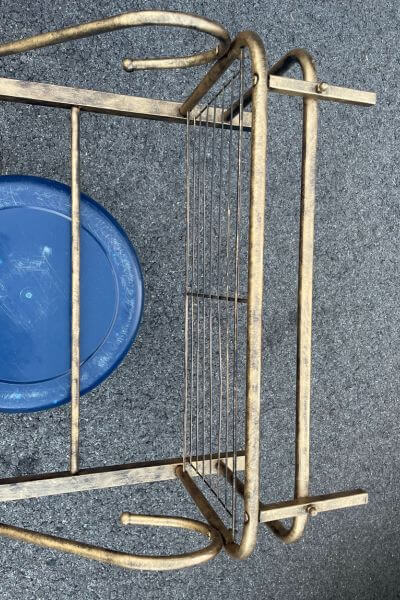
And tipped it onto its side to get that portion of the shelf …
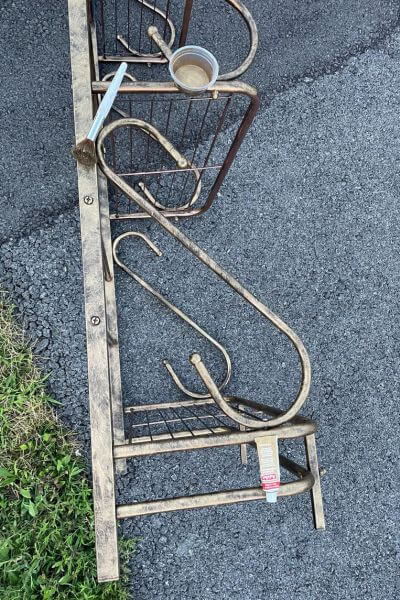
This Rub ‘n Buff stuff is super easy to apply, and once it’s on, it stays on there!
I simply continued blotting the Rub ‘n Buff on in small amounts until the entire shelf was completed!
Cut Three Boards for this Thrifted Shelf DIY
I purchased an inexpensive pine board that was 8 feet by 1 inch by 8 inches for this shelf that cost me about 10 dollars.
Each shelf was slight difference in width, the smallest being at the top, and the largest being at the bottom.
I could’ve gotten 3 different sizes of boards, but the difference wasn’t that noticeable, so I went with the 8-inch-wide board to save a little money. 😉
I simply measured the length for each of my shelves and then cut the board into 3 pieces. I had a little bit of board leftover as well.
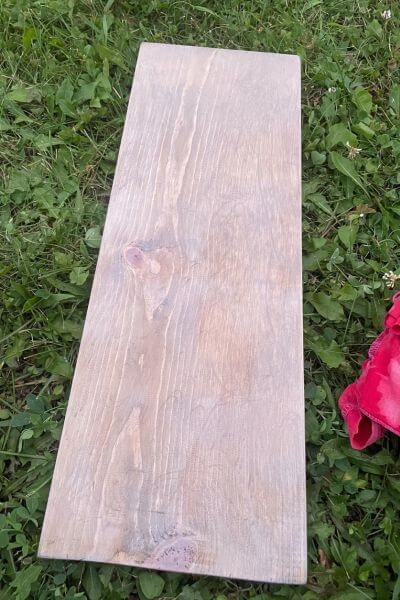
Here’s a picture of the boards after being cut, sitting on my shelf. I used a jigsaw to cut the boards (not the best choice, but it was what I had handy). You could even use a handsaw since it’s only three cuts!
The next step is staining them and figuring out how to attach them!
Again, (to myself) 😉”finished is better than perfect.” And I took this picture before I had completed the entire Rub ‘n Buff application.
Choosing a Stain for the Shelf Boards
The next step was choosing the stain to complete the boards. I sanded the rough edges first with coarser 120 or 180 grit sandpaper, and then went over it again with 22o or 320 fine grit sandpaper before applying the stain.
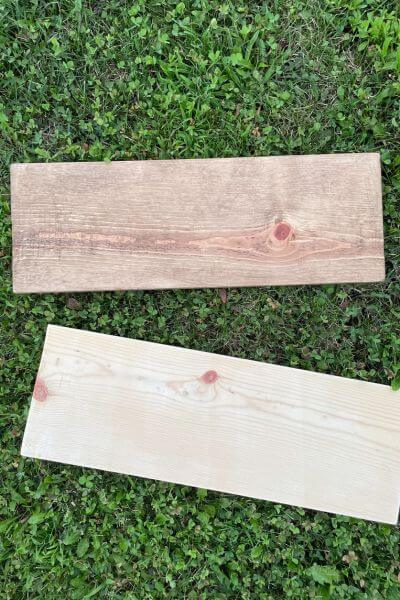
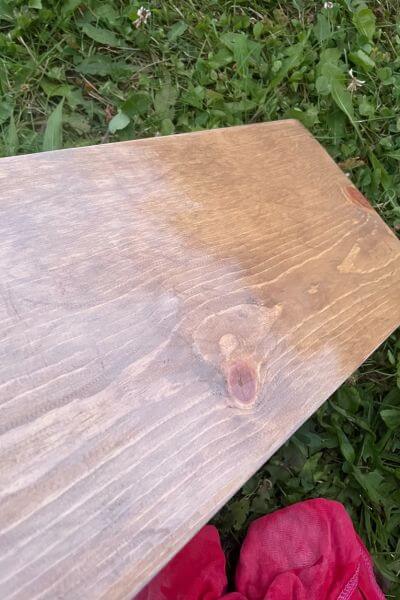
First, I applied Special Walnut stain over each of the boards. The top one is Special Walnut and the bottom one is bare wood.
Sand the wood with 22o grit sandpaper after applying the stain, and then wipe off the dust with a microfiber cloth.
I then tried out a variety of different stains as a top layer. Here are the pictures of each stain. I used the bottom of the boards for this experiment.
I have all the stains linked, just in case you want to check them out on Amazon.
Special Walnut stain alone.
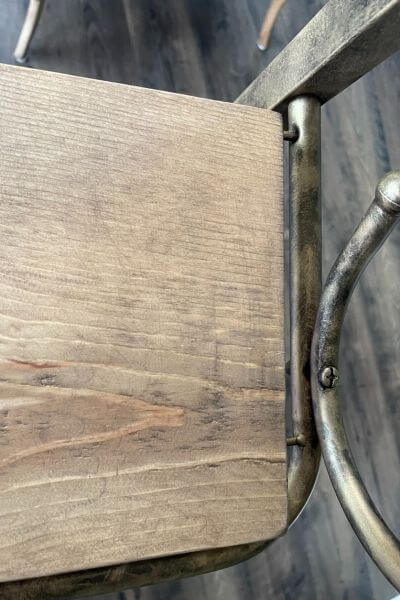
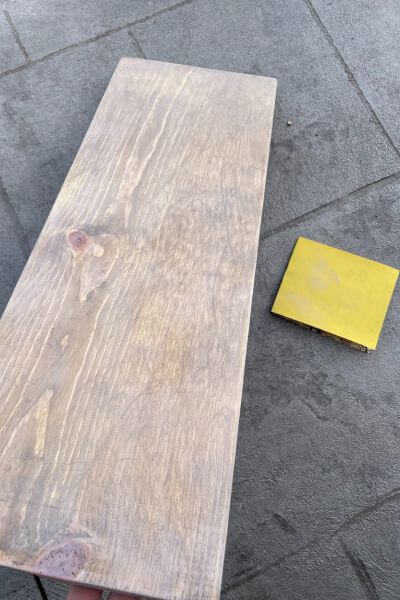
This is Classic Grey stain over Special Walnut. I placed the board on the shelf to show how the color goes with the metal shelf.
This is Jacobean stain over Special Walnut. The bottom of the board had some flaws as you can see, but this was just a test of color.
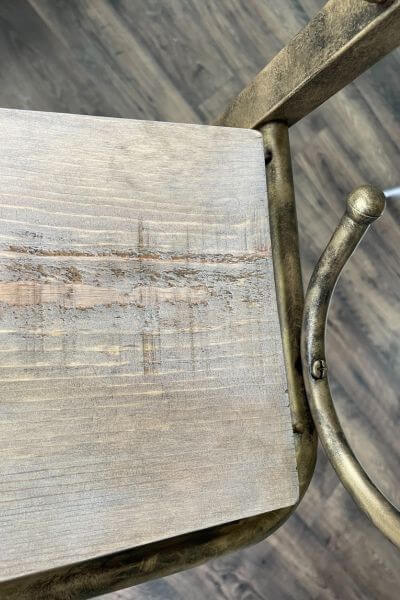
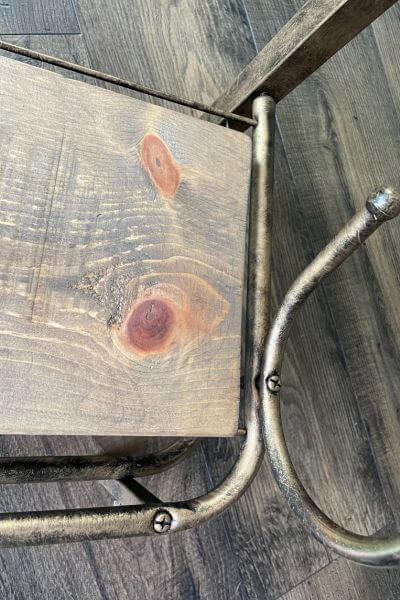
And this is Simply White stain over Special Walnut. This is the one I ended up choosing for this DIY shelf project.
Process of Applying Simply White Stain Over Special Walnut
This is the process I used…I applied the Special Walnut stain to the board and allowed it to dry before sanding it with fine grit sandpaper. Then I removed the dust with a microfiber cloth.
Next, I used an old cotton cloth to apply the Simply White stain as shown below.
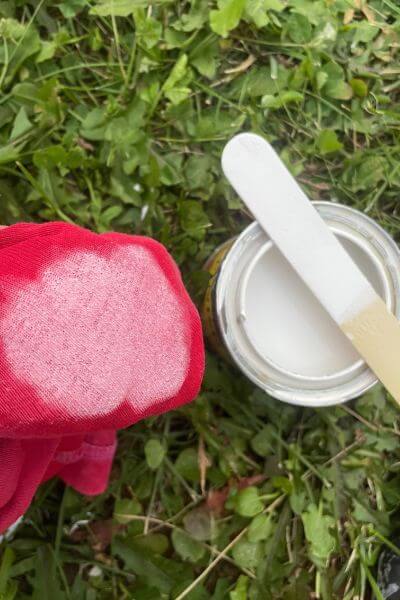
I put just a little Simply White stain on the cotton cloth using my stirring stick (just a quick tip; this is a large popsicle stick I purchased in a package from Dollar Tree).
Don’t apply too much because it will streak.
Apply the Simply White stain over the Special Walnut stain.
Completed wood shelving board!
Sand the board one more time with fine grit sandpaper and remove any white streaks created by the stain.
Attach the Boards to the Wire Shelf
This is how I solved attaching the boards to the wire shelf. I thought about just letting them sit there on top of the wire. However, I could see one of the dogs crashing into it and bringing everything down, so I reconsidered that. 😉
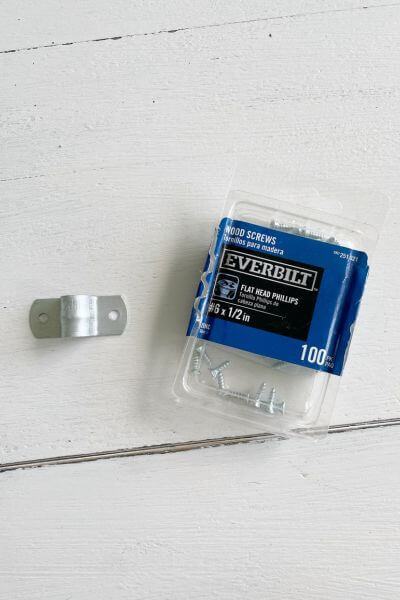
These are 1/4-inch pipe straps and 1/2-inch screws.
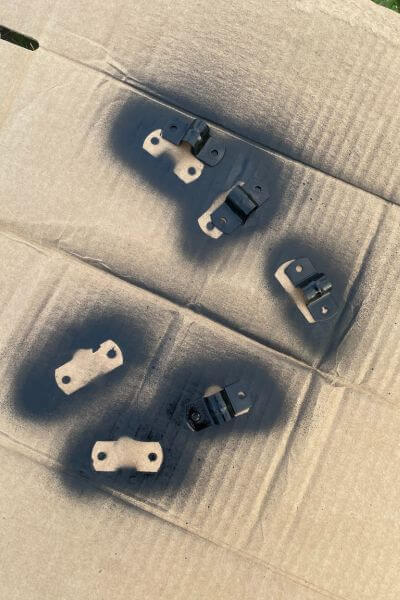
First, I spray painted the pipe straps black with the same paint I used for the shelf.
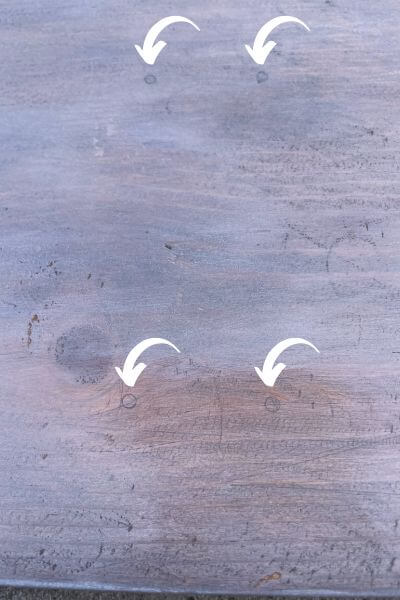
Then I placed the board onto the wire shelf and placed the pipe straps where I wanted them to go. Place your pipe straps to limit movement of your board.
Next, I traced the holes so that I would know where to put the screws, as shown in the picture above. (Ignore the color, this was a trial side of different stains).

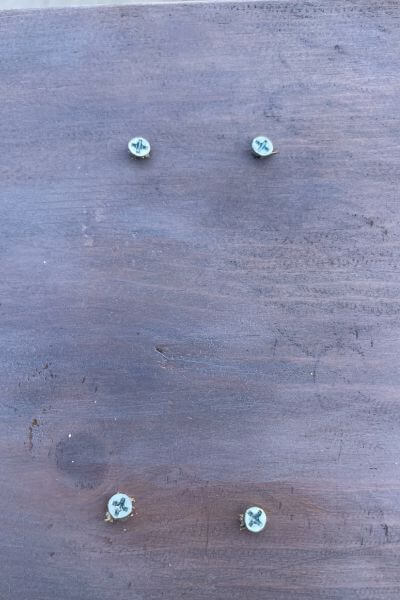
Then it was time to place the screws into each drawn hole. I used an old tiny screwdriver (that I got free in a pack of batteries 😆) to screw them into the wood.
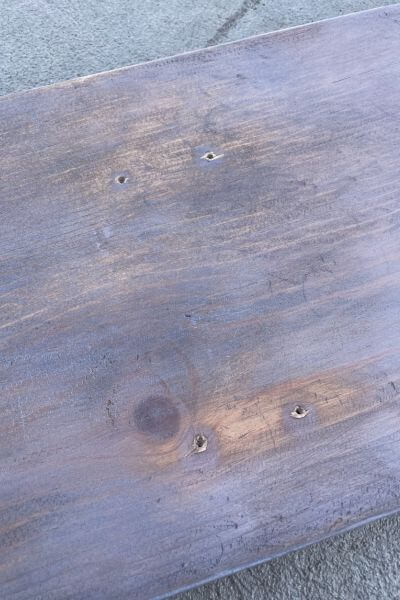
Next, it’s time to unscrew each of the screws. These steps will make it easier to place the pipe straps onto the underside of the shelf.
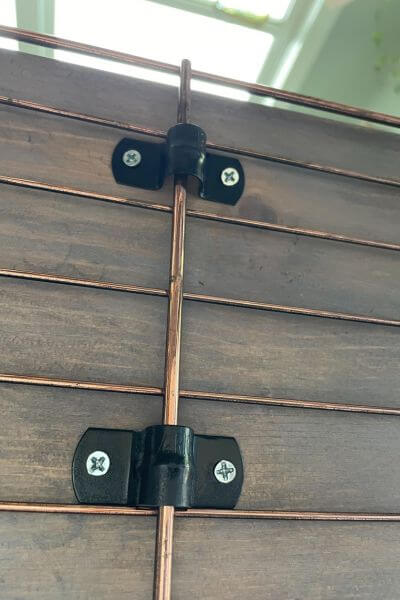
Next just screw the pipe straps onto the bottom of the shelf.
IMPORTANT: Note how I placed the pipe straps against the edge of each wire, so that the board wouldn’t move much.
The shelf was still able to move side to side just a little. I left it as is, but you could attach two more to limit the side-to-side movement.
Complete this step on each of your boards and this DIY industrial shelf should be finished!
Final Thoughts on this Wire Shelf Makeover
So, what do you think? Would you try this on a wire shelf that you found on the cheap on Facebook marketplace?
I feel like, all in all, this wire shelf makeover turned out pretty well in the end! The biggest pains were applying the gold Rub ‘n Buff, although I love that stuff! It was just a big piece to apply it to!
And then figuring out how to attach the boards was the next trial and error, however the pipe straps worked out to secure the boards.
I love the unique, antique finish that I ended up with, and I also love that this was a thrifted piece that we breathed some new life into!
Any questions, please place them down in the comments!
And, as always, thanks so much for reading!
In case you’re interested in another Rub ‘n Buff DIY, check out this post on…how to make command hooks look good.
So, next time you’re browsing Facebook marketplace or checking out a yard sale or a thrift store and see an old wire shelf, definitely pick it up and give this wire shelf hack a try!
Pin me on Pinterest! ⬇️
Please consider subscribing to my newsletter below … 👇