Here’s a post on a quick and easy way to make a DIY rope basket with Dollar Tree supplies and a glue gun!
I have to say it. We seem to have a lot of toys at my house. I’m not sure if they’re breeding and multiplying in the next room, but it seems like that’s what’s happening. 😉
So, any way I can try to contain and organize these toy offspring is a great thing!
Dollar Tree is one of my favorite places to go treasure hunting. They just have a lot of good stuff for cheap. Am I right?
On my last hunting expedition, I came across some nautical type of rope and a few plastic bins. And I thought to myself, put these two together and they’d be great for storage!
So, here’s the quick and simple DIY to create a few pretty storage bins with Dollar Tree supplies! Now, let’s create your dollar store rope baskets!
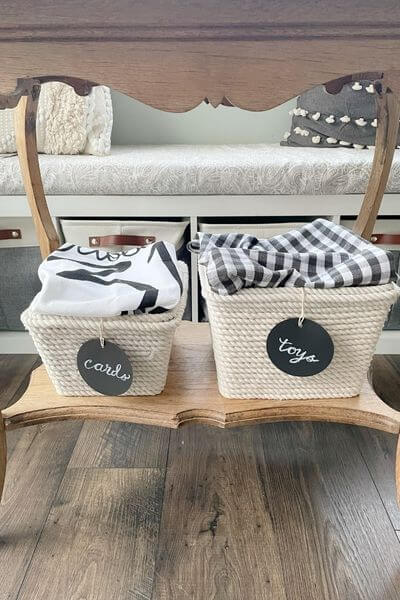
DIY Rope Basket Dollar Tree Supplies
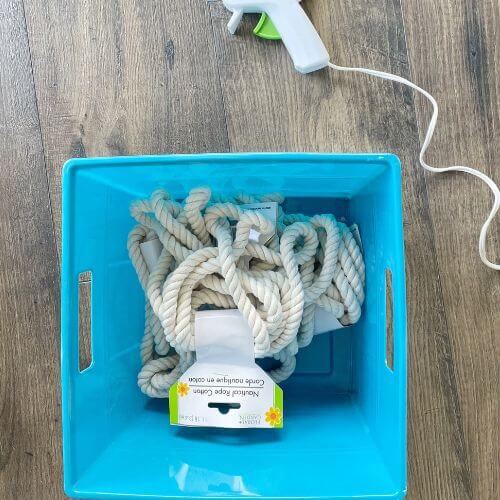
Sweet thing here is…all you need is the rope, bins and a glue gun and glue sticks! Quantities are listed below.
This post contains affiliate links. As an Amazon Associate, I earn from qualifying purchases. This means when you click a link, I may earn a small commission at no cost to you. This helps me to run this website. Thanks in advance for your support!
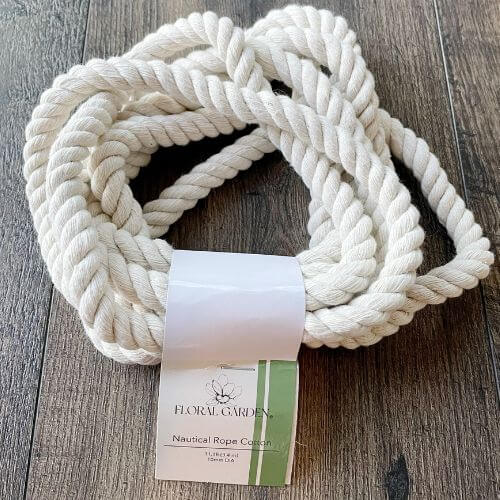
- Rope 11.1 feet – 10 strands (6 pieces for the larger bin, and 4 for the smaller bin)
- Bins – 2 (Large one size is approx. H 7 in. x W 8 in. x D 8 in. and Small one H 5 in. x W 7.5 in. x D 9 in.)
- Glue gun
- Glue sticks (Extra)
OPTIONAL SUPPLIES
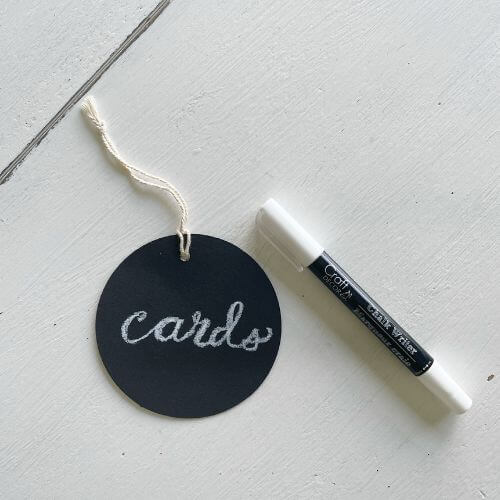
- Chalkboard Tags
- Chalkboard Pen
Start at Bottom of Dollar Store Bin
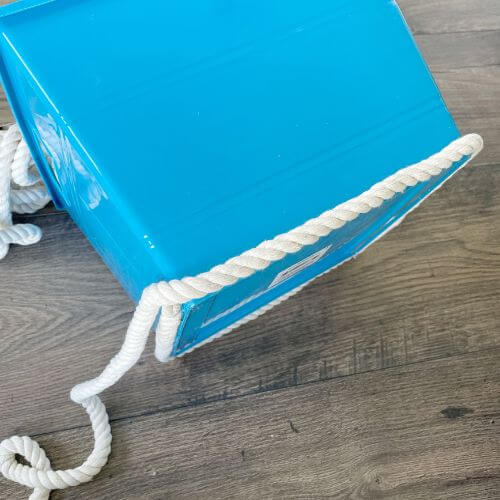
First, I removed the tape from the ends of the nautical rope. I started by placing a little glue at the bottom of the bin to secure the first strand of rope.
Then, using your glue gun, run a line of glue along the bottom edge. Keep going around the edge on each side. Ensure that the bottom line of rope is flush with the floor.
This way when you put your basket on the ground, you won’t see any of the blue color.
Continue Using Dollar Tree Rope in Lines Winding Up the Basket
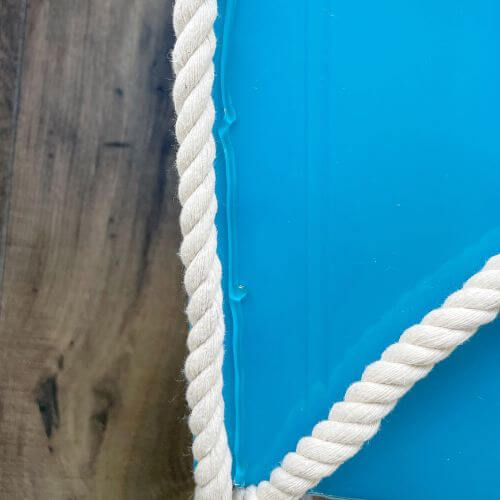
Continue making lines of hot glue and following your initial rope line around. Just be sure to make the rope lines flush with each other so that the color underneath doesn’t show through.
Then, secure first strand of rope, and begin with another one. Make it flush up against the first one and then continue to wrap it around your bin.
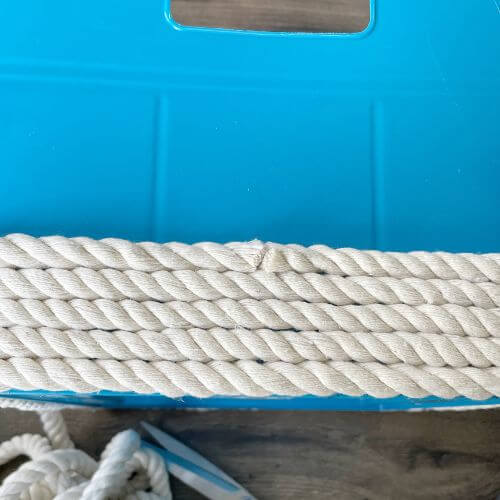
Continue Hot Gluing Rope to Reach Rim of Bin
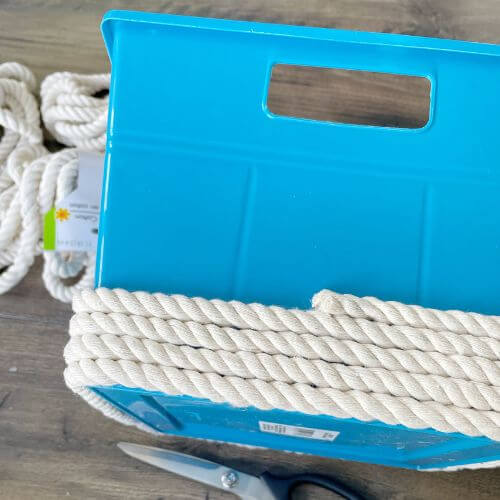
Continue to wind your rope around hot gluing each strand in place. It really doesn’t take long at all!
When I got to the open handle portion of the basket, I simply glued the rope over the open area.
Once you get right below the rim, then you’ll need to place a line of hot glue over the rim and continue with your nautical rope strands as shown below.
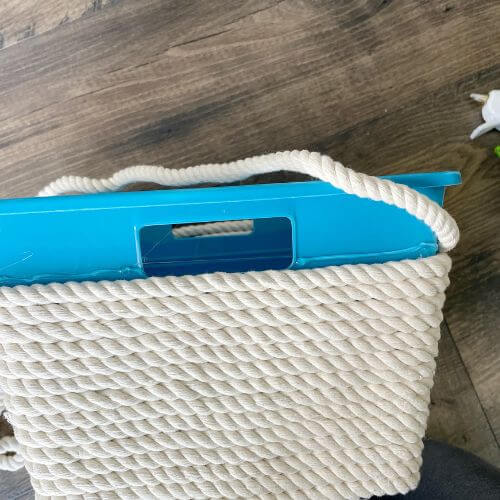
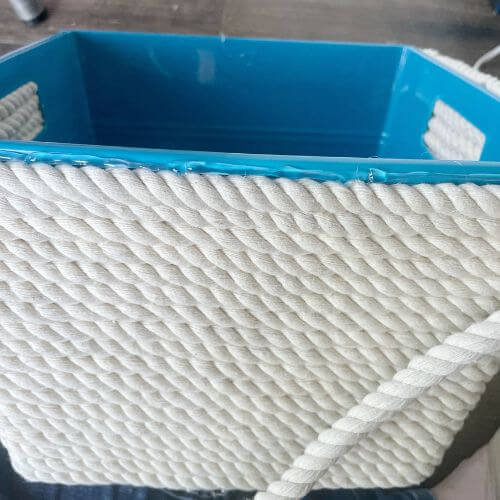
Glue Nautical Rope on Top and Then Down Inner Rim of Basket
Carefully glue your nautical rope around the top of your plastic bin.
Then keep wrapping and gluing down the inside. Almost done!
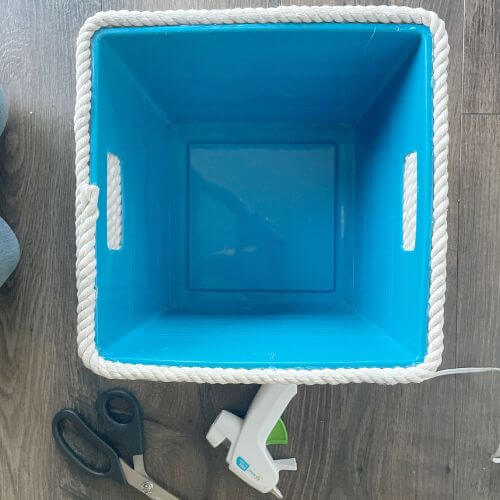
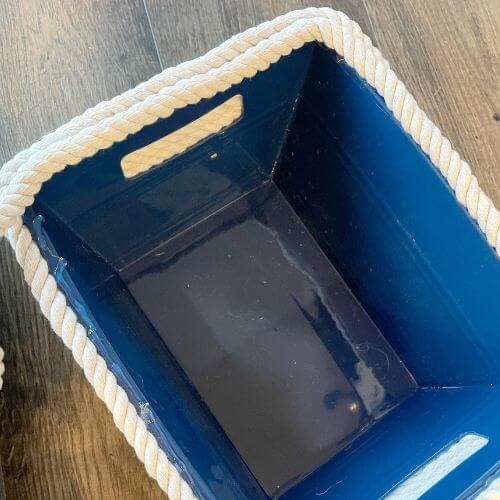
Finish Up Your Rope Basket DIY
Finish out your last strand of rope on the inside of your bin. I didn’t go too far down the inside. Just enough so that it wouldn’t be visible if I put a piece of cloth over it to hide the toys.
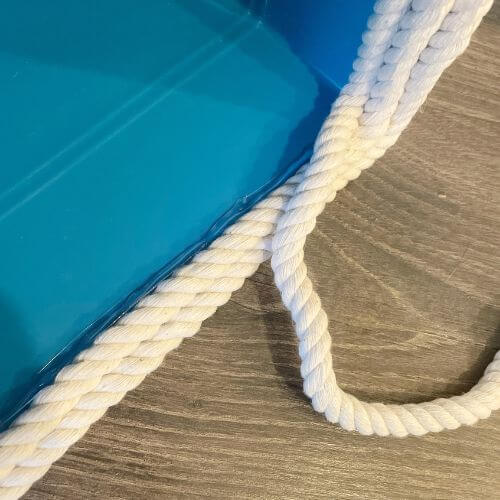
Optional – Chalkboard Tag and Pen on Rope Basket
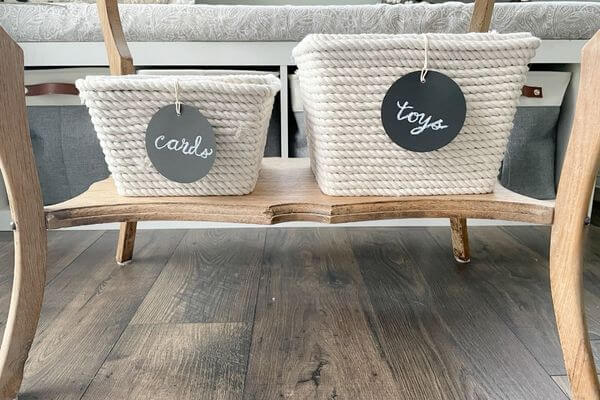
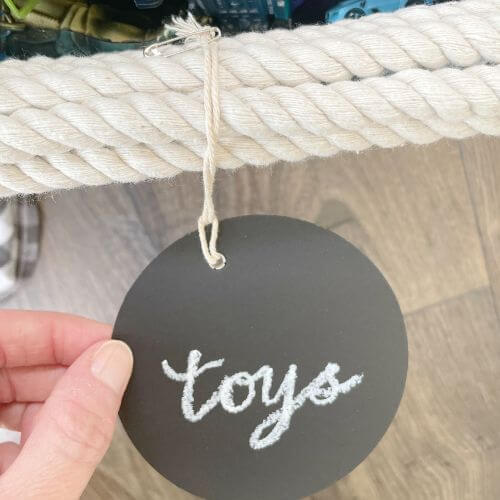
Optionally you can hang a chalkboard tag on the basket to identify what’s in there. 🙂
I bought both the tags and chalk pen at the Dollar Tree. You can secure with a safety pin or even use hot glue to secure it to your basket as shown.
These are the same tags that were left over from my Dollar Tree Bike Wheel Wreath post too!
And that’s it, you’re done!

Finishing up DIY Rope Basket from Dollar Tree
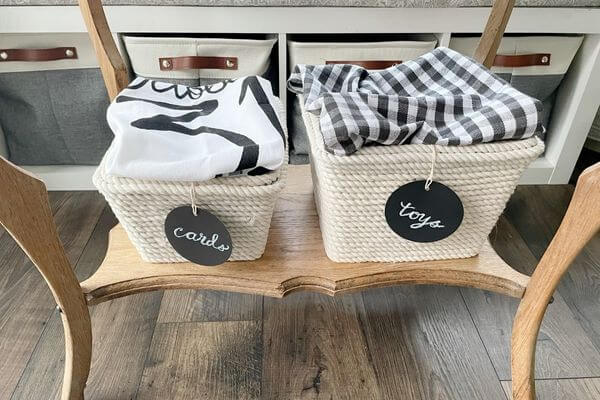
I used 6 strands of rope for my larger basket and 4 strands of rope for my smaller basket. And I love that all the supplies were from Dollar Tree except my hot glue gun and glue sticks.
All in all, even with the chalkboard tag and pen, I spent around 17 dollars for both these cute DIY rope baskets. Not too shabby!
These rope basket coverings are just Halloween dish towels that I purchased from the Dollar Tree last year too! There are so many great things to find at the Dollar Tree!
These rope baskets can be used for any kind of storage, on a counter or a shelf for your farmhouse style decor.
They could even be used for a potted plant!
What do you think of this quick and easy rope basket DIY from Dollar Tree? Tell me down in the comments!

