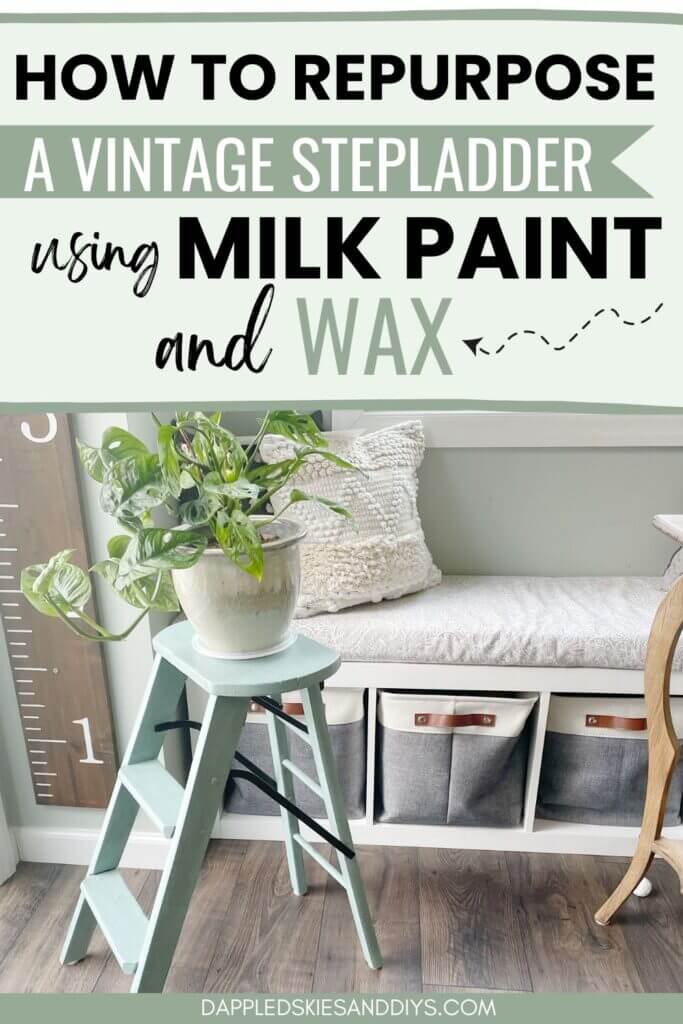


Let’s see how a vintage step ladder DIY can be repurposed as a plant stand with a little milk paint and wax!
Hi again friends! Let’s talk trash to treasure today. Because I actually saved this old step ladder from the trash heap the other day.
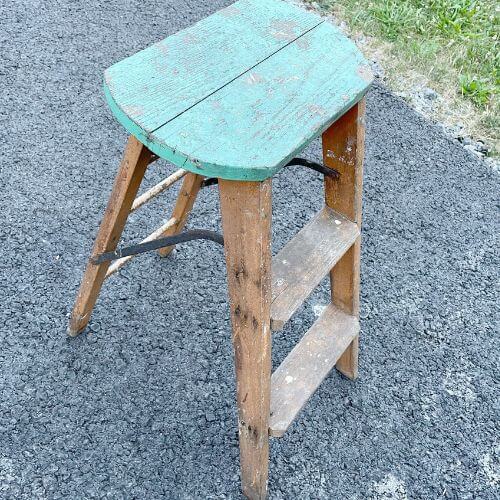
My husband was about to put this old paint-splattered stepladder out for the trash but that’s when I spotted it. Much to his chagrin. 😉
The stepladder was still pretty sturdy but did have paint splatters from past painting projects and some rusty hinges as well. However, nothing a little paint couldn’t fix!
So now let’s see how this old step ladder grew up to be a plant stand!
This super easy DIY only requires a little paint and wax to make this old vintage stepladder into something brand new! Here we go…
Supplies for Vintage Step Ladder DIY
This post contains affiliate links. As an Amazon Associate, I earn from qualifying purchases. This means when you click a link, I may earn a small commission at no cost to you. This helps me to run this website. Thanks in advance for your support!
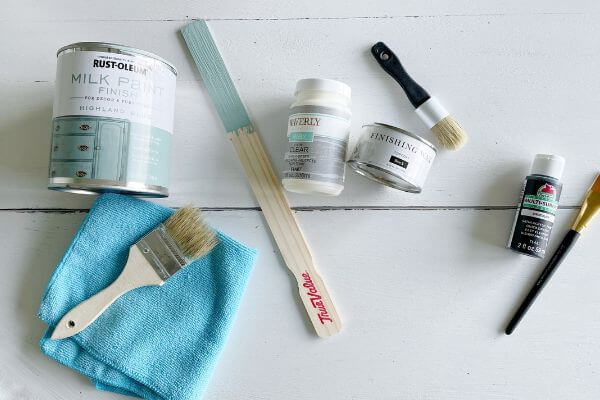
- Milk Paint – Rustoleum Highland Blue (Amazon)
- Chippy Brush (Walmart)
- Waverly Clear Wax (Walmart)
- Wax Brush (Walmart)
- Jolie Black Wax (Amazon)
- Microfiber or Lint-Free Cloth
- Black Multi-surface Paint (Walmart)
- Craft Brush
- Old Step Ladder
Clean Up Your Old Step Ladder
First things first, I got out an old bucket and put a few drops of dawn dishwashing liquid in there with warm water.
Then I took an old scrub brush and gently cleaned the entire stepladder. It had been sitting in an old basement, so it was pretty dingy.
After gently scrubbing all the surfaces, I hosed the step ladder off with water.
My rule of thumb is (but this is just me) that I don’t try to strip anything that I think might have lead paint in it. This ladder was pretty old so I thought painting it would be the safest option.
Plus, I had just gotten some Rustoleum Milk Paint that I wanted to try out!
Then I just allowed the step ladder to dry overnight.
Apply Milk Paint to Vintage Step Ladder
I did not sand the stool at all before applying my milk paint.
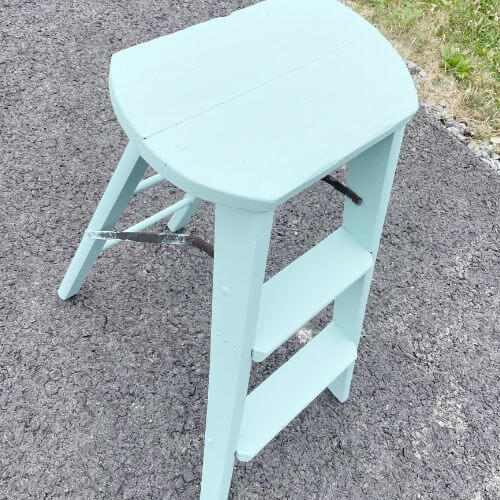
I have to say that the Rustoleum milk paint went on nice and smooth using my chippy paintbrush.
I applied two coats to the top and the legs allowing about 2 hours of dry time in between. This may vary a little depending on the type of day it is outside, so just make sure the first coat is dry before applying the second one.
Paint Your Vintage Step Ladder Hinges
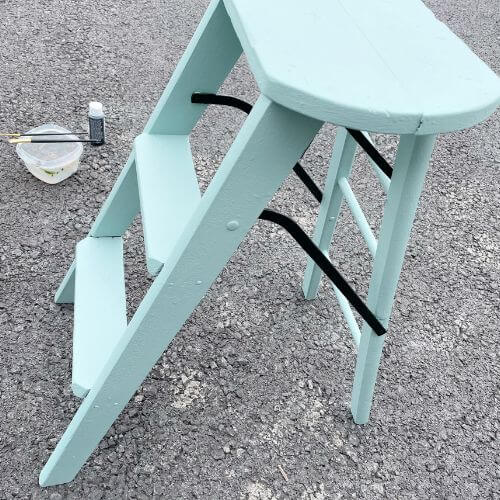
After applying the milk paint, I brushed black multi-surface paint that I purchased at Walmart over the hinges and metal areas.
I carefully applied this paint with a small craft brush so as not to get any on the ladder.
I could have left these rusty too, however, there were paint splatters on the metal hinges, so I decided to paint them instead.

Apply Clear Wax Over Milk Paint
The next step was to apply my clear wax over the milk paint. I waited about 8 hours before applying my wax.
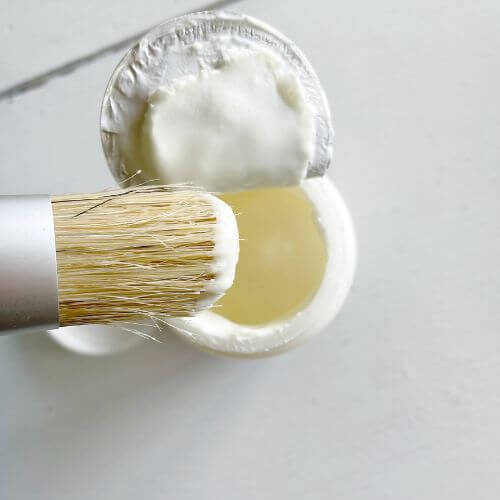
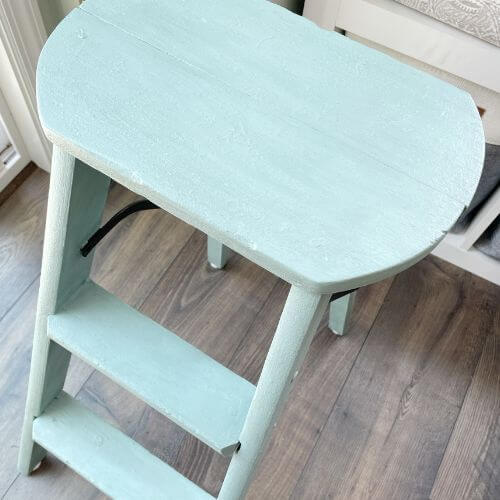
This clear wax I actually purchased at Walmart. Different waxes tend to have a different consistency, and this one has more of a thin, paint-like consistency.
I painted it on the step ladder using my wax brush and then wiped any excess off with my microfiber cloth.
Below is a picture that shows the consistency of this clear wax.
Apply Black Wax Over Clear Wax
So, I did really like the color of this Highland Blue Rustoleum Milk Paint and it was so easy to apply! However, when I looked at my step ladder, I couldn’t help but imagine one of those blue boxes from Tiffany’s. 😅
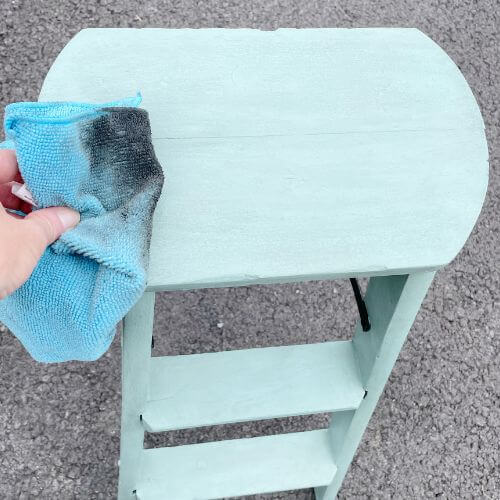
The next day, I decided to give it more of a rustic feel. I had black wax on hand at the house, and I applied the wax to my step ladder using a microfiber cloth.
It doesn’t take much so I just put a little on the cloth and wiped it on in long strokes. Then I just used the same cloth to wipe off any excess.
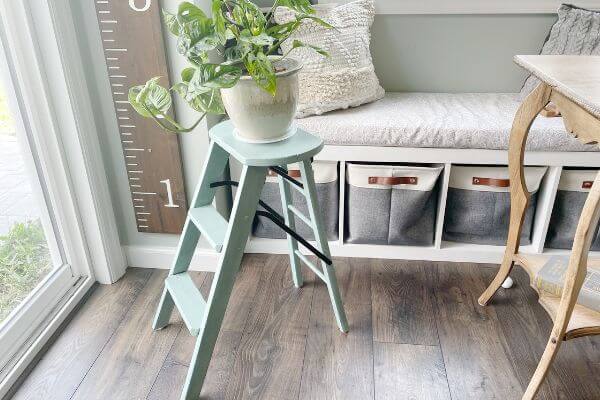
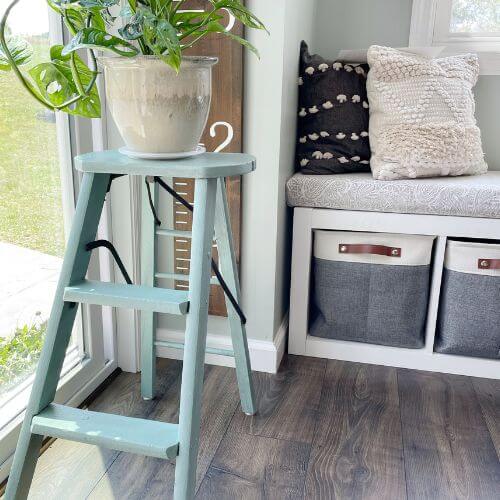
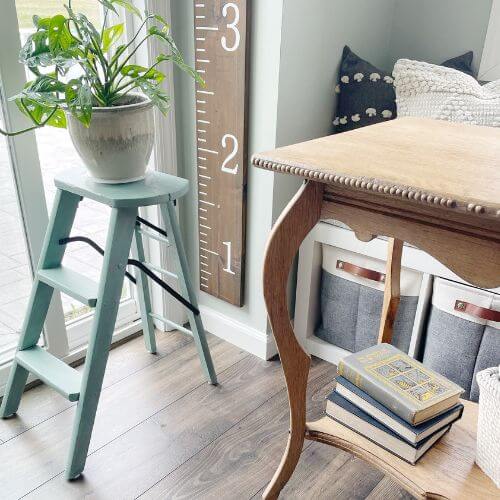
And this old trash-to-treasure step ladder turned plant stand was completed!
Final Thoughts on Vintage Step Ladder DIY
So, what do you think of this trash-to-treasure find! Was it work saving from the trash dump?
I really ended up loving the color of this old step ladder, and it works perfectly sitting beside the patio door with a plant on it.
The milk paint was really easy to apply using a cheap chippy brush, and the clear wax went on smoothly as well. Then the black wax overlay gave it just the rustic appearance I was looking for!
Repurposing vintage items is one of my favorite things to do! Tell me about what sort of treasures you like to repurpose down in the comments!