

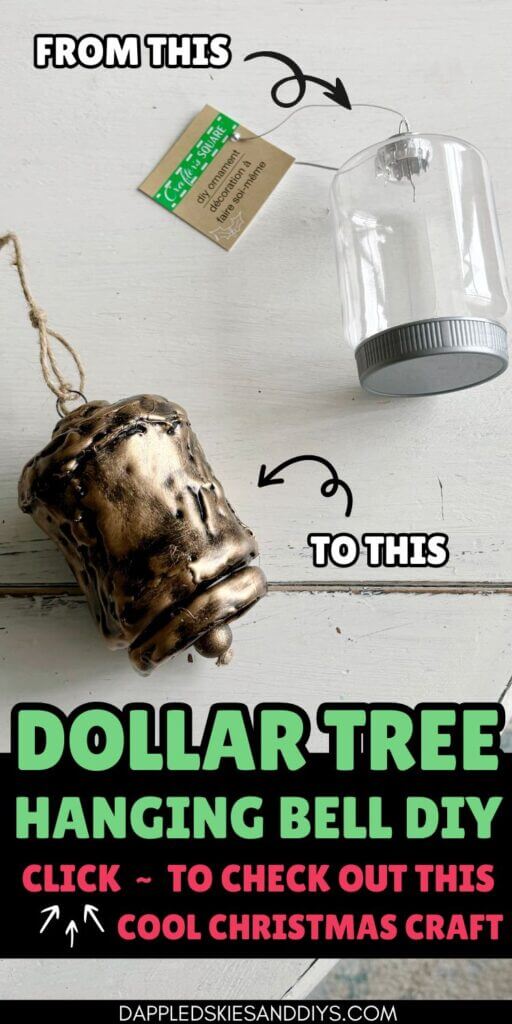
If you’re in the mood for some cool DIY bells for Christmas, then you’ve come to the right place. This DIY vintage bell tutorial uses Dollar Store ornaments to create a unique look.
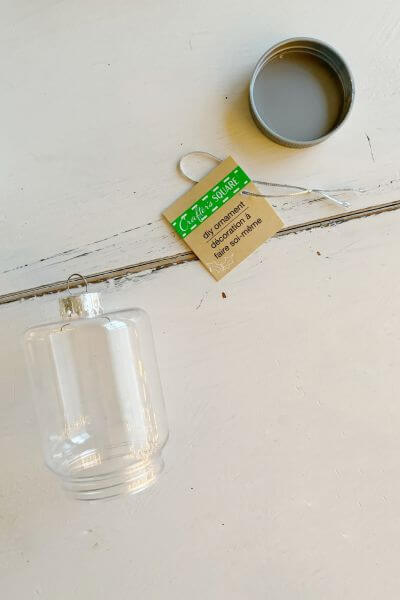
I’d been seeing these beautiful hanging bells everywhere for the past few Christmas seasons. So, when I saw plastic snow globe ornaments at my local Dollar Tree, I just had to grab a few and try out a new DIY.
There were a few hiccups along the way to creating them, but in the end, I think they turned out pretty unique.
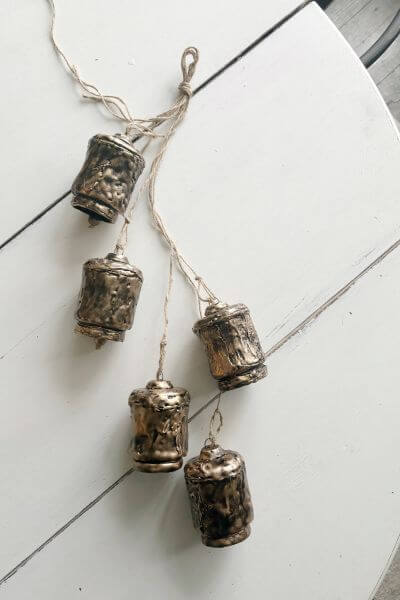
And all it takes to hang them is a roll of jute twine that can be found at Dollar Tree as well.
These DIY brass bells are easy to make and will look pretty on your mantle or hanging on a wall and will complement any Christmas decor.
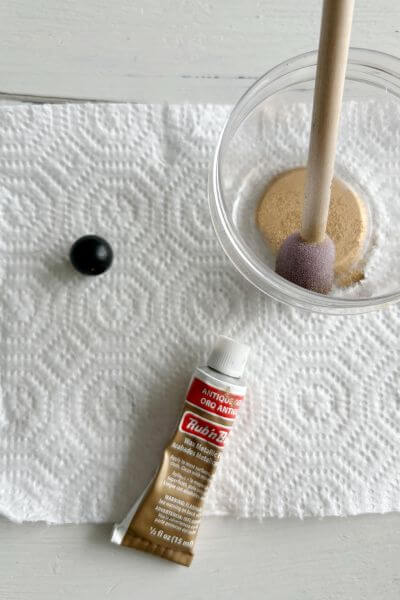
All you’ll need are a few supplies including a glue gun, paint and Rub n’ Buff which are a good staple for any crafter to have on hand!
Read on for the tutorial on how to make these easy DIY Christmas bell decorations.
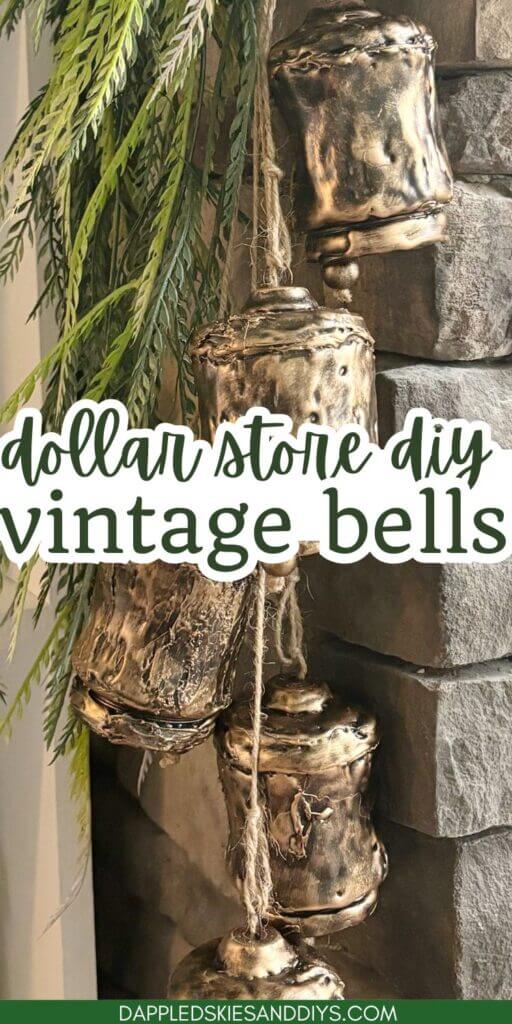
And pin on Pinterest to save this idea! ⬇️
This post contains affiliate links. As an Amazon Associate, I earn from qualifying purchases. This means when you click a link, I may earn a small commission at no cost to you. This helps me to run this website. Thanks in advance for your support!
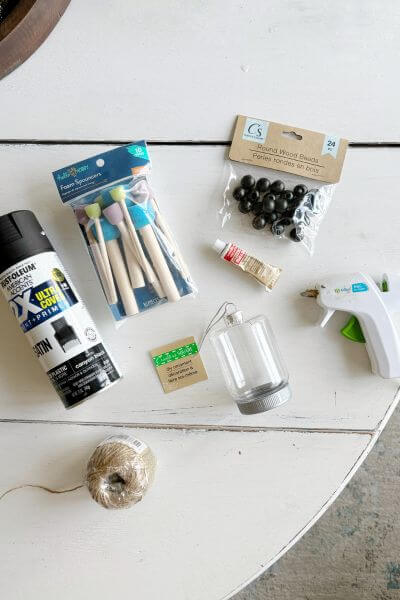
Supplies for DIY Vintage Cow Bells
You’ll need these supplies for this rustic bell DIY.
- Black Spray Paint (Amazon or Walmart)
- Jute twine (Dollar Tree)
- Plastic Ornaments (Dollar Tree)
- Rub n’ Buff (Amazon)
- Wood Beads (Dollar Tree)
- Glue Gun and Sticks (Amazon or Walmart)
- Craft Foam Sticks (optional)
First, Apply Hot Glue to Cover the Plastic Ornament
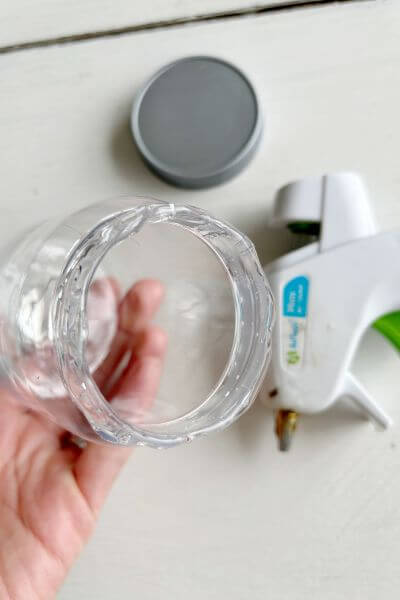
This is how I applied the glue to the plastic ornament step by step. I used a high-temp glue gun, and I’ll explain why later.
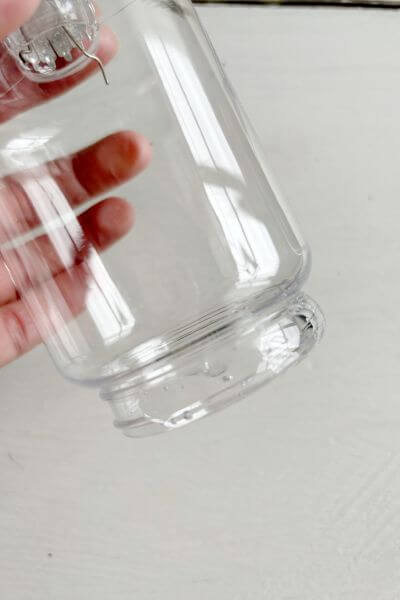
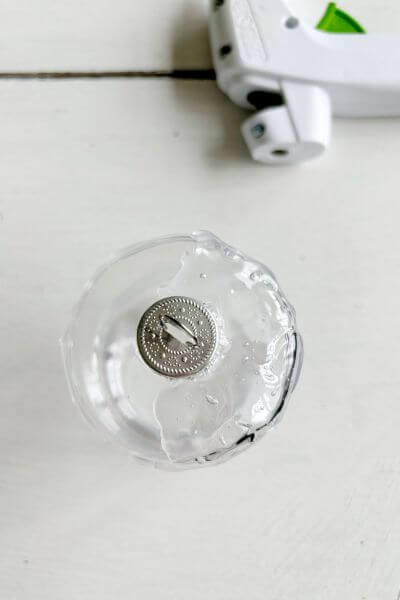
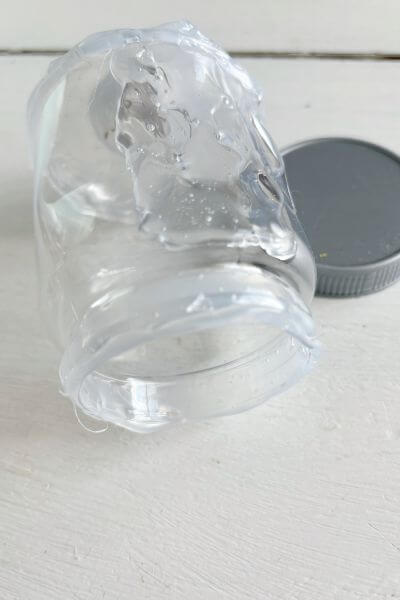
Remove the tag and gray base from the Dollar Tree ornament.
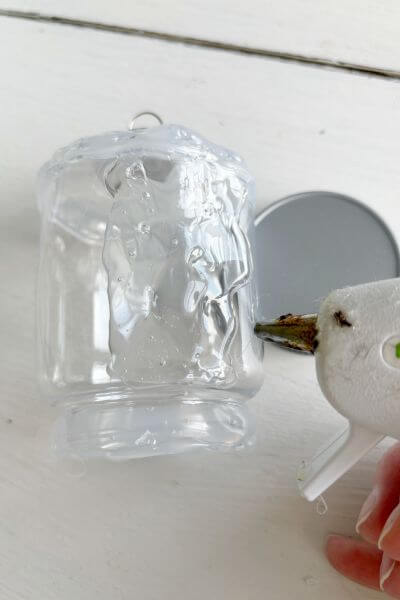
After heating up the glue gun, coat the bottom of the ornament with glue where the threads were for the gray base.
Don’t cover the indentation in the ornament, because that enhances the cowbell look.

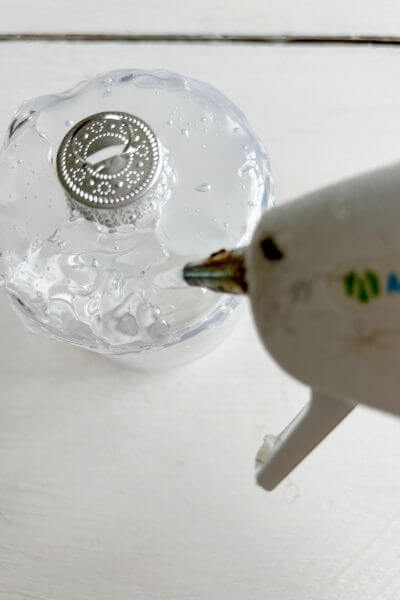
After you’ve completed the bottom part of the ornament where the threads were, next place a line of hot glue around the bottom rim of the ornament as well.
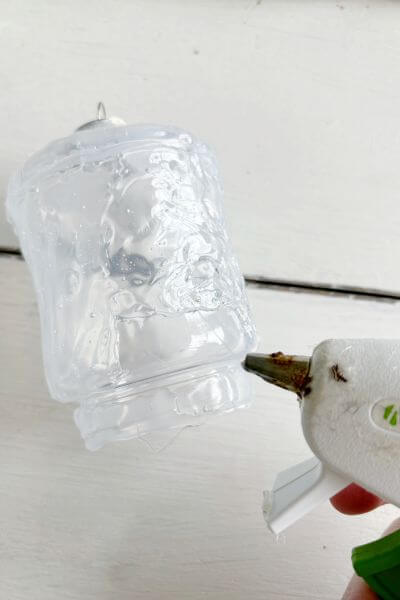
Now place a line of hot glue all the way around the top of the ornament as shown in the picture below.
Fill in the top of the ornament with hot glue above the line.
Now the top and bottom are covered with the hot glue. Keep reading though, it looks a bunch better at the end!
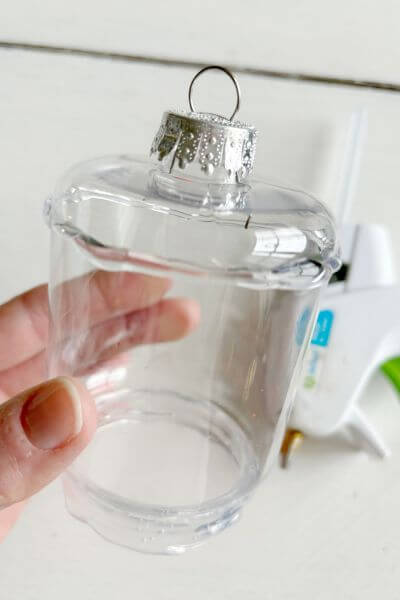
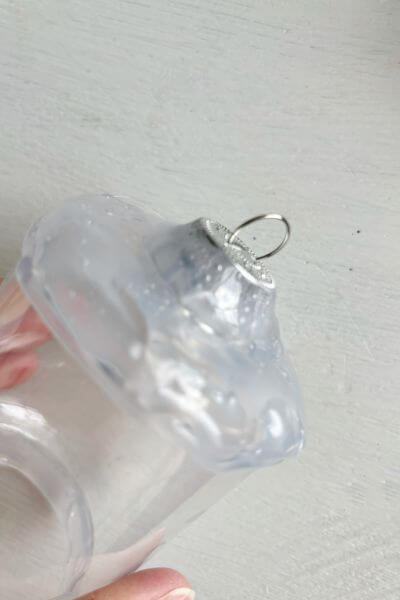
Cover the metal ornament hanger part with hot glue except the flat top and ring. Fade it into the top of the ornament with additional hot glue.
Okay! Almost done with the hot glue portion of this bell tutorial.
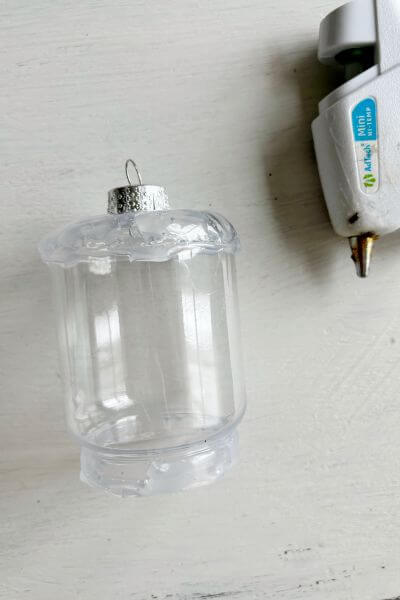
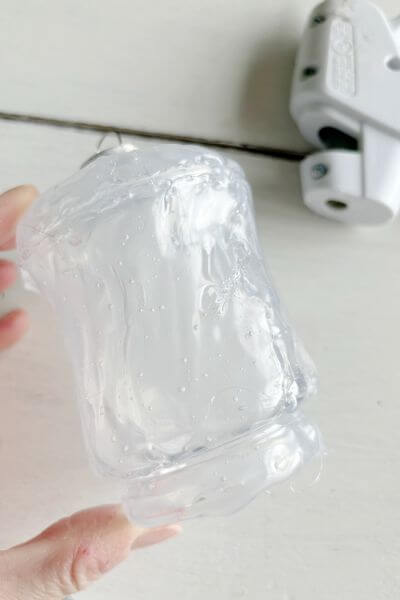
Now you’ll fill in the middle portion of the ornament using the hot glue gun.
Continue filling in the middle portion of the ornament, but don’t fill in the indentation. How I glued this is shown in the picture below.
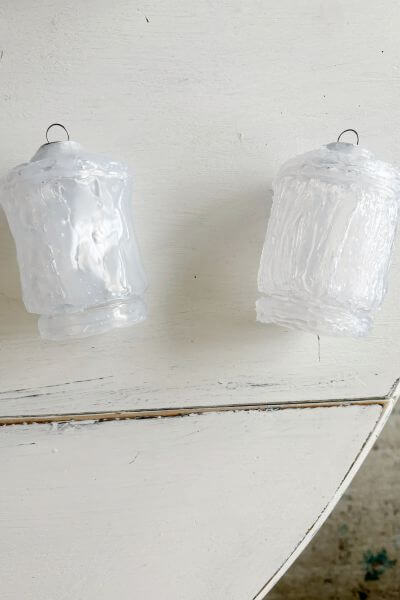
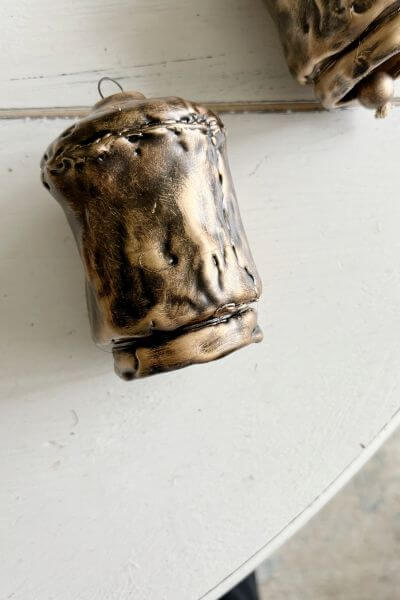
Here’s the plastic ornament all coated with glue, starting to look like a bell.
And here’s a comparison between a high-temp vs a low-temp glue gun. The high-temp hot glue gun (pictured on the left) buckles the plastic in just a bit, making the bell look more authentic and “forged”, if you will.
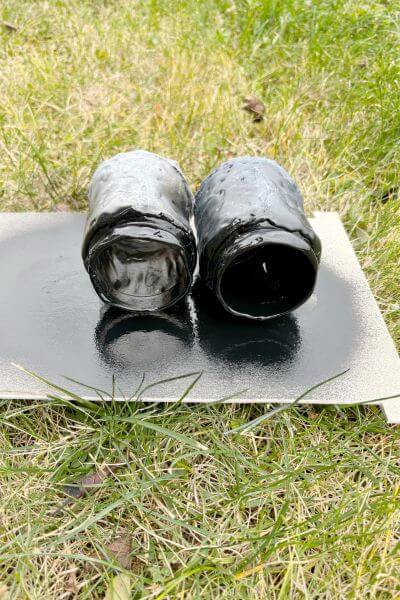
Spray Paint the Ornaments Black
First, I placed them on their sides and spray painted the bottoms.
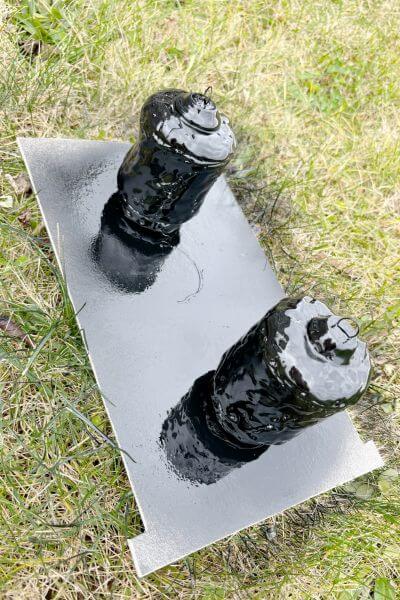
After the bottom dried, I put them right side up and sprayed the rest of the surface of the bells on each side.
Use Rub n’ Buff to Create a Vintage Look for the DIY Bells
After the spray paint dried, I used the craft sponge to apply the Rub n’ Buff to the these hanging bells.
I dabbed the sponge into the Rub n’ Buff and then dabbed some off before applying it to the bell.
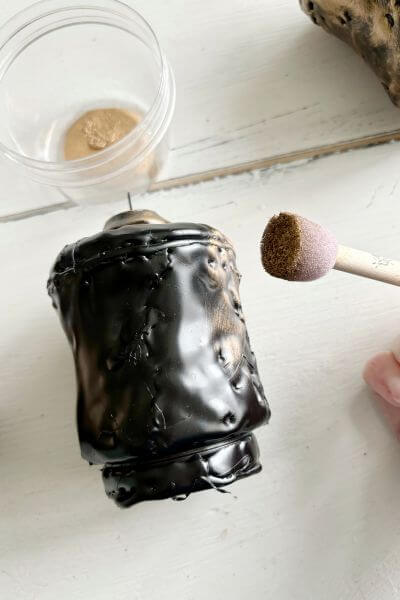
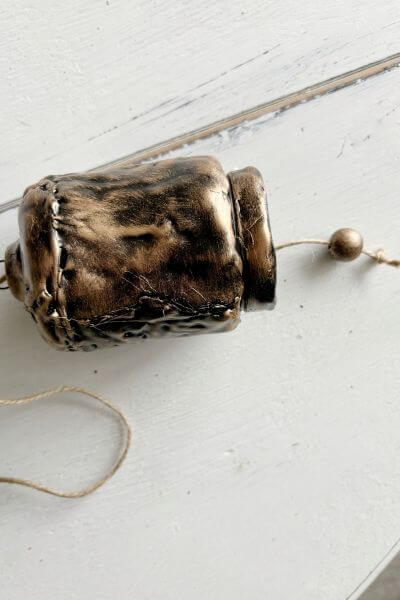
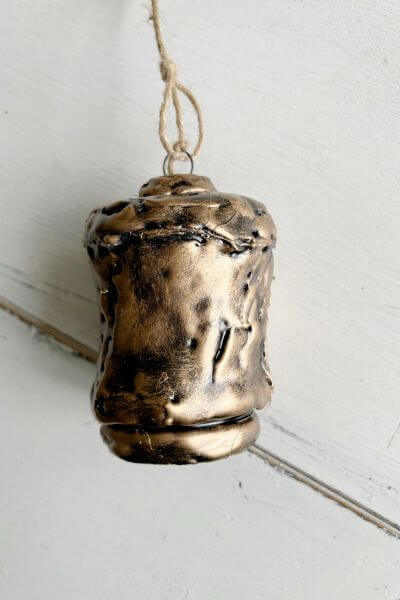
Here’s the bell so far, after the Rub n’ Buff was applied.
While we have the Rub n’ Buff handy, we’ll create the clapper (this is the part that hangs inside of a bell to make it ring). I was not aware of this term before I googled it. 😝
Create the Bell Clapper with the Black Wood Bead and Twine
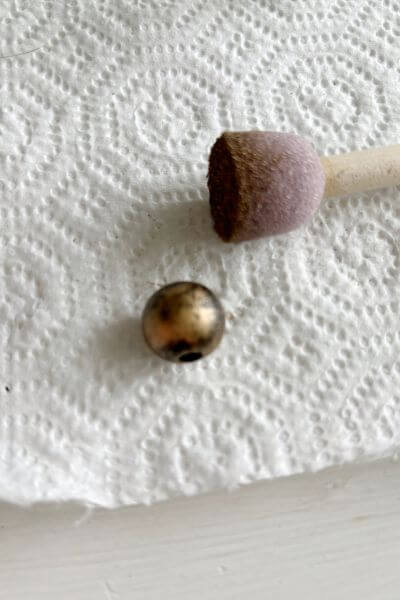
Grab the black wood bead and apply the Rub n’ Buff to the bead using your craft sponge.
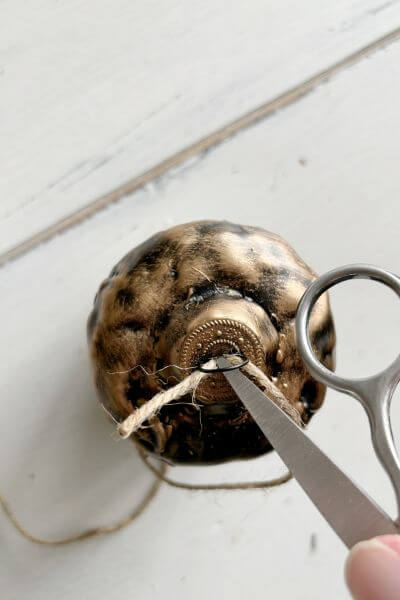
Next, you’ll get out the jute twine to hang the wood bead within the bell. Push the twine down through the top gap in the ornament. I used a pair of scissors to push it down through the hole.
Pull the twine out the bottom of the bell and attach the wood bead.
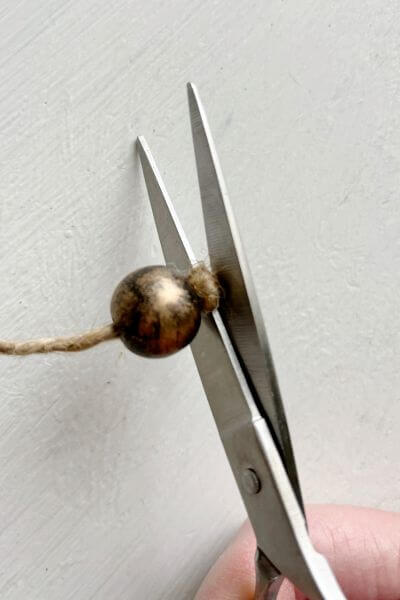
I did this by simply threading the twine through the wood bead and then making a triple knot so the bead wouldn’t slip off.
Clip the excess twine off below the triple knot.
Secure the Twine at the Top of the Ornament
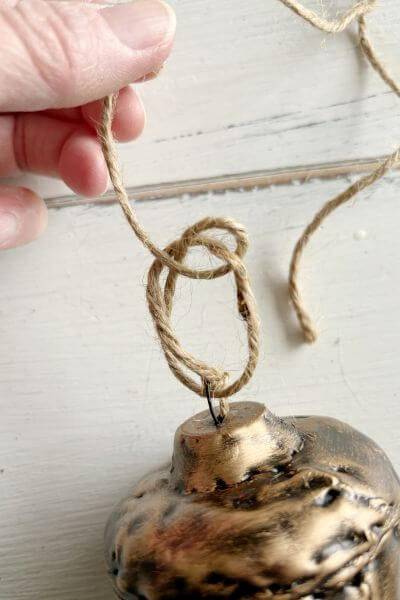
Next, you’ll make a knot at the top loop of the ornament. You can double it to make it more secure.
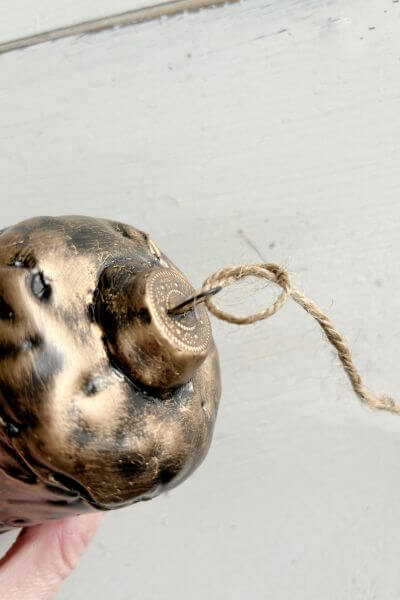
Then make a loop of twine by putting the twine through that top metal loop as shown below.
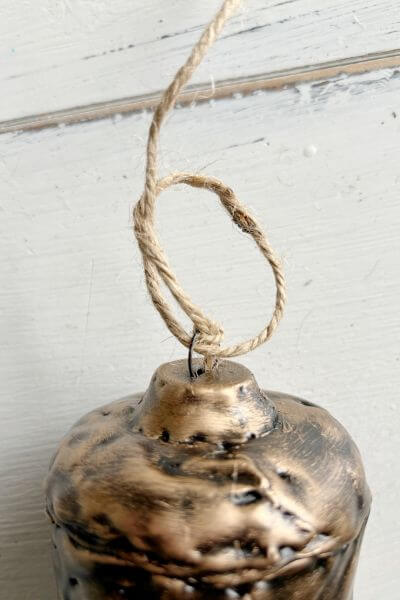
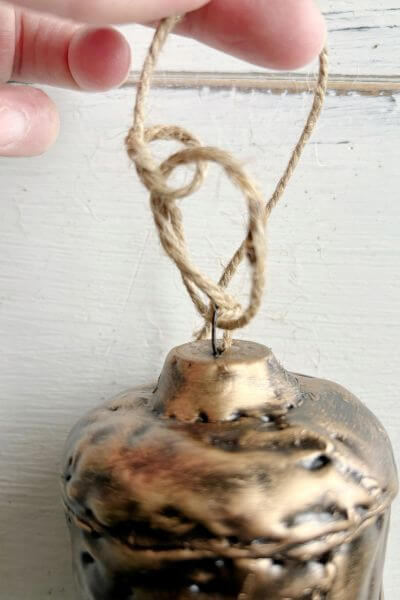
Once you have your loop of twine, now you’ll make a knot at the top portion of that loop.
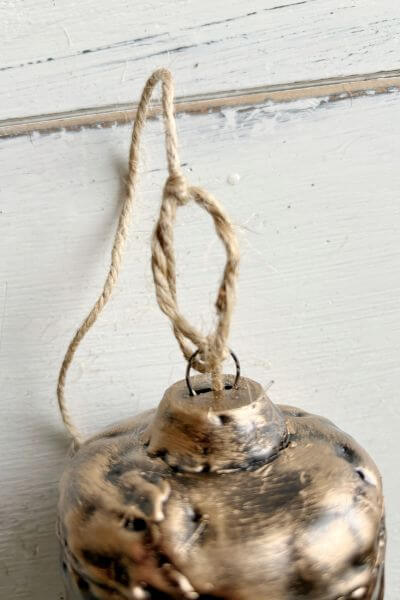
It should look something like this when you’re finished making the twine loop at the top of the bell.
Arrange the Bells in Varying Heights and Knot the Twine
Next, arrange the bells so that they will be of varying heights when you hang them up.
As you knot the 5 strands of jute twine, you can make a loop to allow for easier hanging.
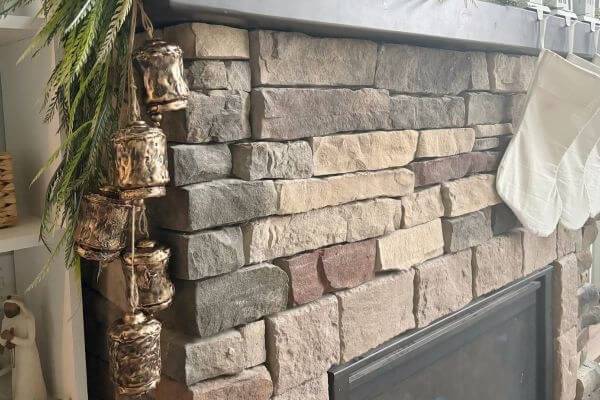
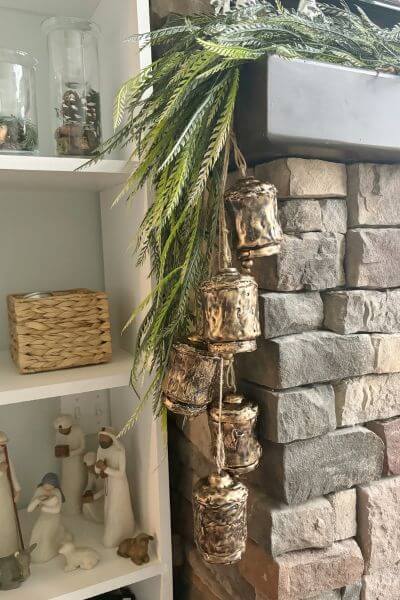
Hang the DIY Christmas Bells
I placed a command hook under my garland on the top of my mantel to hang the bells.
Finishing Up the DIY Dollar Tree Brass Bell Tutorial
Quite the transformation, am I right? And just from using a little hot glue on plastic ornaments. The inconsistent surface that the hot glue gives the bell kind of makes them look forged, don’t you think?
A few extra tips…try to limit the number of strings that hot glue sometimes makes when you apply it to a surface. Once you put the Rub n’ Buff on it, any slim stringy hot glue strands will show up on the bell’s surface.
You could probably get away with not using the craft sponges too. A cotton cloth would probably work too, just be sure that you dab some off before applying it to the bell. This way some of the black will show through.
The Dollar Tree supplies including the 5 bells, wood beads and jute twine only total around $10.00.
However, the black spray paint, Rub n’ Buff and glue gun/glue sticks will cost a bit more money (but these supplies are always good to have on hand for future DIY and craft projects)!
My glue gun is inexpensive and can be found at Walmart or Amazon, just be sure to use the hi-temp version!
Let me know down in the comments what you think of this brass bell Christmas craft! And, as always, thanks so much for reading!
Now it’s your turn…grab a few Dollar Tree ornaments, wood beads and twine, and create this homemade hanging brass Christmas bell DIY for your mantel or wall.
Related Post
Pin me on Pinterest! ⬇️
Please consider subscribing to my email newsletter for more unique DIYs delivered right to your inbox! 👇
Totally LOVE the bells and your tutorial is absolutely 💯 the best I’ve ever seen. Truly! I don’t subscribe to many emails but you have made the cut. I can’t wait to show this post to my sister. AND, I saw this post in September 2025 which gives me time to make them to use this year.
Wow! Thanks so much for taking the time to leave this sweet comment! It totally made my day! ☺️ So happy you enjoyed the tutorial and if you have any questions just let me know!