
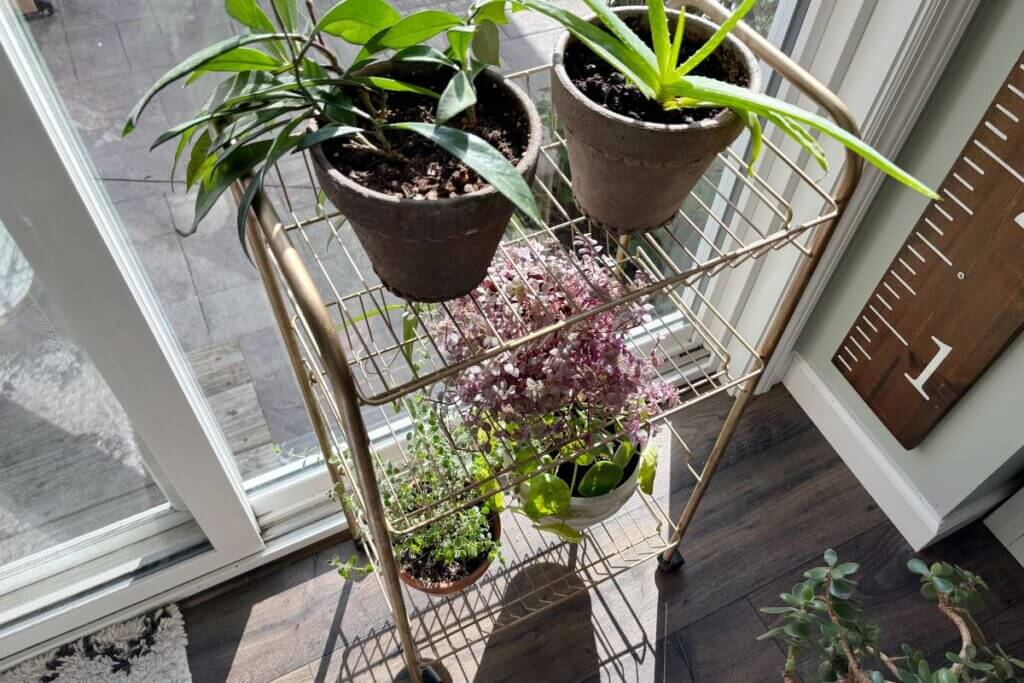
Grab a wire cart, spray paint and rub n’ buff and create a pretty plant stand that’s also movable with me!
I’ve had this wire cart that I purchased from Walmart sitting in my garage for far too long.
We were leaving for vacation in a few days, which of course is the perfect time to try to get all the projects done that I’ve been putting off all summer. Am I the only one like this?
So instead of packing, I pulled the wire cart out of the depths of my garage. It’s a simple cart and requires zero tools to put together.
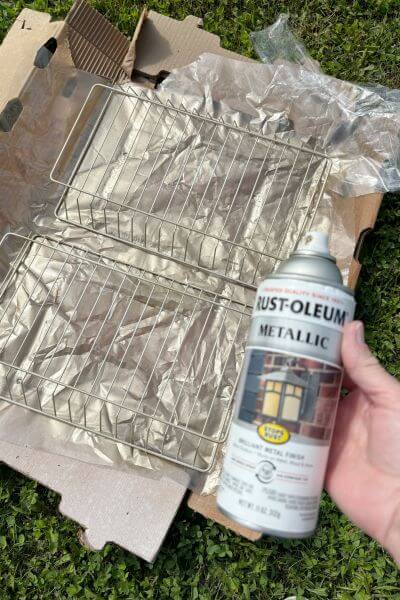
Before putting it together, however, I decided to spray paint it. I had a can of Warm Gold by Rustoleum in the garage so I decided to put the can to good use.
Read on for the step-by-step, simple instructions to make this wire cart into a movable plant stand.
This post contains affiliate links. As an Amazon Associate, I earn from qualifying purchases. This means when you click a link, I may earn a small commission at no cost to you. Thanks in advance for your support.
Materials List for Plant Stand Wire Cart
- Wire Cart
- Rustoleum Warm Gold Spray Paint
- Cardboard or Plastic to protect your lawn
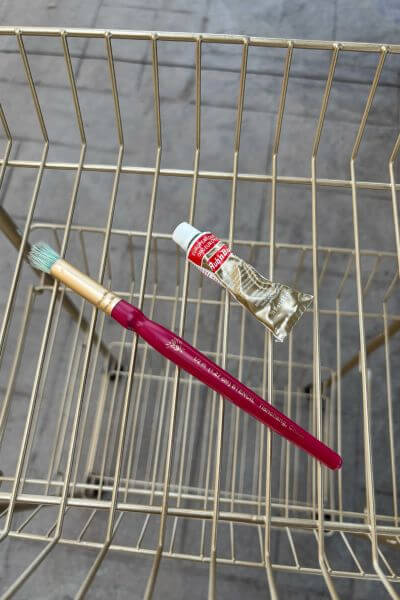
- Rub n’ Buff European Gold
- Craft Paintbrush or Cheap Makeup Brush
The wire cart was purchased at Walmart, and you can find the spray paint there too usually or on Amazon. The links to the spray paint and Rub n’ Buff are from Amazon.
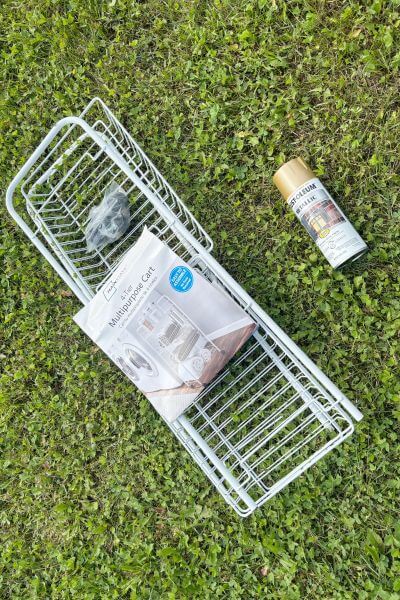
Spray Paint the Cart
First things first, you’ll need to spray paint the cart.
I did the uprights on the cart first, placing them onto the cardboard. Gave them a coat and allowed them to dry.
Then flipped them over and did the other side. Don’t forget the sides of the uprights and also along the inside edge.
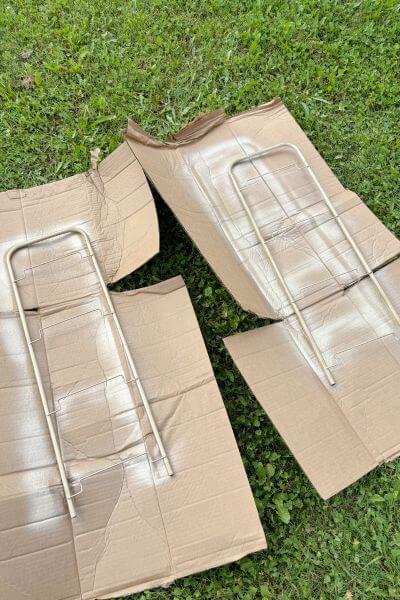
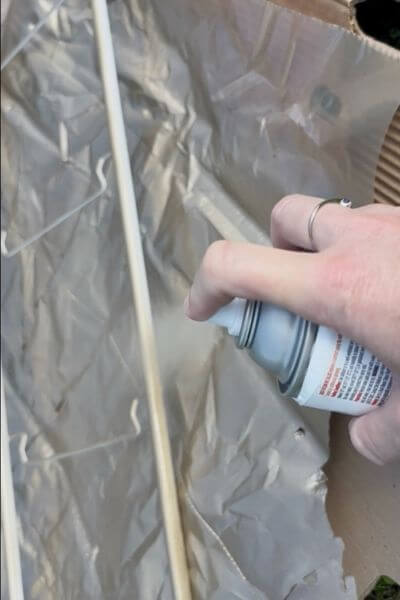
Then I spray painted the baskets in the same fashion.
Take it from me, the slim wires are difficult to spray paint and get all the surfaces.
I ended up using my entire first can and then running out to buy another one.
If anyone has a trick to spray painting slim wire-like things, please share!
And always use a mask when spray painting and do so in a well-ventilated area.
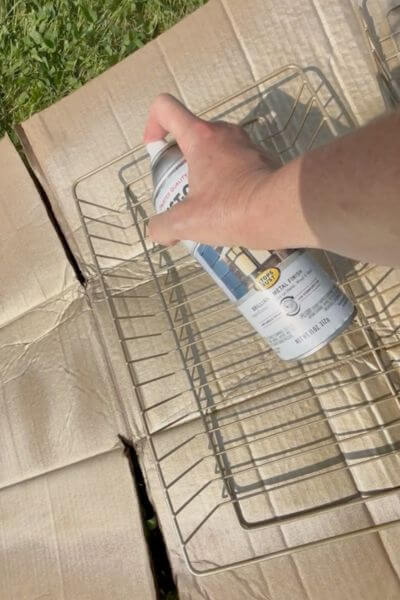
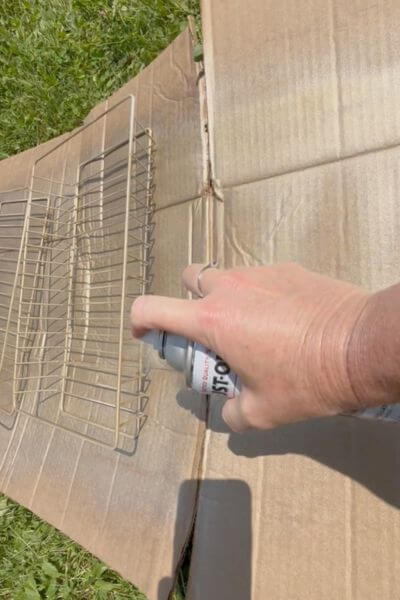
Allow the paint to dry before putting the cart together.
Assemble the Wire Cart Plant Stand
This cart is super easy to assemble. Definitely a plus in my opinion. No tools required!
Just make sure the uprights are facing the right direction and begin with the bottom basket. Push it down into the brackets on each side.
Do this with each remaining basket.
Then turn it upside down and push the wheels into each leg. You may have to push down with a bit of force to get them to click into place.
So, the only problem is that you rub off some of the paint when doing this.
I didn’t try to paint the cart with primer first, but it may have helped.
We’ll resolve the scratch marks in the next steps.
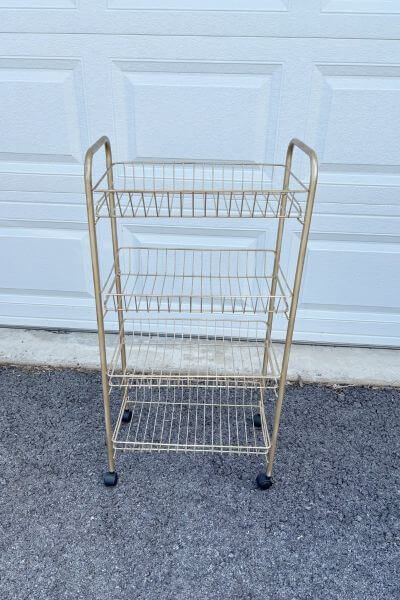
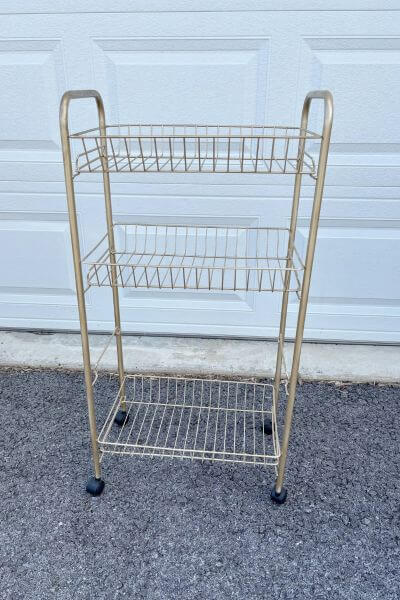
I decided to remove the third basket to allow for taller plants on the bottom shelf.
Use Rub n’ Buff to Cover Scratch Marks
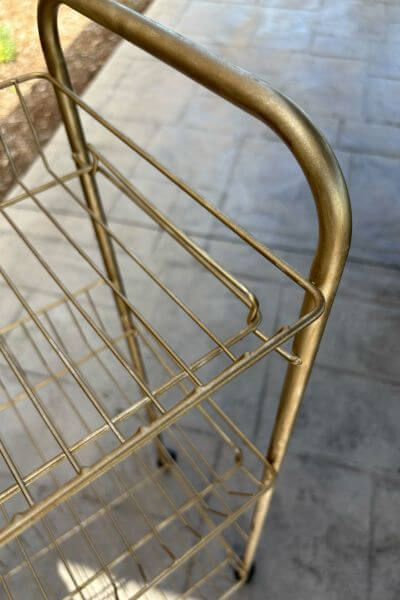
To remove any scratch marks caused by putting the cart together (or any spots you may have missed with the spray paint), get the rub n’ buff out.
I tried two different shades of Rub n’ Buff – Antique Gold and European Gold because I had them on hand.
The European Gold is what I chose to go with. It’s not the exact same color as the Warm Gold spray paint but I liked how they looked together.
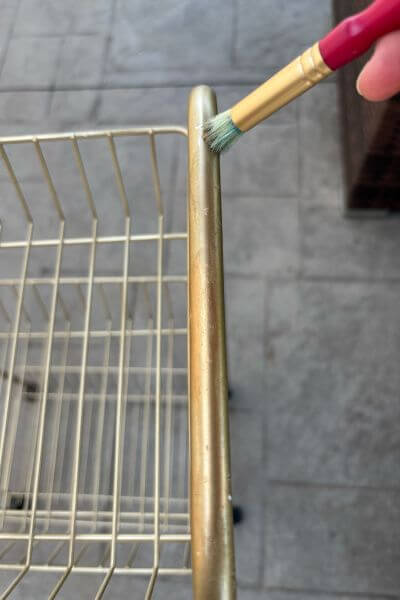
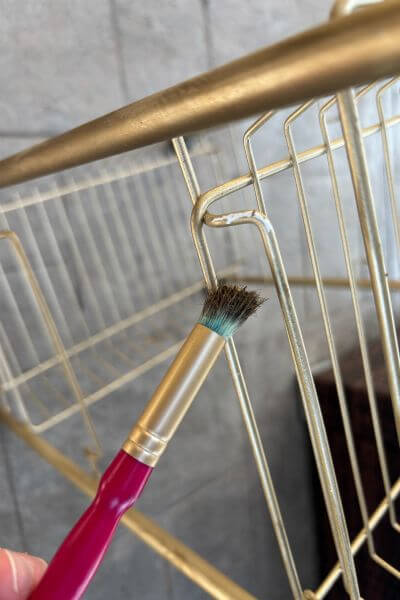
So, while you’re covering up the scratch marks, lightly brush the Rub n’ Buff over the rest of the cart. This creates a two-toned effect on your cart.
Hit anywhere you missed with the spray paint as well.
I used a small craft brush to apply the Rub n’ Buff. You could also use a cheap makeup brush like I did in this Wire Shelf Tutorial.
Allow the Rub n’ Buff Time to Cure
Allow the Rub n’ Buff at least 24 hours to cure and then buff as needed with a soft cloth.
And then it’s time to add your plants! 🌿
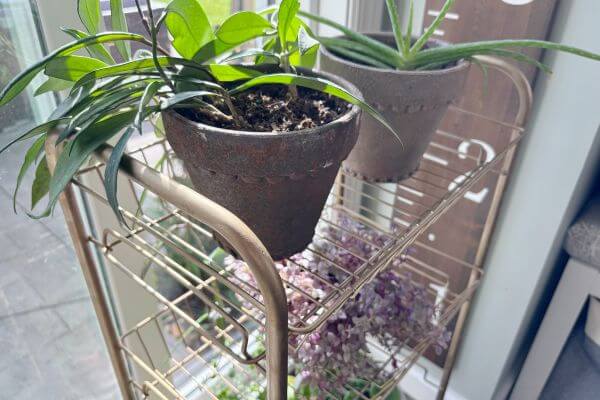
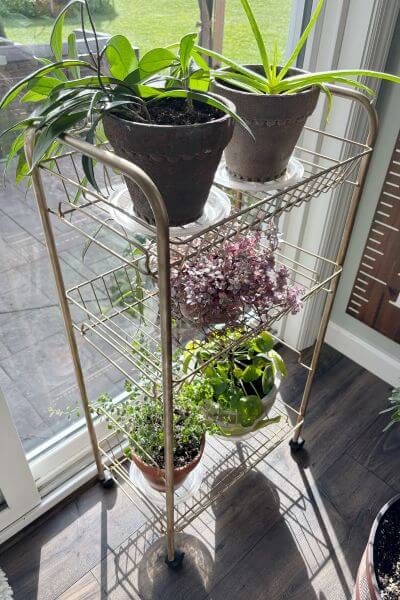
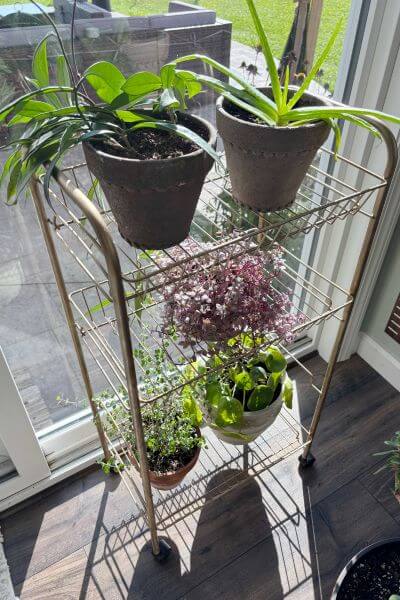
I decided to remove the third shelf to allow for taller plants. That way, I could place taller plants on the top and bottom shelf and then smaller plants on the second shelf.
Definitely do this before applying the Rub n’ Buff though!
Likes and Dislikes of the Project
First off for the likes…
Super easy to assemble without tools.
Overall liked the look of the cart with the gold paint and Rub n’ Buff after it was finished.
Love that it is moveable and gets a few of the plants off the floor.
Wire allows no light to be blocked for your plant friends.
Now for the dislikes…
It’s a smaller cart so probably 6-inch planters may be the max you can put on an individual shelf.
If you need to buy all the supplies, it comes out to around 50 bucks. This is approximate pricing. Wire cart = 20, Rub n’ Buff = 10, 2 cans of spray paint = 20. And then (of course) I ended up finding a cart on Amazon that was similar for around that price. I’ll link it right here if you want to check it out. I didn’t buy this one (since I made this beaut) so research before you buy it to make sure it’s what you want.
Some areas it was harder to get the Rub n’ Buff to stick than others. I had to dab it multiple times with the paintbrush to get a few of the bigger scratches to cover.
Here are some pics of this useful little cart.
Final Thoughts on Wire Cart Plant Stand DIY
Overall, I love this little wire cart.
It holds multiple plants.
It’s movable!
I like the gold coloring.
And it’s small, so it doesn’t take up much space.
I have the cart by my patio door where a lot of my plants like to hang out. The ones that are able to survive at my house anyway. 😂
If you’re looking for a list of plants that are able to survive inconsistent waterings, intermittent neglect and very rare re-potting you’ve got to check out this list of hard to kill plants.
Questions – please post them down in the comment section below.
And, as always, thanks so much for reading.