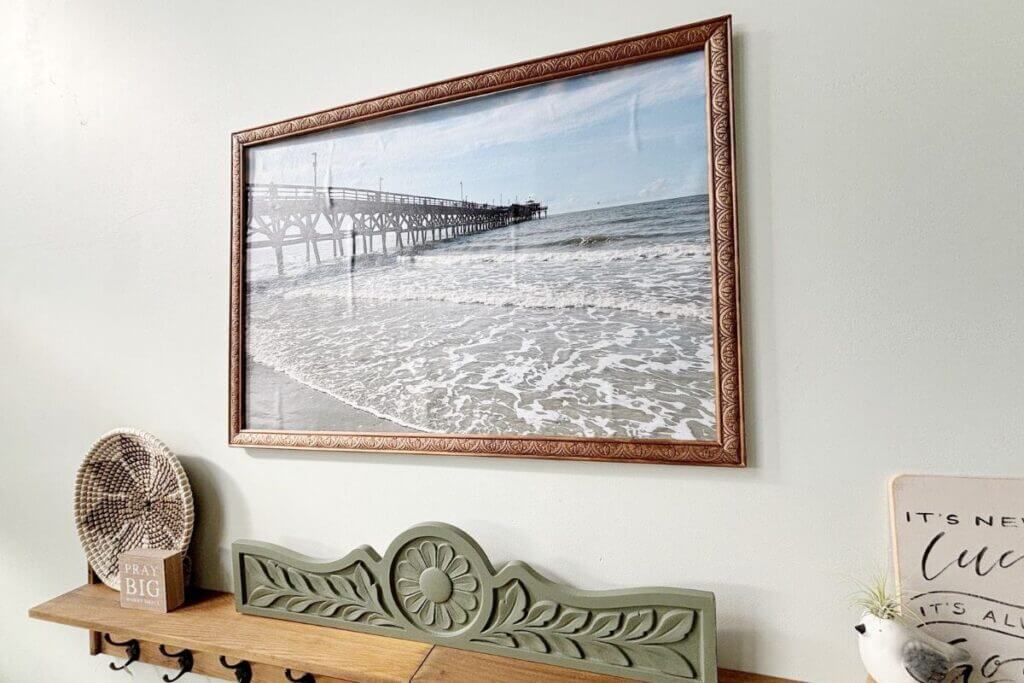
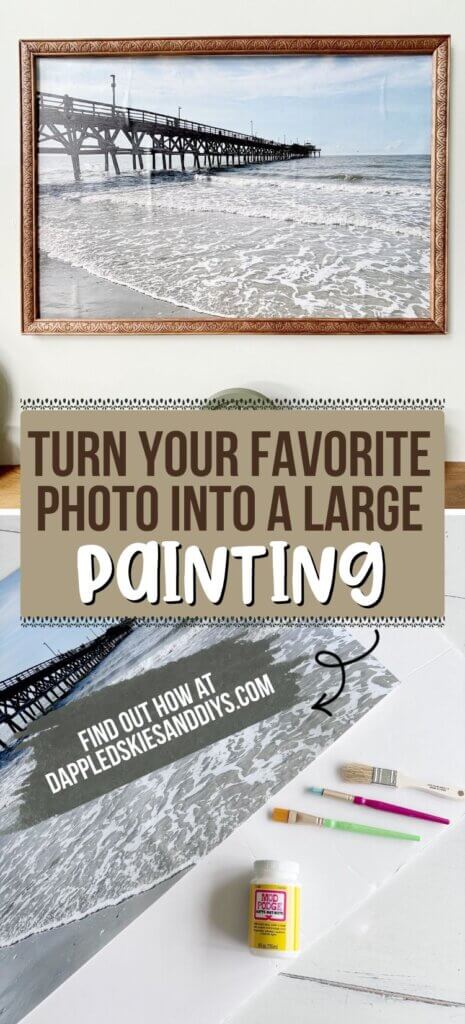
Ready to turn a poster you can print out (with your very own picture) into a large painting for your wall? Then you’ve come to the right post, my friend!
I was looking for a large picture for above my couch in the living room. It’s the largest wall I have in the house, so I wanted something that was big!
You can print out large posters at Walmart with any pic you want, so I chose the 20×30 size since it was easy to find a foam board that size too.
The poster size I picked was a little over 20 dollars when I purchased it, which isn’t bad for an extra-large picture that is going to be custom made…by you! 😉
Grab your favorite picture from your phone, make it into an extra-large poster, get out your mod podge and turn it into a painting!
That’s the DIY I have for you today, folks. So, let’s get after it …
Supplies for the Poster to Painting
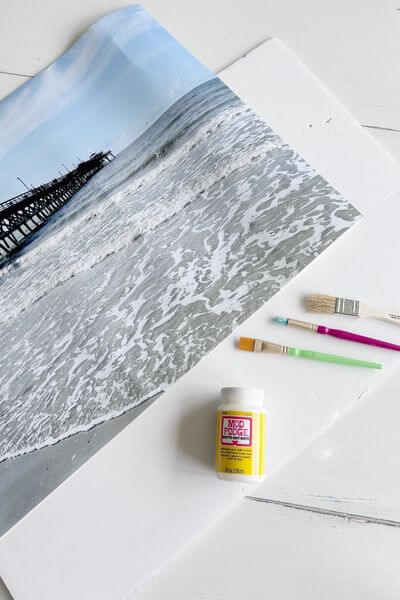
- Extra Large Poster/Photo (I got a 20×30 from Walmart photos)
- Foam Board 20×30
- Chippy Brush (ignore the other brushes, I used the chippy brush for everything)
- Matte Mod Podge
Glue the Poster to the Foam Board
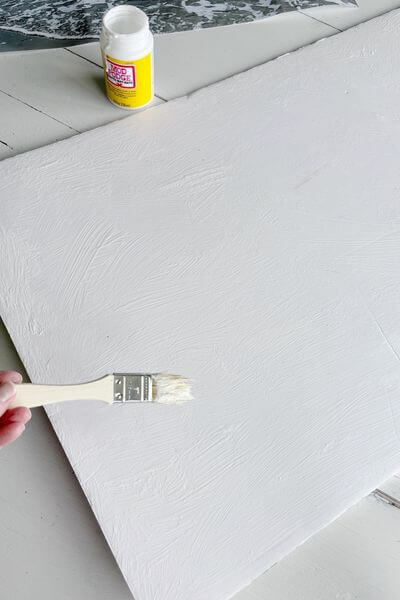
Slather the foam board with your mod podge. Get it into every last corner.
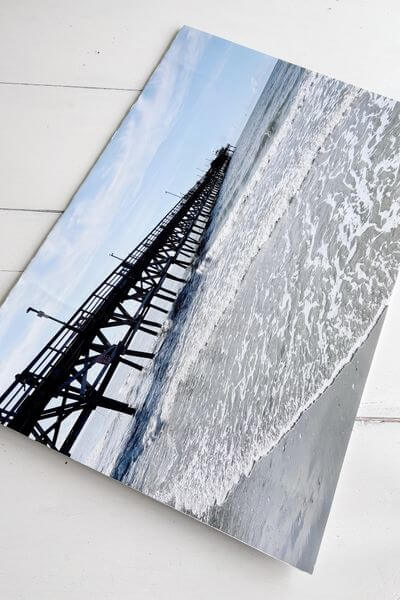
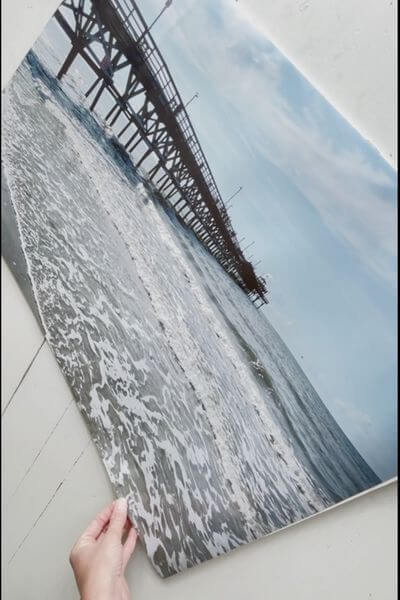
Position Poster on the Foam Board
Carefully position the poster onto the foam board getting it as close to the edges as possible.
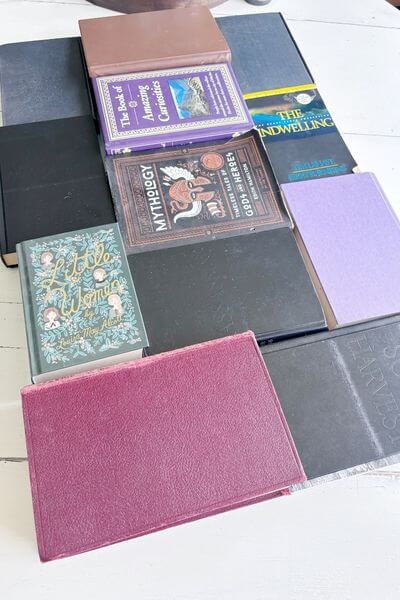
Place Books on Top and Allow to Dry
Place books onto the poster and allow the mod podge to dry.
Use Mod Podge to Create Texture on the Poster
Pour some of the mod podge onto the poster.
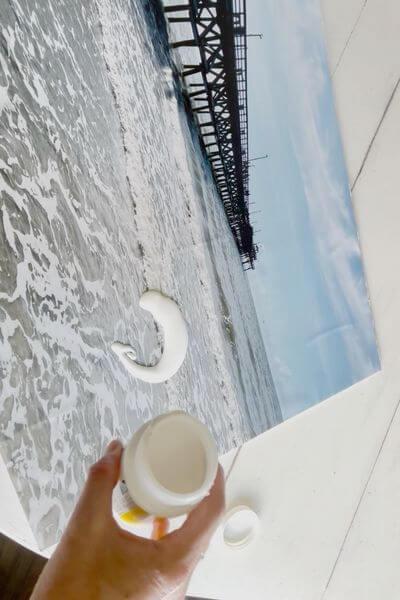
Spread out the mod podge using the chippy brush.
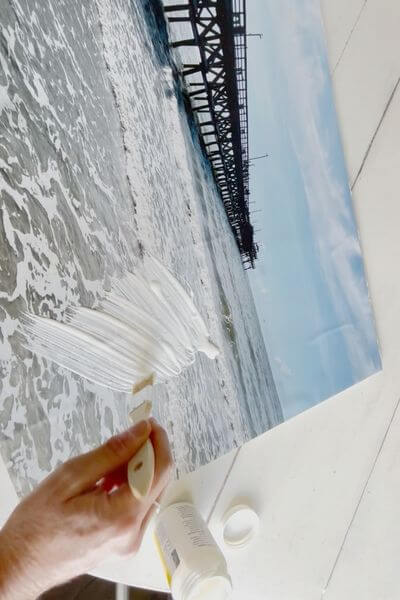
Continue to spread out the mod podge. Before the mod podge dries you want to mimic the texture of your picture.
I dabbed and swirled the mod podge to match the movement of the waves and the clouds.
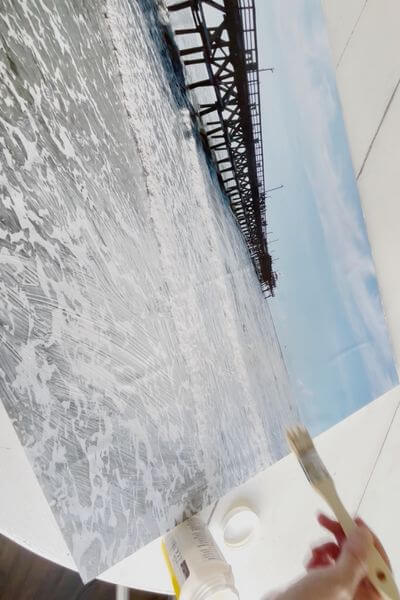
There’s no right or wrong way to do this. Just pretend you’re an artist and mimic how you think the brush strokes might look.
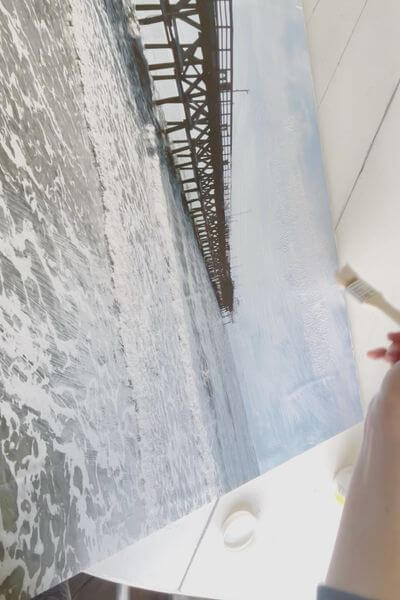
Oops! I dumped too much on here, so just scooped it back up and put it back into the jar.
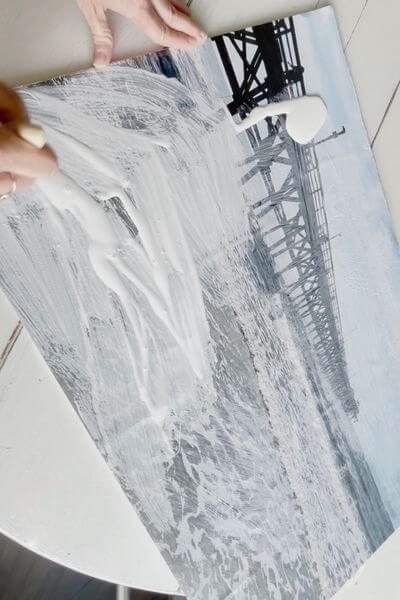
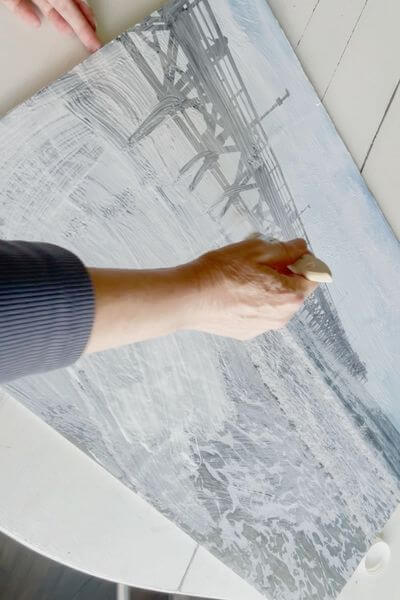
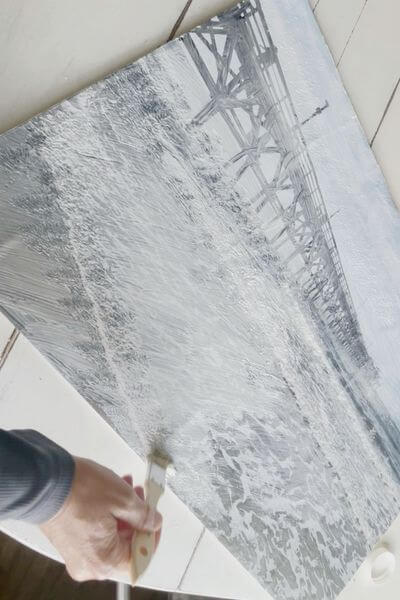
All done! Mod podge coated over the entire poster thus adding texture to the print!
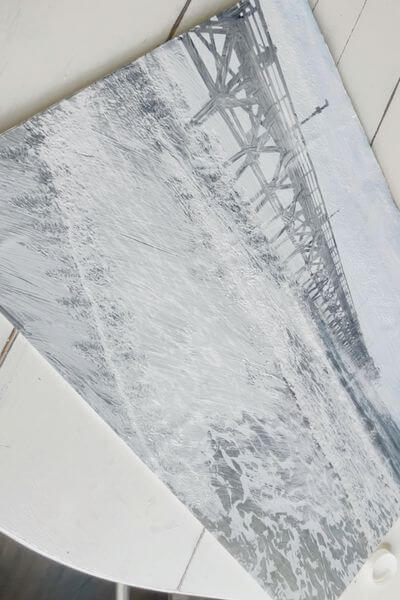
Allow Mod Podge to Dry
Place your poster in a safe area (away from your pets). I had to keep mine away from my two mischievous cats.
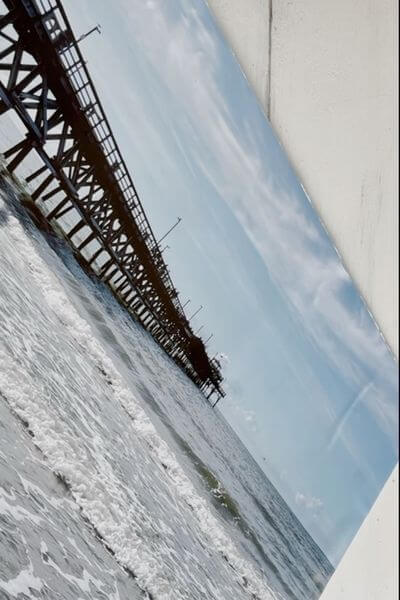
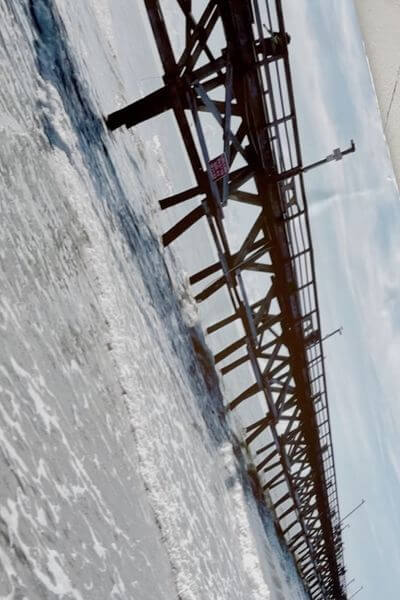
There are a few wrinkles in mine, but I left this poster in my bedroom for a long time before completing this DIY. So, it was among the animals and kids in my house possibly being trampled.
I’m wondering if a new poster would have them too.
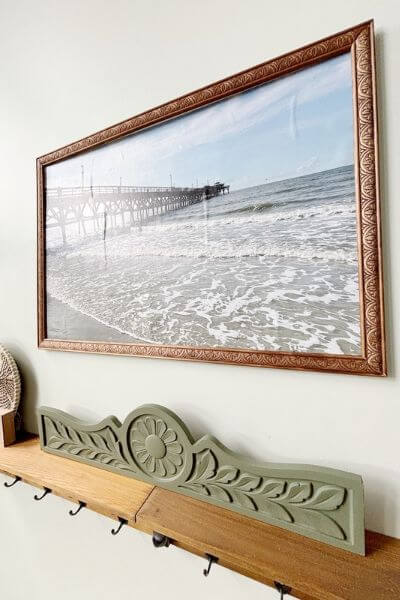
But here’s the good news! My next post is going to show you how to make a frame for this poster painting.
And it’s going to be interchangeable so you can switch out your photo paintings with each season or holiday!
Stay tuned! 🎶
Things I Love About this Project
- You can choose any photo from your camera roll and create your own large poster/painting for your wall
- Mod Podge is very forgiving when you apply it
- Mod Podge creates a lovely texture assisting both the appearance and protection for your piece
- Short supply list (I always get overwhelmed with long supply lists for DIYs – same thing with recipes!)
Things That I Wasn’t as Happy About
- Wrinkles in my painting! However, this may have been because projects tend to sit for a while here before I finish them 🥴
That’s all I can think of for cons with this project!
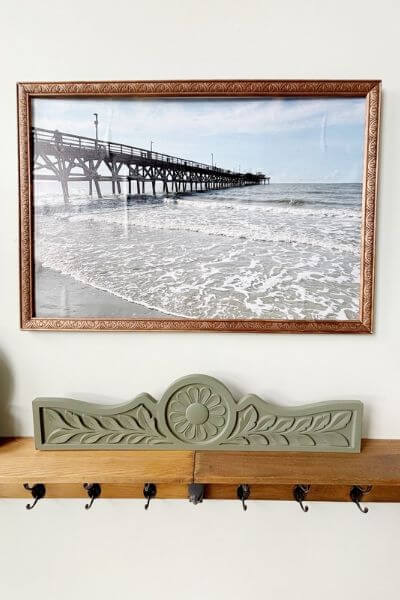
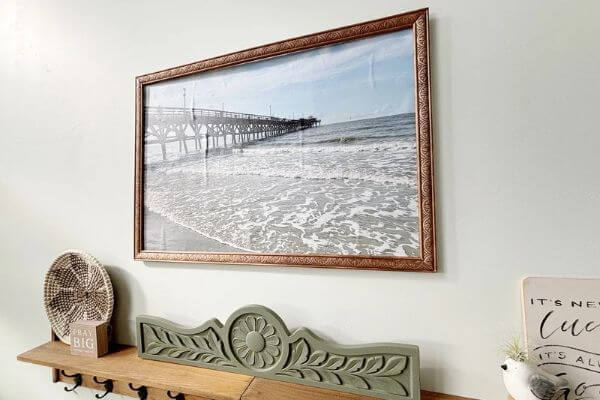
Final Thoughts for This Large Poster to Painting DIY
I think the best part of this DIY idea is that you can choose any pic from your camera roll, print it out as an extra-large poster and then turn it into a painting.
If you have a large space and want a bigger picture to cover it, then this is definitely the way to go.
The frame in the photo was made so that you can easily switch your pictures out with each season or holiday. Or anytime you feel like you want a change in scenery.
That post is coming soon and when I finish it, I will link it here.
So, now it’s your turn to try this out for yourself! As always, thanks so much for reading!
Grab your favorite picture, turn it into a poster and then get out your mod podge to make a cool and personalized painting for your home!
Pin me on Pinterest ⬇️
Please consider subscribing below for more DIY ideas 👇