
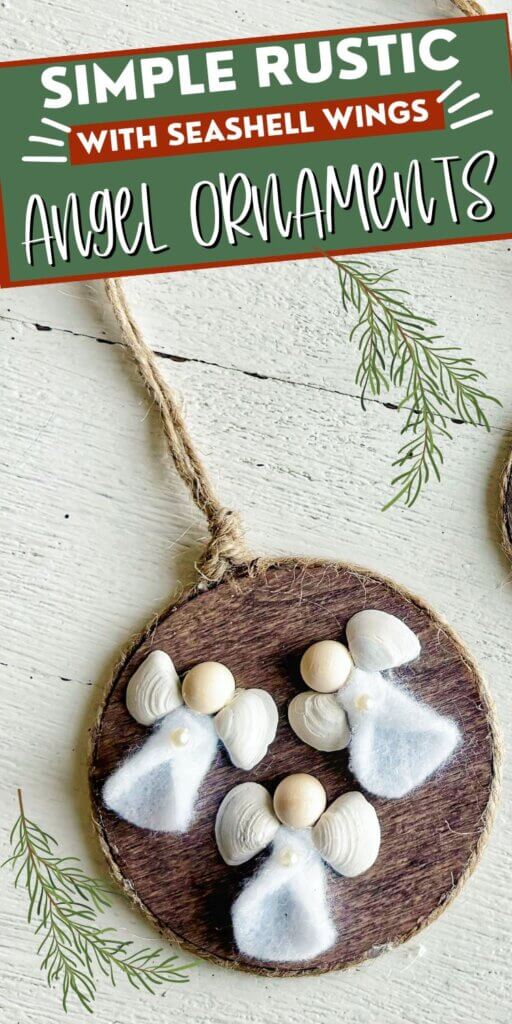
Do you have a lot of seashells stored up in your home somewhere? Well then, this Christmas craft post is for you. Let’s make rustic angel ornaments with seashell wings for your Christmas tree.
We usually go to the beach over the summer, and over the years we have brought home quite a few seashells.
They usually sit in containers in my closet, or in the garage in seashell bags just taking up space.
So, sometimes I like to put them to good use. 😉 And since Christmas is coming up, it’s time to get a little crafty and make ornaments for the tree.
These are also a great gift to give family members. Since many families seem to frequent the same beaches every year, these could even be a memento of your family trips.
If you don’t have seashells lying around like me, they can also be ordered from websites such as Amazon.
So, let’s get to it before Christmas rolls around, and make these cute and rustic angel ornaments for your tree.
This post contains affiliate links. As an Amazon Associate, I earn from qualifying purchases. This means when you click a link, I may earn a small commission at no cost to you. Thanks for your support.
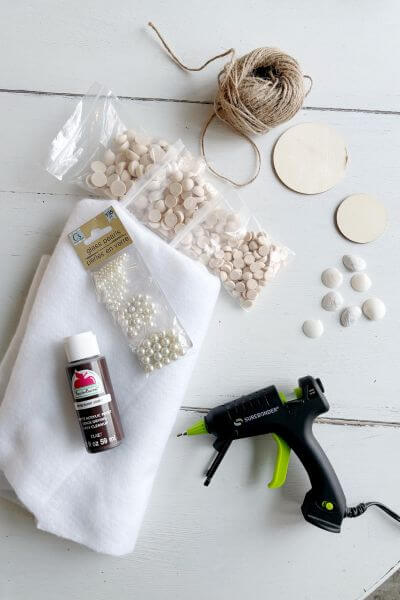
Supplies for Easy Angel Ornaments
- Seashells
- 2″ Wood Rounds and/or 3″ Wood Rounds
- Jute Twine
- Felt
- Glass Pearls (Dollar Tree)
- Half Wood Beads (3 sizes – 10, 12 and 15 mm)
- Craft Paint – Burnt Umber
- Craft Paintbrush
- Glue Gun
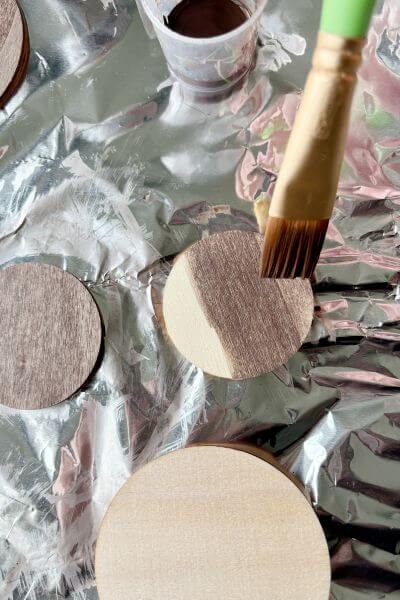
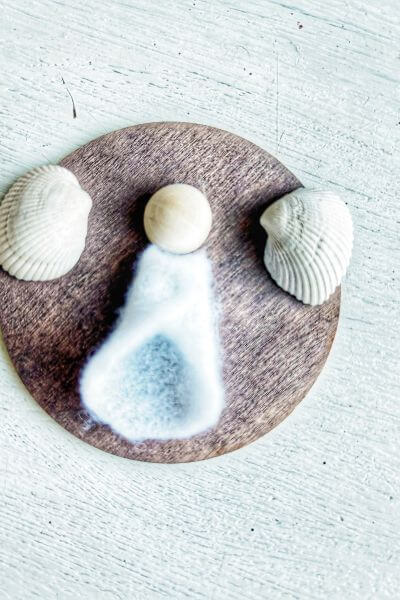
Paint Wash the Wood Rounds
First, you’ll paint wash the wood rounds. I mixed a small amount of Burnt Umber paint and water in a measuring cup at about a 1:1 ratio.
Then paint both sides of the wood rounds, letting them dry a bit before flipping them over to do the other side.
You’ll put the paint wash on the wood round using the craft paintbrush, and then wipe off the excess with a paper towel.
I gave them one coat on each side. Adjust your paint to water ratio depending on how the color is looking.
By thinning the paint with water and paint washing you’ll get a pretty wood grain effect, similar to stain, on your ornaments.


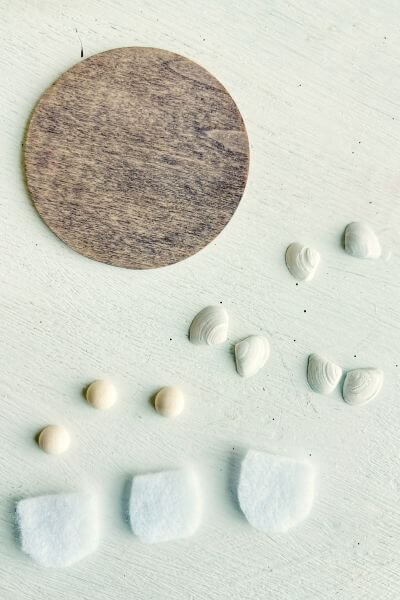
Cut Out Pieces of Felt for the Angel’s Dress
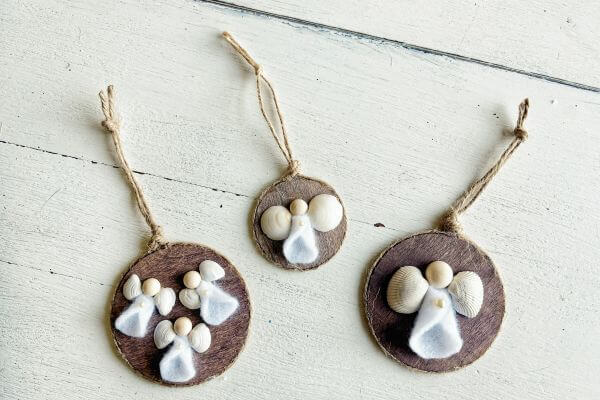
I made a large angel on the 3-inch wood round, a medium angel on the 2-inch wood round, and also three tiny angels on the 3-inch wood round.
Therefore, I cut out 3 different size pieces of felt for each of the different sized angels.
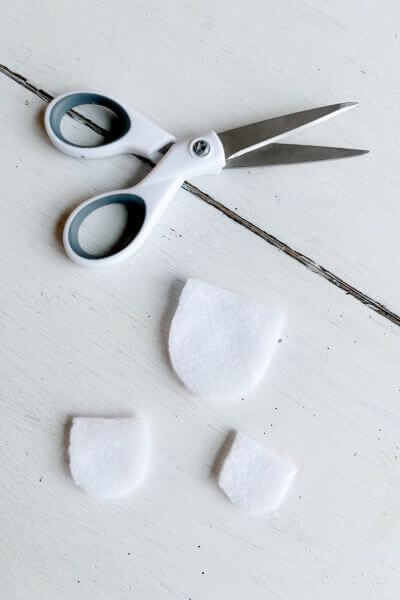
The approximate sizes for each piece of felt are as follows: largest 1.5-inch x 1.5-inch, medium 1 inch x 1 inch, and tiny angels just a bit smaller than the medium at 7/8 of an inch by 7/8 of an inch.
For the wood bead heads, 15 mm for the large angel, the 10 mm beads for the three tiny angels, and I should have used the 12 mm for the medium one but used a 10 mm instead. That’s why his head looks a little shrunken in the picture. 😉
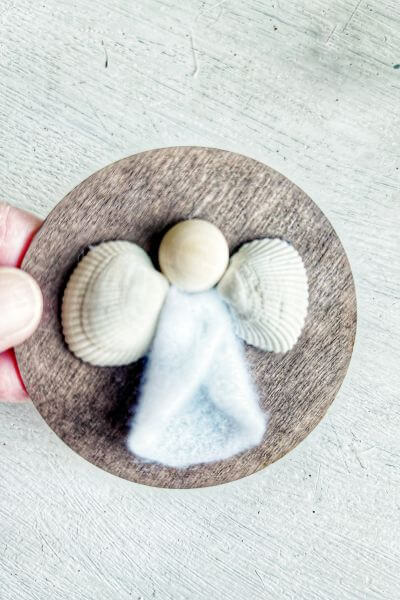
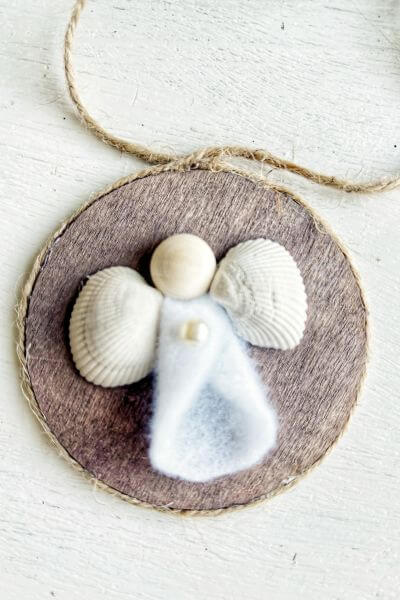
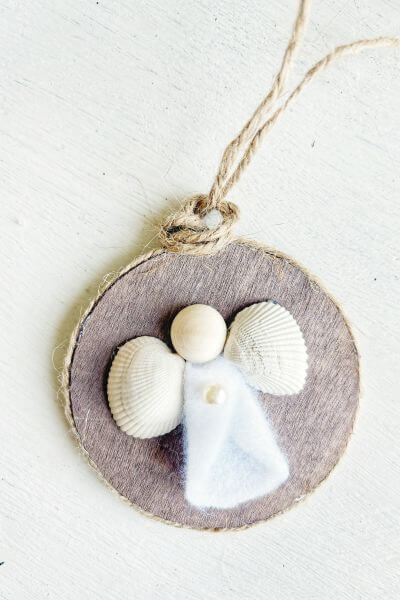
Let’s make a large angel now on the 3-inch wood round to see how this all comes together…
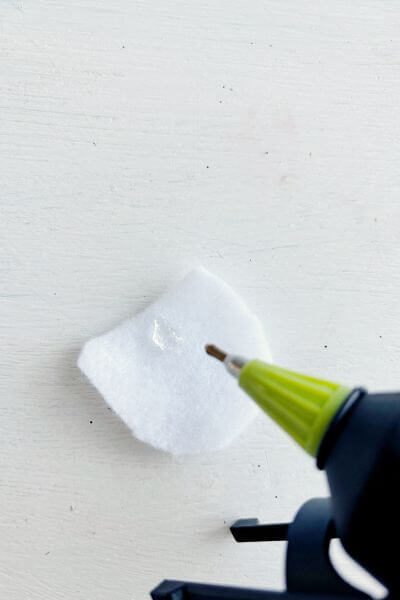
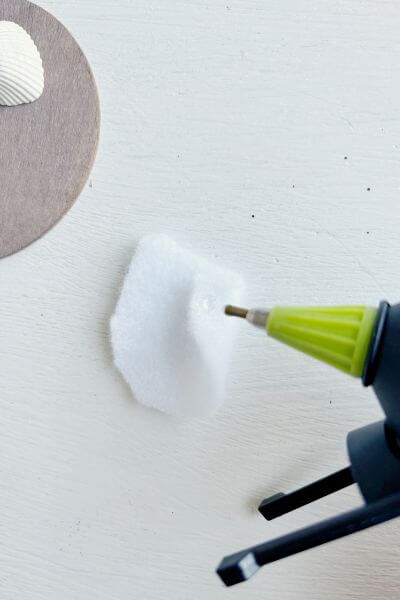
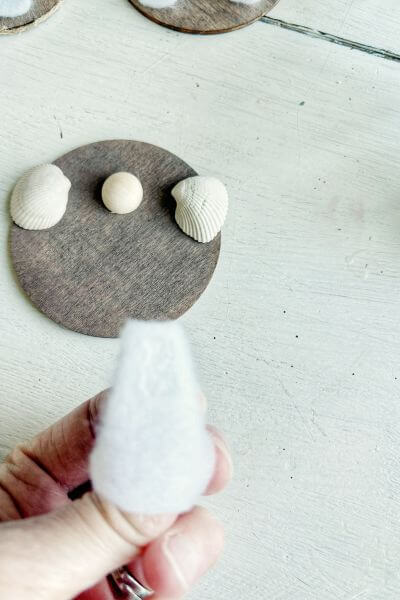
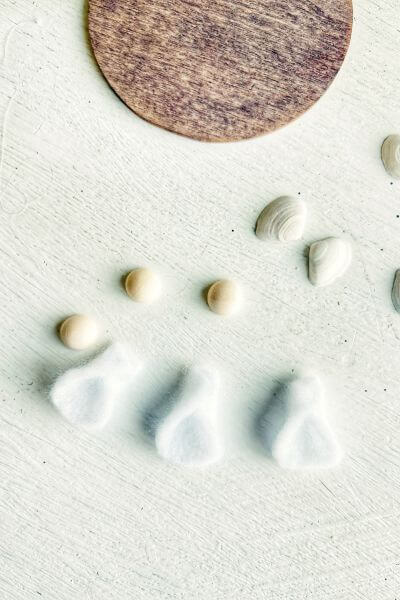
Hot Glue Felt to Make the Angel’s Dress
To make the angel robe, heat up that glue gun! Then cut out a piece of felt to make the angel’s dress.
Position everything on the wood round to make sure it will all fit.
I used the largest 15 mm half wood bead (the pack I linked has three different sizes) to make this angel.
Place a drop of hot glue in the center/top portion of the felt.
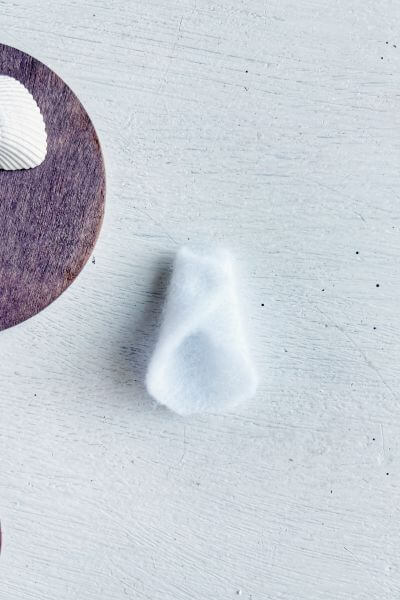
Fold a flap of felt over the dot of hot glue and hold til the hot glue sticks.
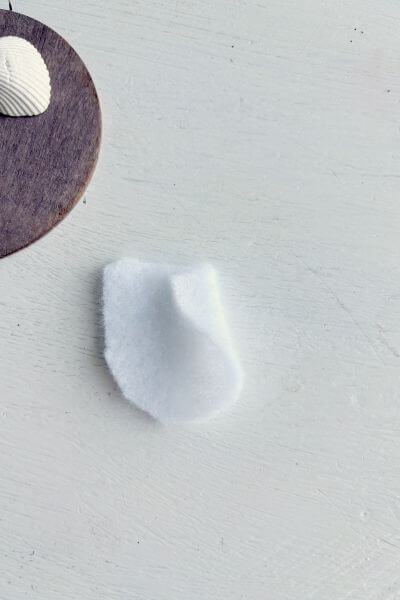
Place a dot of hot glue on top of the folded piece of felt.
Fold the other flap over to the dot of hot glue to make the angel’s dress.
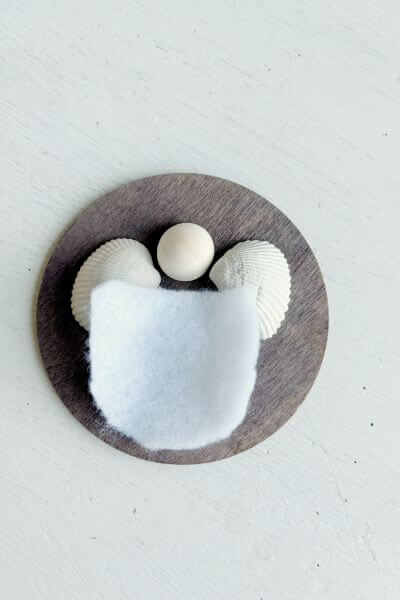
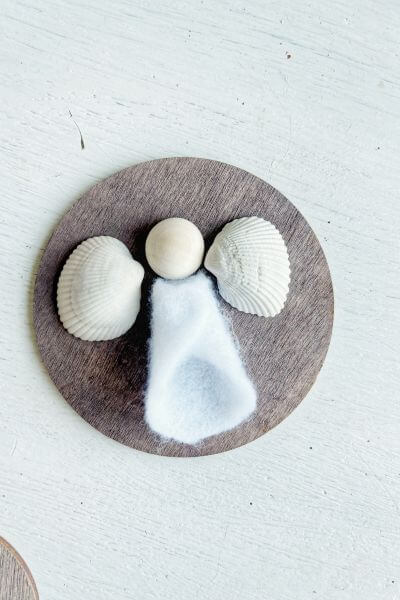
Glue the Head, Wings and Dress to the Wood Round
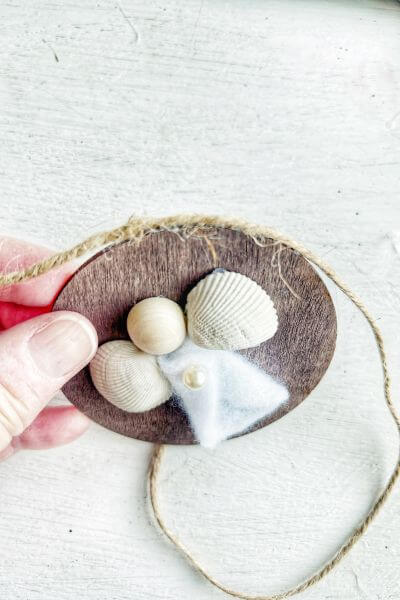
Position the half wood bead, seashell wings and felt dress onto the wood round to make sure they fit.
You’ll glue the wood bead on first so make sure it’s in the right position.
Place a dot of hot glue onto the half wood bead.
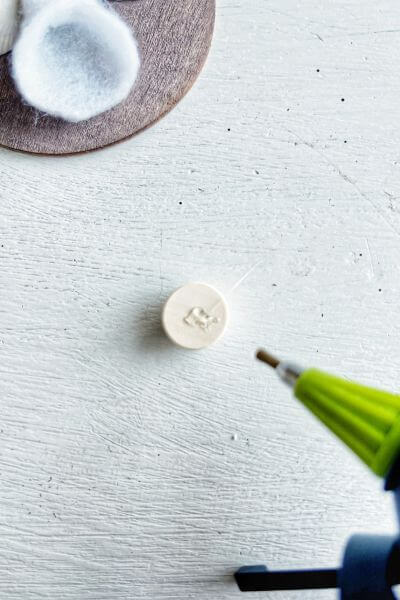
Place and glue the wood bead head to the wood round first.
Place hot glue onto the back of the felt dress.
Then glue the felt dress onto the wood round, butting it up against the wood bead head.
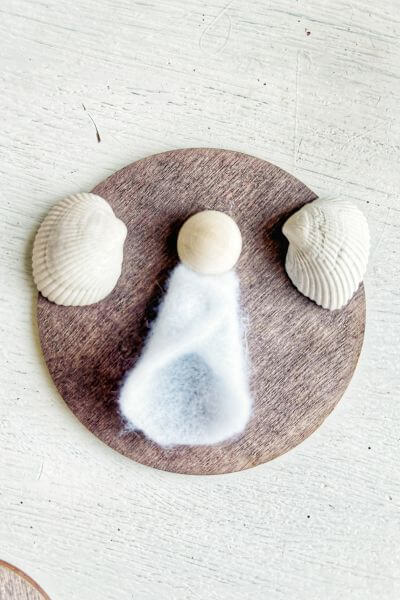
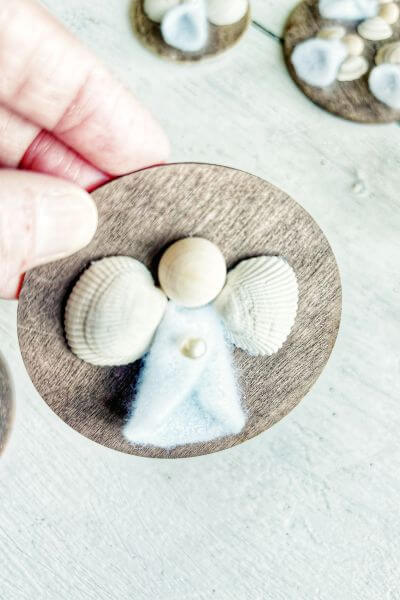
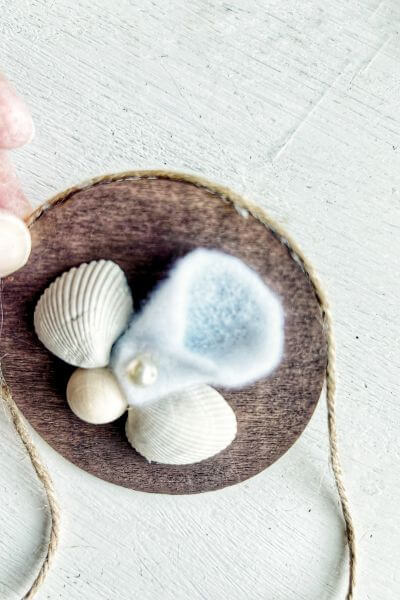
Lastly, glue the seashell wings onto the wood round.
Butt them up against the area between the head and the body.

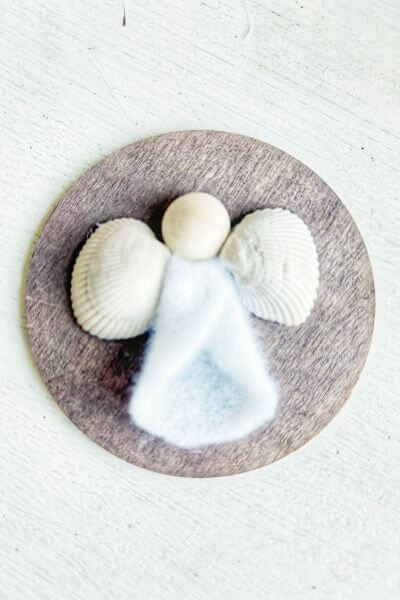
This is an optional step, but you can add a small glass pearl to the middle of the dress. I found these at the Dollar Tree.
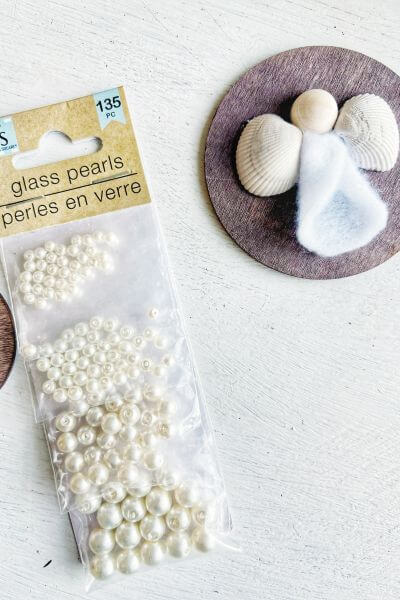
There are holes in these glass beads so just be sure to glue them so you can’t see the holes.
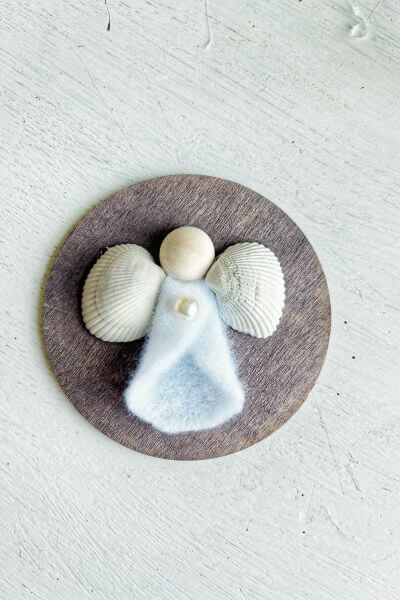
This part of the angel craft is complete but now let’s make a hanger for the ornament.
Make a Hanger for the Angel Ornament Craft
The wood rounds that I had didn’t have holes in them, so let’s make a hanger anyway, no hole needed!
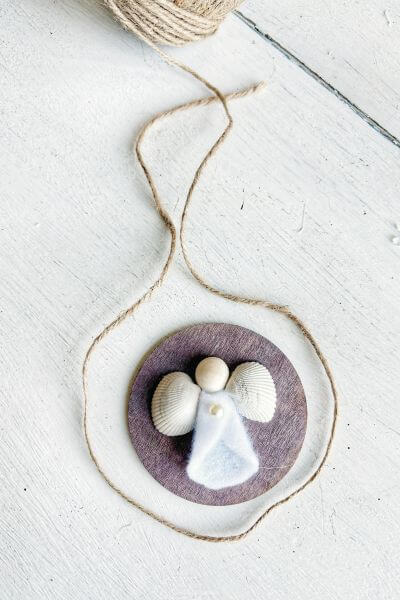
Measure out enough jute twine to wrap all the way around the ornament. Also, leave enough on top to allow for knotting it and then for the loop.
Hot glue around the rim of the wood round starting at the top of the ornament.
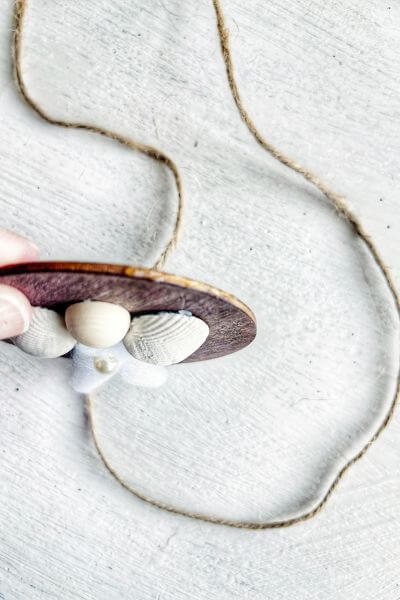
Secure the jute twine to the hot glue.
Continue gluing around the rim and then securing the jute twine.
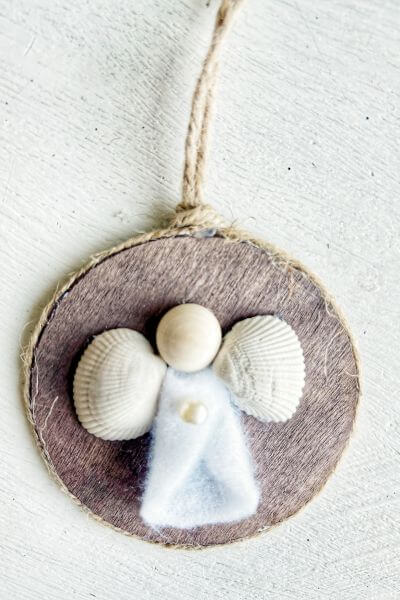
When you’ve gotten the whole way around it should look something like this.
Now, make a knot by looping the two ends of the jute twine around and knotting them at the top.
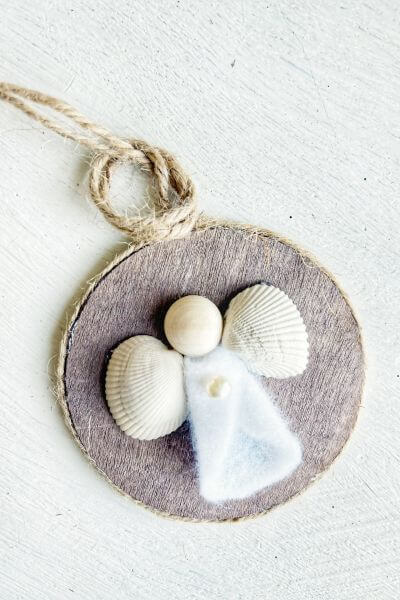
You can leave this as is or make another knot looping it around in the other direction.
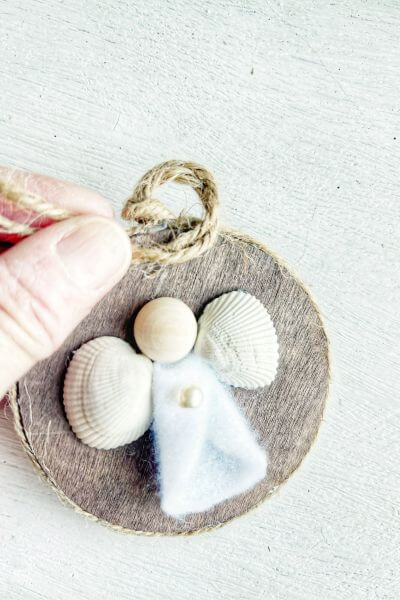
Lastly make a knot at the top of the loop for hanging.
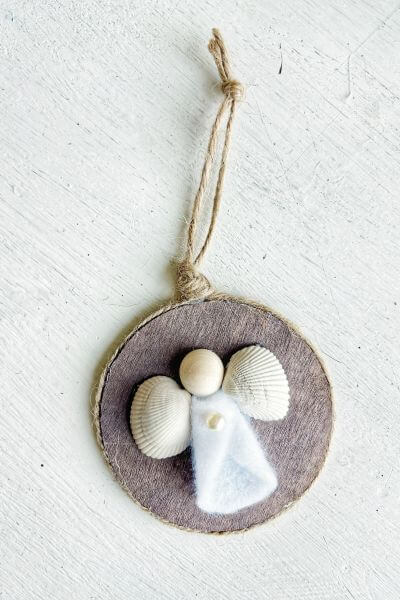
And that’s a wrap on the larger angel on the 3 inch wood round. You can make a medium one on the smaller wood round as well.
It’s up to you if you just want to buy one or both set of the wood rounds – I’ve linked both 3-inch and 2-inch wood rounds in the product list.
If you buy only one set, I’d purchase the larger 3-inch ones since you can make a few different variations with those.
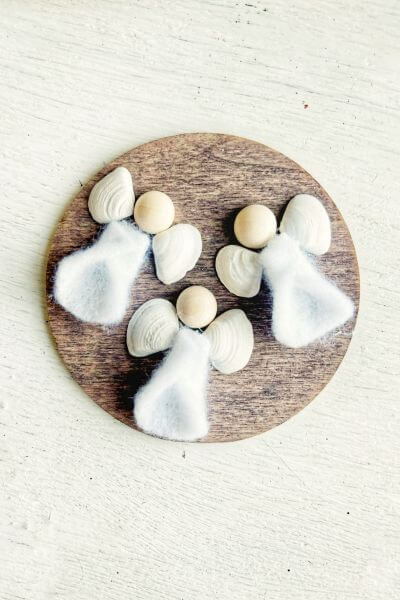
Let’s take a quick look at making the three tiny angels on the 3-inch wood round.
Three Tiny Angels on 3-inch Wood Round
Grab your 3-inch wood round, three 10 mm wood beads, felt and three sets of seashells.
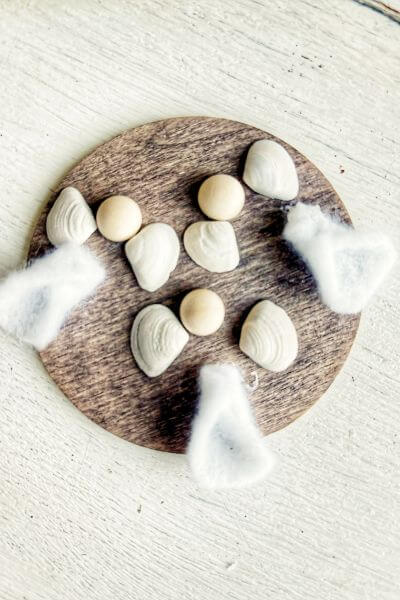
Make your felt angels’ robes first, the same way we did it in the above tutorial.
Position the angels on the wood round to make sure they all fit.
Glue the half wood bead angel heads onto the wood round.
Next, glue the robes in place butted up against the wood beads.
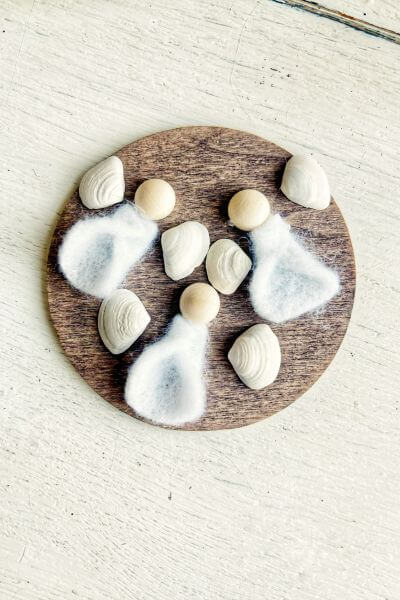
Lastly glue the seashell wings onto each angel.
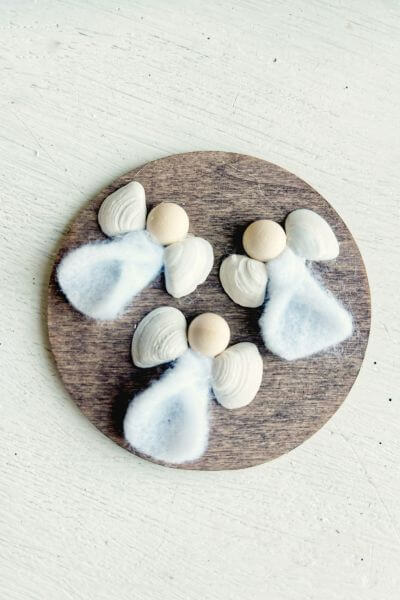
Make your jute twine hanger and add the glass beads if you prefer.
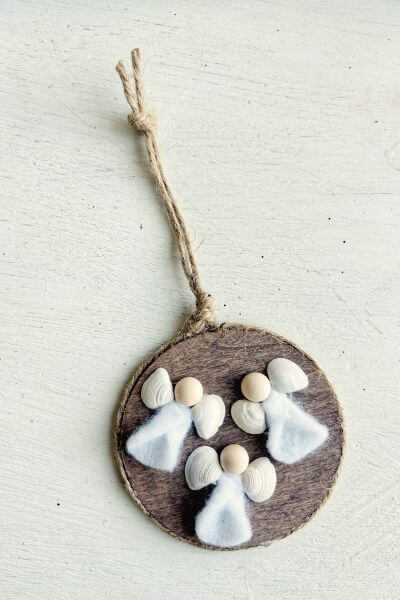
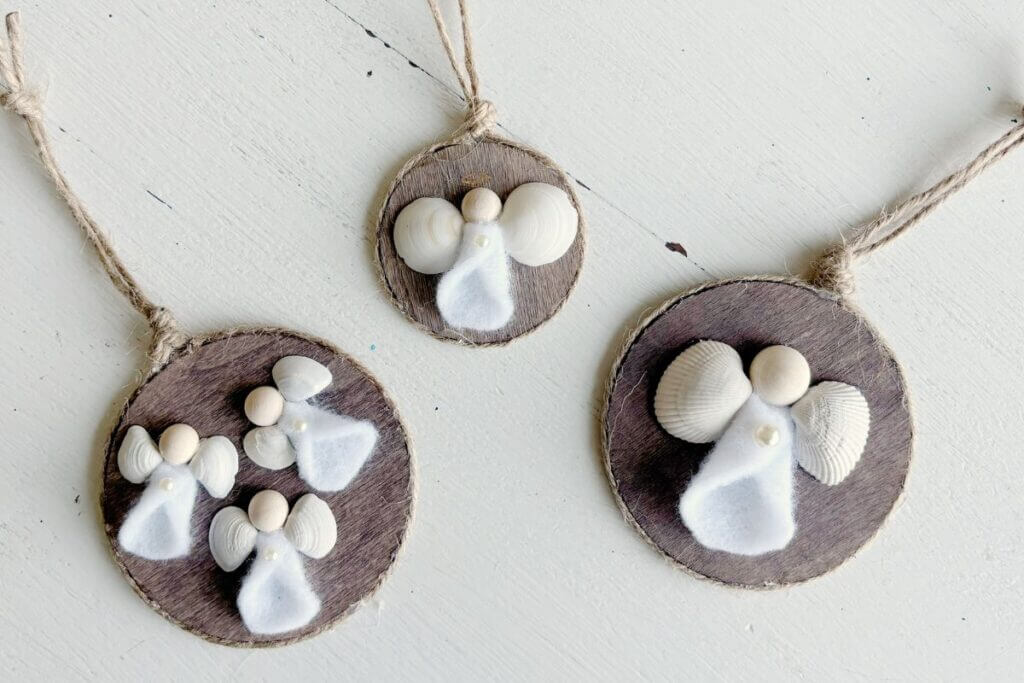
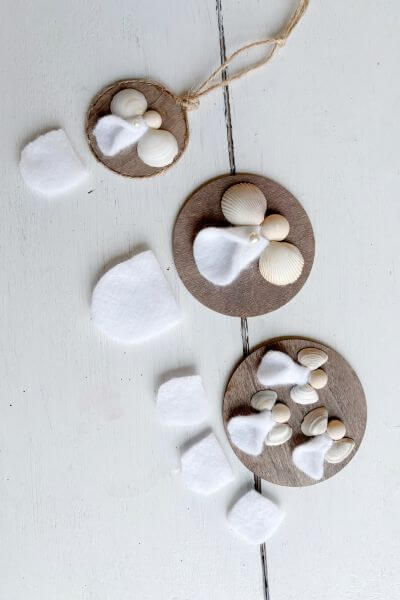
Here are the three different versions of angel ornaments ready for the Christmas Tree.
Final Thoughts on Handmade DIY Angel Ornaments
So, now it’s time for you to gather your seashells from beach trips from summers past and make a few of these angel ornaments.
This angel ornament craft came together super easy. You may even have some of the supplies on hand, like I did.
The glue gun I linked is a new purchase for me, which I bought since it was for smaller detailing. I like that it has a fine tip, however the verdict is still out on durability since I haven’t used it for too long.
I love that each one is a little different depending on the seashells you use. I tried to match two so that the wings looked a bit symmetrical.
You can usually find sun-bleached whiter shells up on the higher/dryer part of the sand away from the ocean…perfect for angel wings.
Be sure to make a few for your own Christmas tree, plus a few more for family and friends. Perhaps even the family members that you travel to the beach with for summer vacations.
Tis the season to be Christmas crafting! As always, thanks so much for reading!
Grab your Christmas crafting supplies and make these rustic handmade angel ornaments that are perfect for gifting to family and friends.
Pin me on Pinterest ⬇️
Please consider signing up for my email newsletter below for more DIY ideas 👇