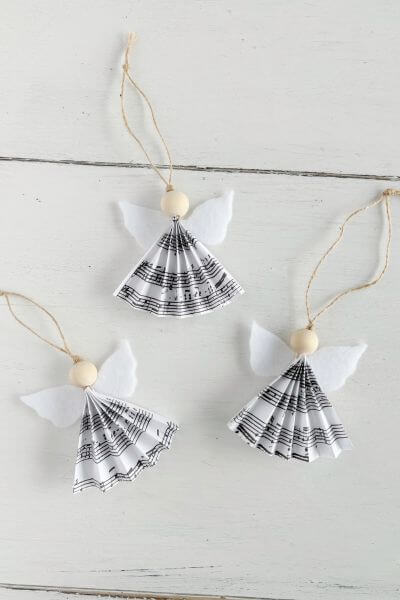
Are you ready to try a tutorial for angel ornaments to make from paper, felt and wood beads? Then this Christmas craft idea should be right up your alley, and a free printable is included.
Even as a kid, I’ve always loved angels. From books about angel stories to angel pins to those willow tree angel statues I used to collect.
So, for Christmas this year, I wanted to come up with a tutorial for angel ornaments to hang on our tree in the dining room.
I wanted this to be a simple craft that was budget friendly, so I included a free printable that you can use to make the skirt of your angel.
And another free printable that will give you a template to make the angel’s wings.
Add wood beads, felt and twine and you’re all set to complete this DIY for your own Christmas tree or to gift to family and friends.
Read on for the tutorial on how to make these DIY paper angels right in time for the Christmas season.
This post contains affiliate links. As an Amazon Associate, I earn from qualifying purchases. This means when you click a link, I may earn a small commission at no cost to you. Thanks for your support.
Supplies for Angel Ornaments for Christmas Tree

- Paper Printable Music Notes
- Paper Printable for Wings Template
- 20 mm Wood Beads – and here’s one more set just in case one goes OOS
- Thin Jute Twine – my twine was OOS, but here is a similar 1.5 mm twine
- White Felt – usually I purchase this at Walmart for under a dollar but had some on hand
- Scissors
- Glue Gun
- Ruler
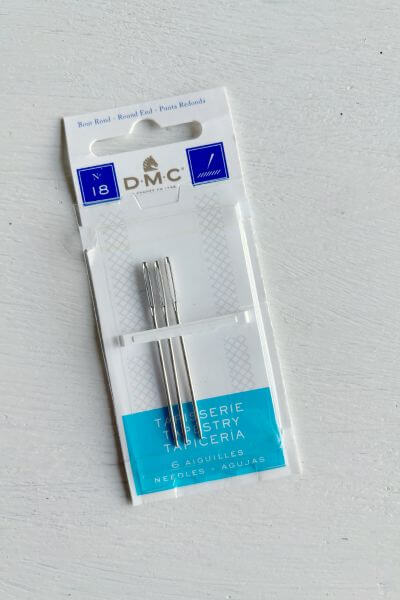
- Needle (No. 18) – purchased at Walmart but if you have one with a large enough hole to fit the twine you should be set!
Here’s a quick close-up pic of the needles I used for this DIY.
Print Out your Free Printables
First things first, print out both the angel wings template and the music notes PDF. Both are linked below.

Measure and Cut the Music Page Printable
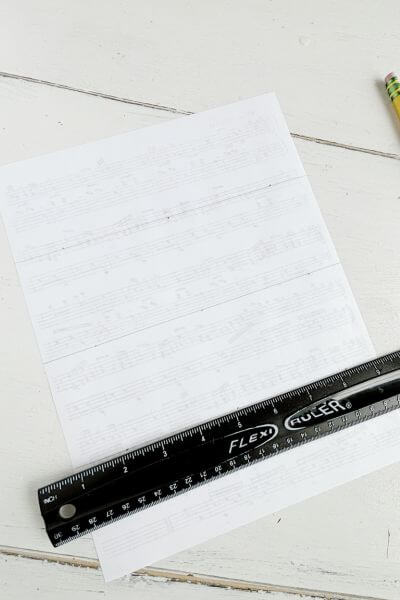
Now that you’ve got them printed out, you’ll measure and cut the music page printable into 4 pieces. Here’s how I did it.
You’ll grab the ruler, pencil and music page printable.

Measure from the top of the page down about 2.75 inches and make a dot with the pencil.

Make about 3 dots across the first section. Then draw a line to connect those dots.
Go another 2.75 inches down from that line, make the dots and draw another line.
You’ll draw 3 lines, so you’ll be able to make 4 angel ornaments out of one sheet of paper!
Cut the paper into 4 parts along the lines.

Fold the Music Note Paper Accordion Style
Next, fold up the edge of the paper and crease it.
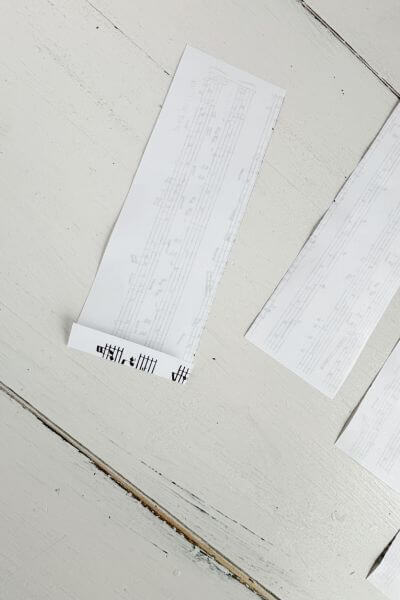
Then begin folding the paper accordion style keeping the folds in line with the first one. I kept flipping the paper over as I folded it.
Crease as you go.
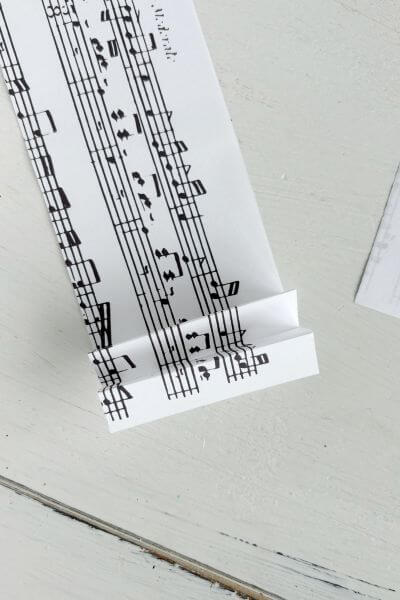


Next, pinch the end of the music page paper with your finger and fan out the bottom.

Use the Needle to Attach the Jute Twine
Now grab the needle and jute twine. This is a thinner jute twine (1.5 mm) so you can thread it through the needle. You could also use string if you have that on hand.
Push the needle through the paper where you pinched the edge.
It helps the needle pierce the paper more easily if you don’t try to push it through the whole thing, do a page at a time.


Thread the jute twine through the needle.
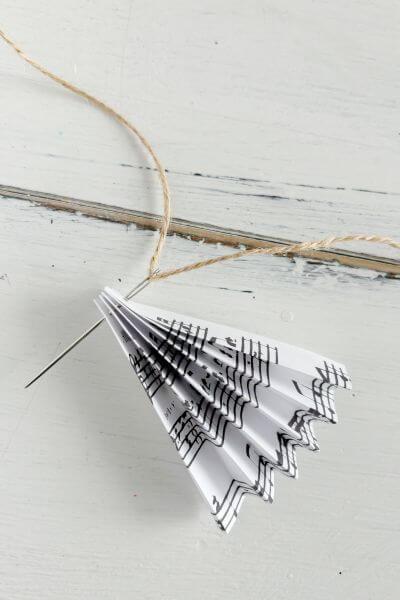
Now pull the jute twine through the hole. I have to say that you have to work it through there a little since the jute twine is going through the hole doubled. But you can do it! 😉
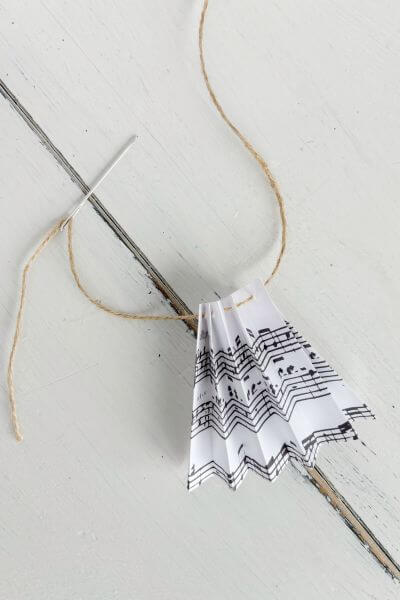
Measure out about 7-8 inches of the doubled jute twine with the ruler (or 16 inches total) and then cut the twine.

Tie the twine and knot it once to secure it to the paper base.
Add the Wood Bead Head
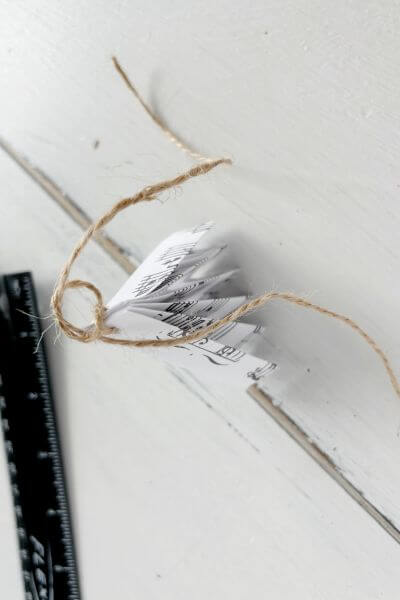
String the jute twine ends through the 20 mm wood bead.
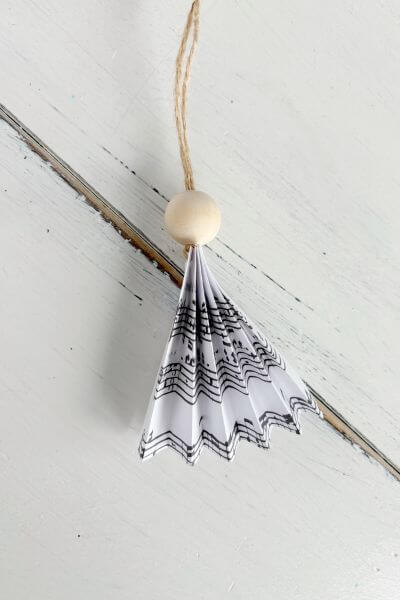
Knot the twine by bringing both the jute twine pieces into a loop and then threading the end through. Do this twice so the wood bead stays put.
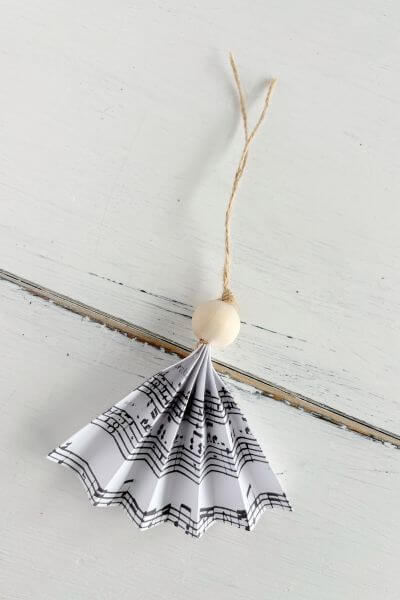
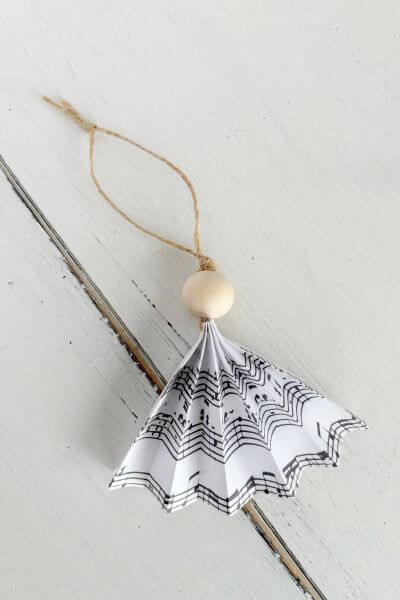
Then knot the end of the jute twine to make a loop for hanging.
Make the Angel Wings with Felt
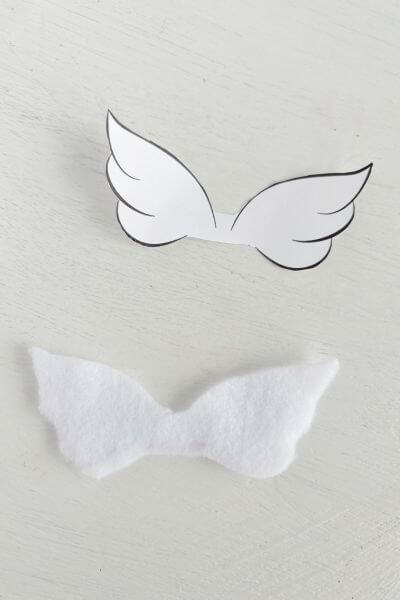
Using the angel wings template, cut out the wings you prefer with scissors. I used the third ones on the paper for this tutorial.
Do not cut them apart, just cut across so that the wings stay together.
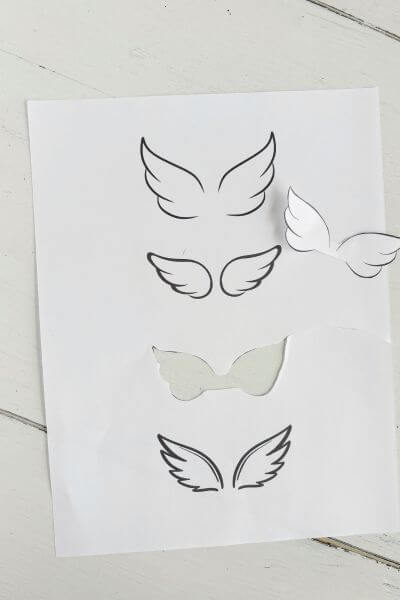
You could trace it onto the felt, but I just held the template onto the felt as I cut the wings out with my scissors.

Hot Glue the Felt Wings to the Paper Angel
Heat up the glue gun and then place hot glue on the back of the paper angel at the top.

Glue the felt wings to the back of your paper angel.
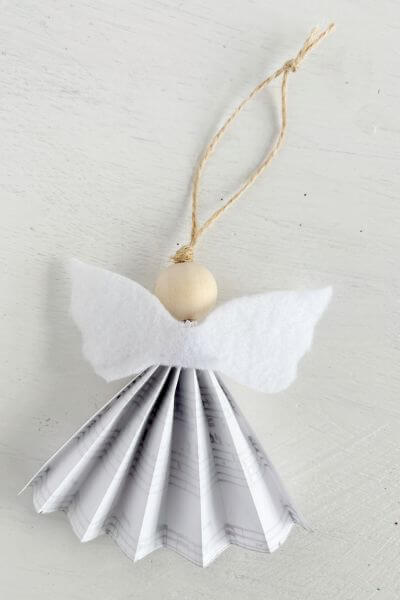
Here it is, the completed paper angel ornament.
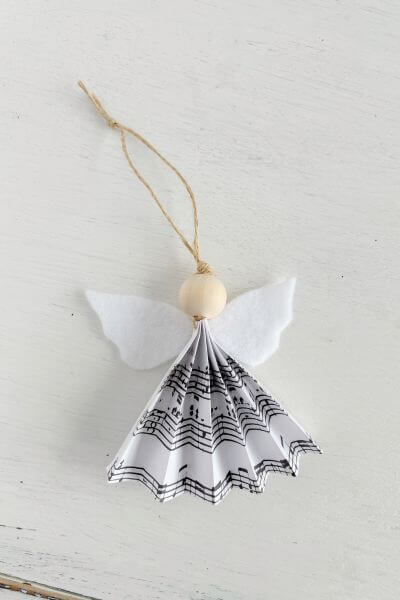

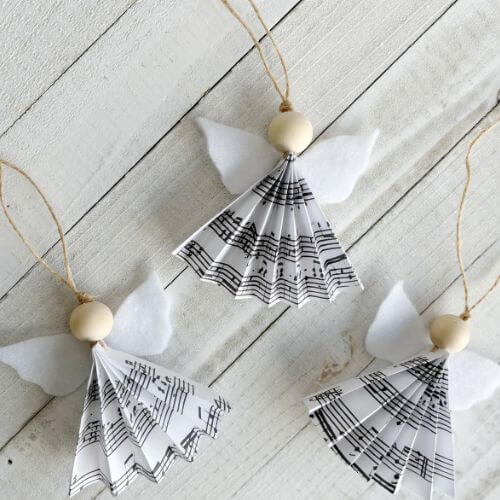
Finishing Up this Paper Angel Ornament DIY
So, would you put these paper angels on your Christmas tree? Or gift them to family and friends? I think they would look really cute tied to Christmas packages.
I love that you can make 4 angels from one piece of paper.
These paper angels will give almost a vintage vibe to your home this holiday season.
They are pretty simple and quick to create, and you may even have some of the craft supplies on hand already.
Angels have always been my favorite, how about yours?
Questions? Please post them down in the comment section. And, as always, thanks so much for reading!
Ready to get a bit of Christmas crafting done? Then grab your free printables, wood beads, twine and felt and make these paper angel ornaments that will look pretty on your Christmas tree.
Pin me on Pinterest to save this idea ⬇️

Please consider subscribing to my email newsletter for more DIY ideas delivered to your inbox👇


