

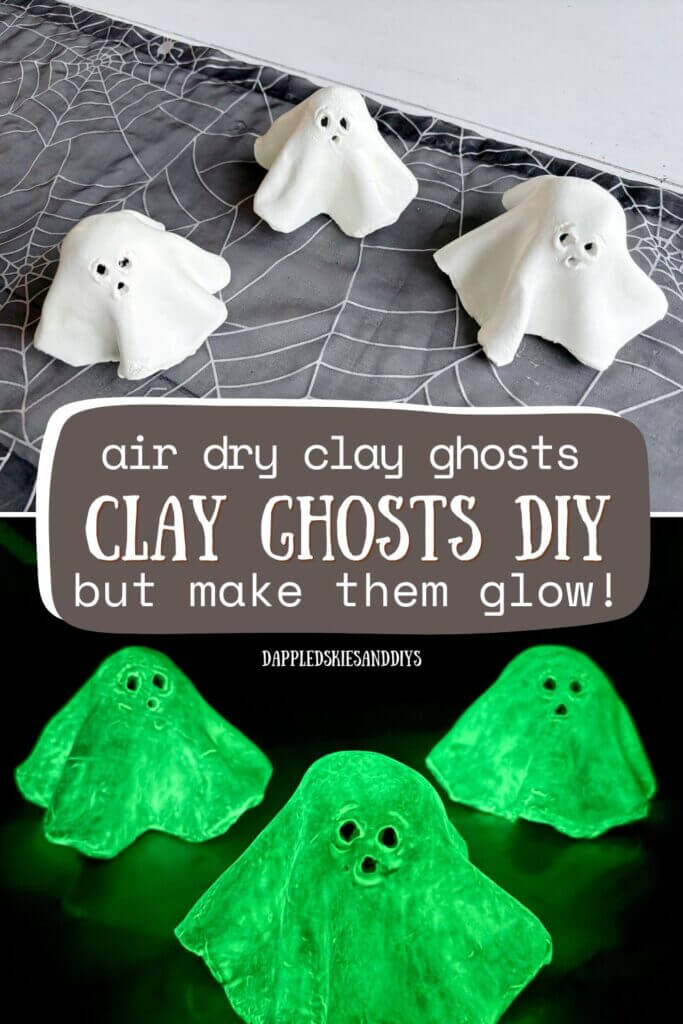
Looking for a simple Halloween project? Then, look no further. These cute air-dry clay ghosts can be made with a few supplies and they even glow in the dark!
I had seen many versions of these clay ghosts “floating” (haha) around the old Pinterest feed for a while now.
A crafter even made them pretty using floral napkins that they decoupaged onto their little ghosts.
But for these ghosties, in the spirit of Halloween, let’s try to make them a bit eerie and glow in the dark!
This is a super easy to make Halloween craft. The only supplies that you may need to buy are the air dry clay, glow in the dark paint and mod podge.
The rest you can most likely source from your home, I bet!
So, since Halloween will be here soon, let’s get started on this air-dry clay ghost DIY.
This post contains affiliate links. As an Amazon Associate, I earn from qualifying purchases. This means when you click a link, I may earn a small commission at no cost to you. Thanks for your support!
Supplies for Clay Ghost DIY
- Air Dry Clay (I used the Sculpey brand)
- Mod Podge (I used Satin)
- Folk Art Glow in the Dark Paint (Neutral Glow Color)
- Tin Foil or Parchment Paper
- Plastic wrap
- Toothpick
- Rolling Pin
- Craft Paintbrush
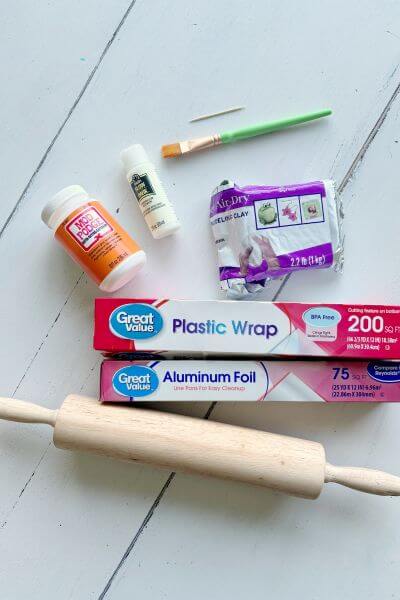
The last 5 supplies are pretty common household items, so if you have those you may only need to purchase clay, mod podge and paint! I found these all at Walmart or Amazon.
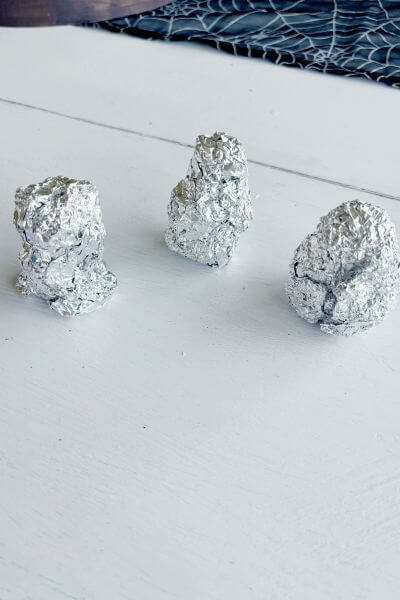
Create Ghost Form using Tin Foil
First, you’ll create a ghost form to drape the clay over using the tin foil. Mine measured about 3 inches tall.
You can make several ghost forms if you want to make multiple ghosts at the same time.
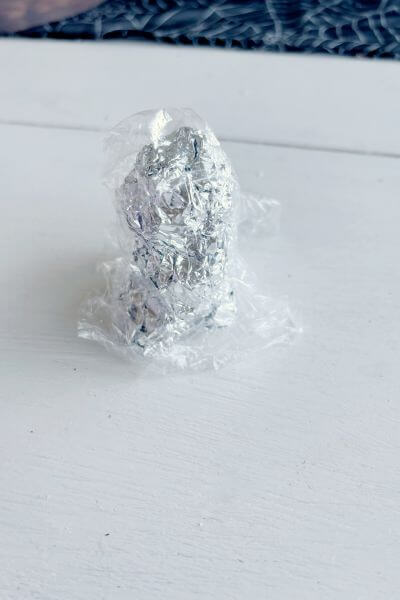
Cover Tin Foil with Plastic Wrap
Next, you’ll cover the tin foil with the plastic wrap. This just helps the clay not to stick to the tin foil.
Roll Out a Chunk of Clay
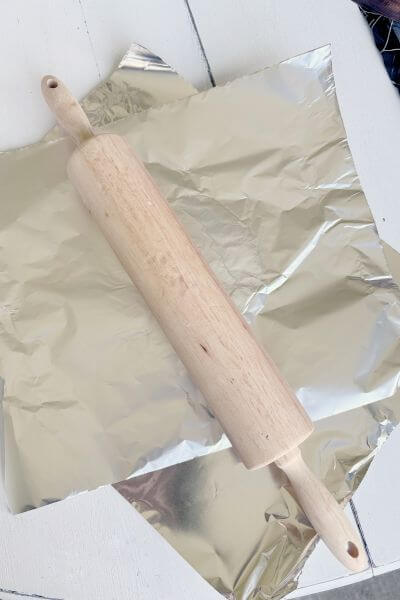
Now, grab a handful of the clay and roll it out with the rolling pin.
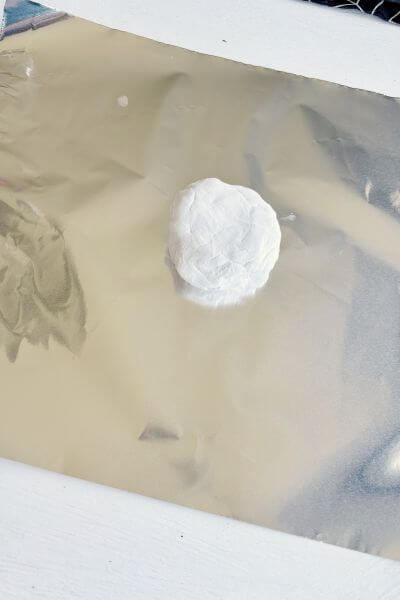
Use a separate piece of tin foil and place it over the chunk of clay and then roll the clay out with the rolling pin. Aim for about 1/4-inch thickness.

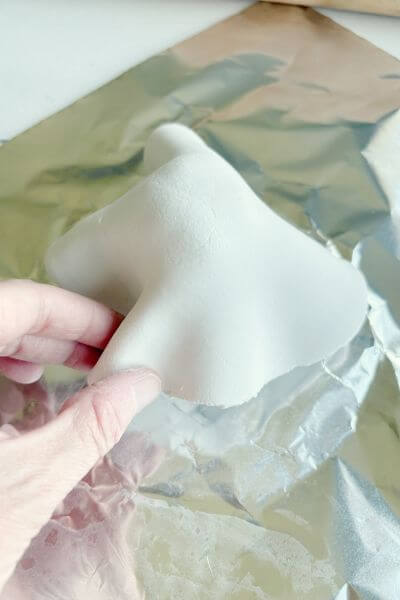
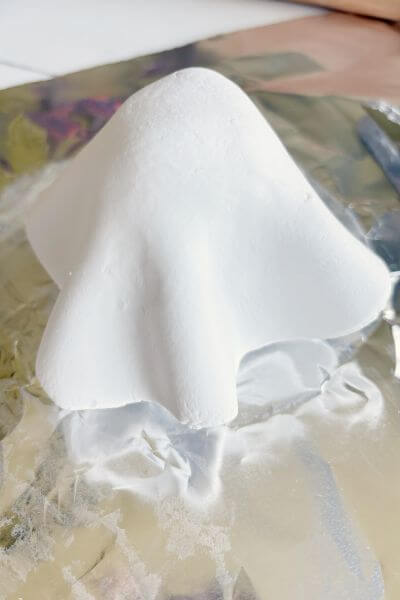
Drape the Clay Over the Tin Foil Form
Pick up the rolled-out clay and drape it over the tin foil form.
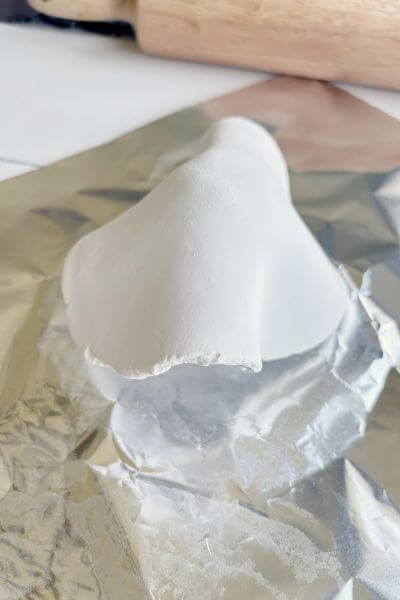
Gently pinch and form the clay making waves that look like a ghost’s sheet.
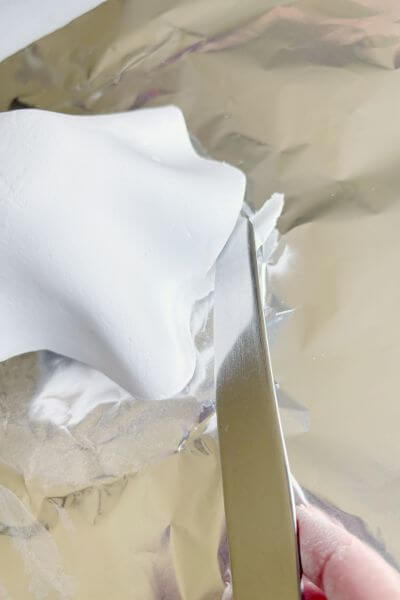
Trim the folds as needed with a butter knife and gently mold the bottom of the ghost.
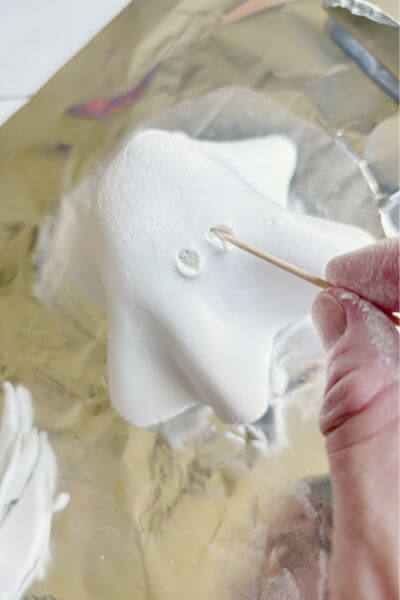
Make Eyes and a Mouth Using the Tooth Pick
Once the clay is formed into a ghostlike shape, it’s time to add the eyes and mouth.
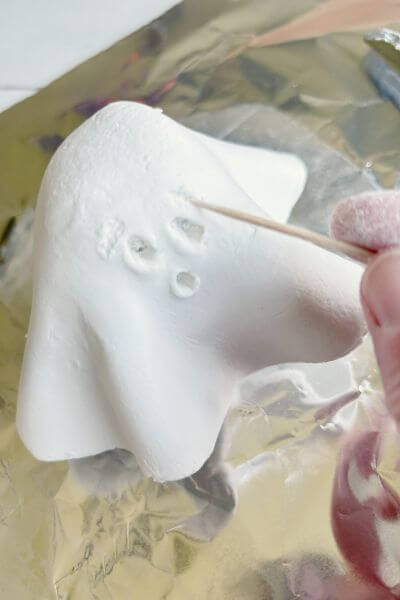
Use the toothpick to add the eyes and mouth. Mkae sure the holes are all the way through the clay.
You can add eyebrows using the toothpick as well, to give your ghosts a bit more expression.
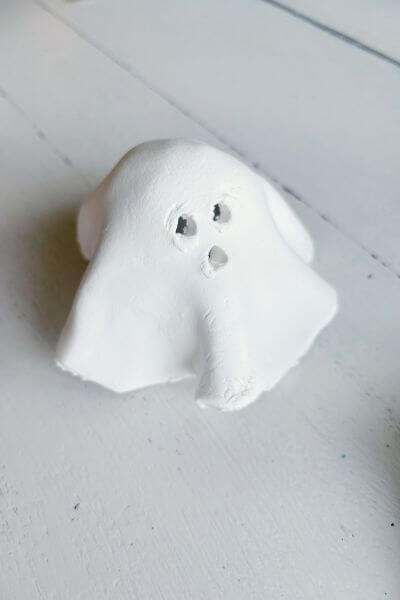
Allow the Clay to Dry
Allow the clay ghost to dry. This can take 24-72 hours. I removed the tin foil form after about 24 hours to allow the inside to dry out faster.
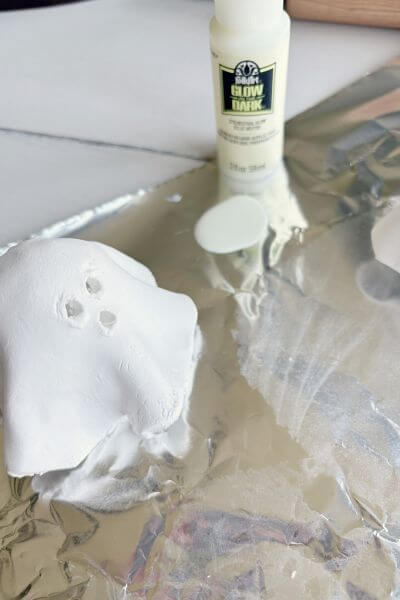
Paint the Ghost with Glow in the Dark Paint
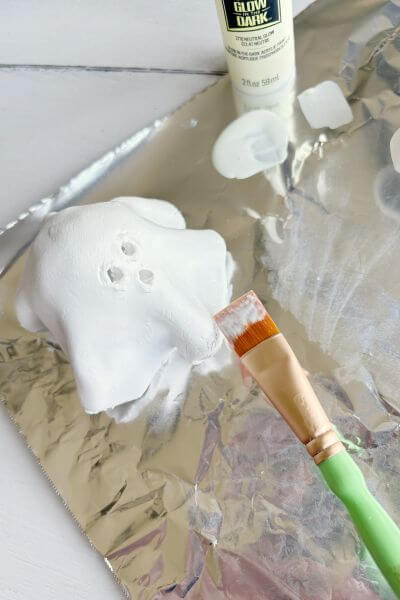
Once the ghost is dry, it’s time to apply the glow in the dark paint.
I applied three layers of paint to my ghost allowing dry time in between.

Apply Mod Podge Sealer to the Ghost
Lastly, you can apply a protective layer of mod podge on the outside and inside of the ghost. This will help the clay not to become brittle and chip.
*Be sure to read the post to the end for some tips and advice.*
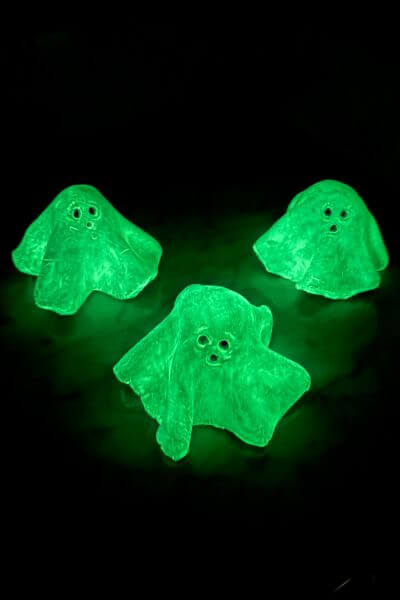
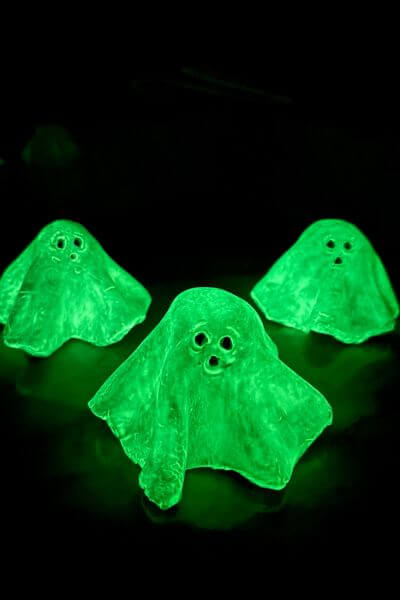
The glow in the dark clay ghosties!

Final Thoughts on this Air Dry Clay Ghosts DIY
I can see why these air dry clay ghosties are all over the internet right now. They are very easy to make and look adorable!
And the supplies aren’t bad either since a lot of it you can source from your home!
A few thoughts on this glow in the dark clay ghost DIY.
The above pics of the glowing ghosts were taken with my phone in the bathroom with the door closed. So, it was pitch black in there.
That being said, if there is any ambient light in the room they aren’t going to glow like this. They should emit a soft green glow, but are definitely a good bit brighter in the pitch black!
And the paint does need to be charged by a window or light source for these ghosties to glow.
In natural light, the paint does make them a more creamy color with just a hint of green. So, if you’re looking for a stark white ghost, don’t paint them with the glow in the dark paint.
You can also pop a battery operated tea light under them to make their eyes and mouth glow.
All in all, I’d say this is a great Halloween craft! And you can involve the kiddos in making them too since they are so easy!
Please leave any comments or questions down below. And, as always, thanks so much for reading!
Happy Halloween Crafting! 👻
Now it’s time to make your own glow in the dark ghosties! Grab clay, glow in the dark paint, and mod podge and get to crafting this easy Halloween decor idea!
Pin me on Pinterest ⬇️
Please consider subscribing to my email newsleter for more DIY ideas 👇