
Have you been traveling to different scenic locations for your vacations? Well then, this post has just the thing for you. Create this DIY map cork board that doubles as beautiful wall decor to track your travels!
For the past few years, now that our kids are getting older, we’ve been trying to take a vacation once a summer to a National Park.
The kids are pretty excited about collecting souvenirs from each National Park and seeing different parts of the United States. One is even collecting decorative spoons from each location.
So, last summer I got the idea to create a cork board travel map to hang in our living room to track each National Park we have visited.
And that’s where this project all got started.
Why You’ll Love This DIY Push Pin Travel Map
If you’re like me, you love travelling to far off places and seeing other parts of the world but are always happy to come home.
Therefore, you’ll love this push pin map because it doubles as meaningful wall decor for your home.
Hang it in a place where you’ll see it often.
Chat with your family about the memories you made at each location.
Have the kids take turns putting the push pins in every time you return from a vacation.
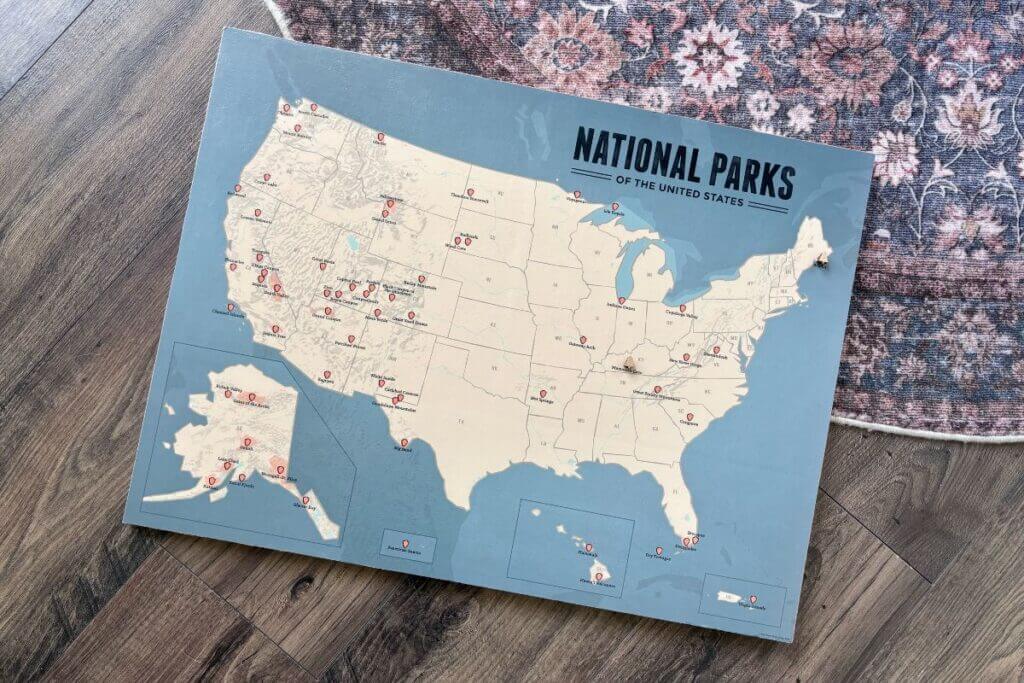
You can choose whatever map you like depending on which locations you are visiting. I’ll be linking the one I used below in case you are a National Park adventurer as well.
This post contains affiliate links. As an Amazon Associate, I earn from qualifying purchases. This means when you click a link, I may earn a small commission at no cost to you. Thanks for your support.
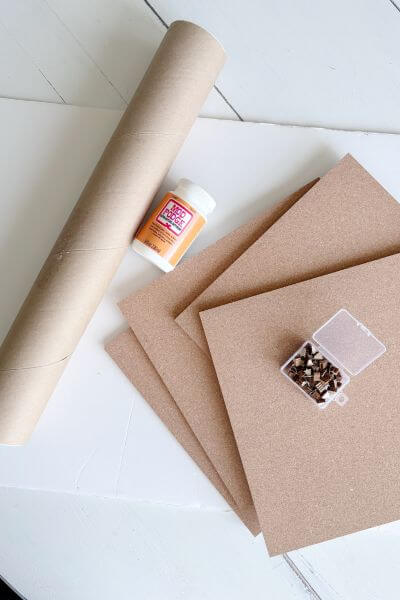
Supplies You Need for a DIY Push Pin Map
Here’s a list of the materials that I used for my travel map making. Links are to the products that I purchased on Amazon.
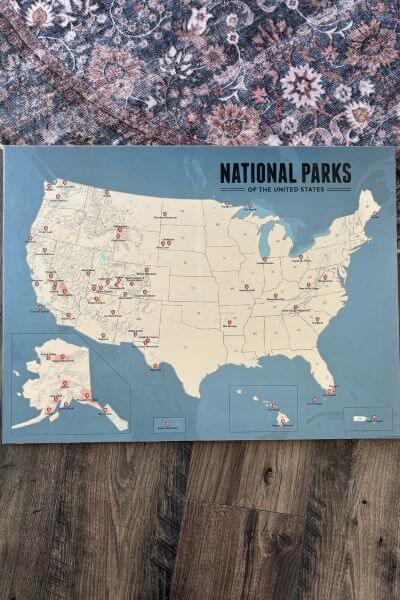
- Map (this is my National Park map- size 18×24)
- Mod Podge (I used both Satin and Matte, but you would only need Matte)
- Foam brush/paintbrush (Walmart)
- Cork Boards
- Foam Board (Walmart)
- Push Pins (these are the cutest little trees)
- Exacto knife (I used both a utility knife and Exacto knife in the tutorial, but you probably don’t need both as long as you have one sharp enough to cut cork)
How to Make a DIY Push Pin Travel Map (Step-by-Step)
First, you’ll need to grab your foam board and the cork boards.
My cork boards came 4 in a pack and had adhesive already on the back of them. Just peel and stick.
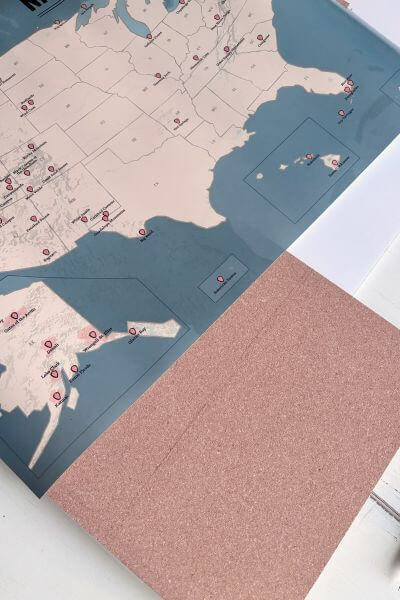
I placed two cork boards on the foam board lining them up with the edge as best I could.
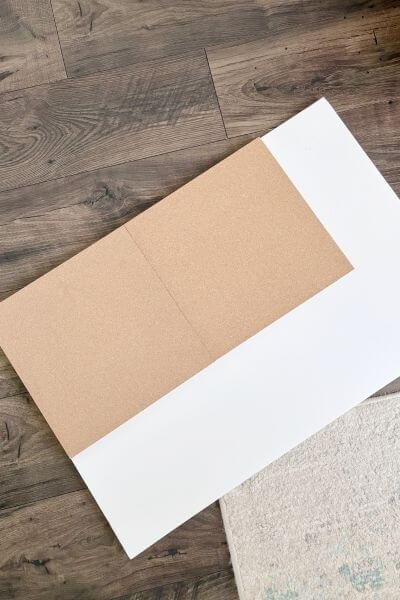
Place the map onto the first two cork boards and get the third cork board ready.
Line the third cork board up with the bottom of the first two (right hand corner) and trace a line onto it where your map ends. This is where you’ll have to make a cut.

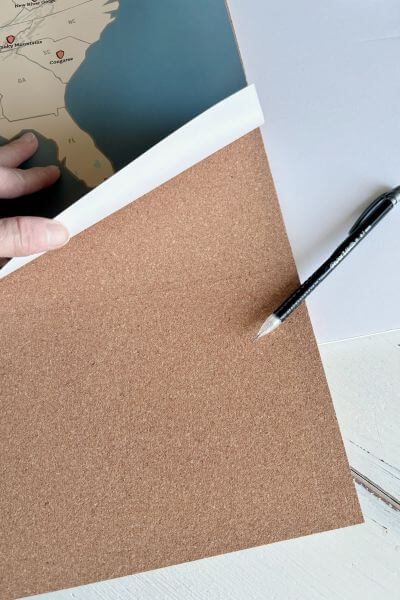
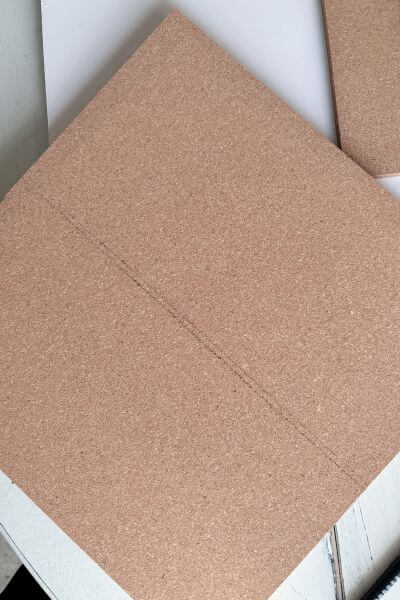
Flip the third piece of cork board upside down and align it with the left-hand side of the map. Make another line at the bottom of the map. This will be your second cut.
Here’s what the lines look like. You won’t need to use the fourth piece of cork…you can use that for another project!
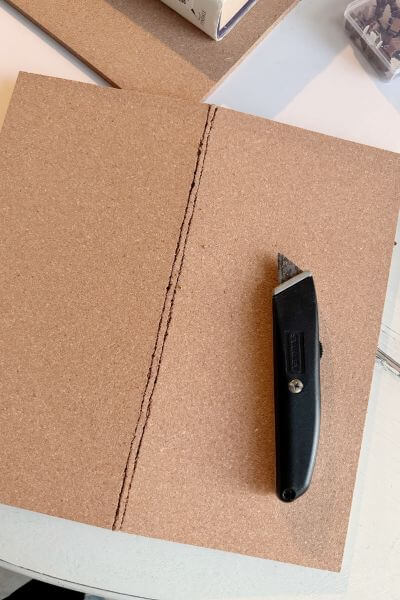
Use a utility knife to make the cuts along the lines in your cork board.
I think this would have been less of a mess if I had a sharper utility knife!

Remove the plastic to expose the adhesive and apply the two pieces of that third piece of cork board below the other two. Line them up as best you can.
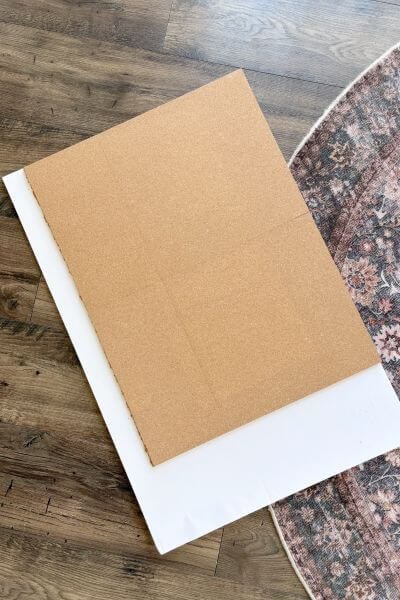
Now you’ll have a layer of cork, and underneath that, a layer of foam board. You’ll see why we need both later.
I have to admit; it would have been easier if I had purchased a single piece of cork board as large as my map. However, it was either cheaper this way or I couldn’t match up the sizes!
If you can find a map and a cork board for a reasonable price that match up in size, do it that way! And avoid some of the mess.
Attach Map to the Cork Board with Mod Podge
Next, you’ll be attaching the map to the cork board. I used Satin Mod Podge because I didn’t have Matte on hand yet.
If you want to stick with one sheen of mod podge, I’d buy Matte. It comes out less shiny when applied over the top of the map. But get whatever suits!
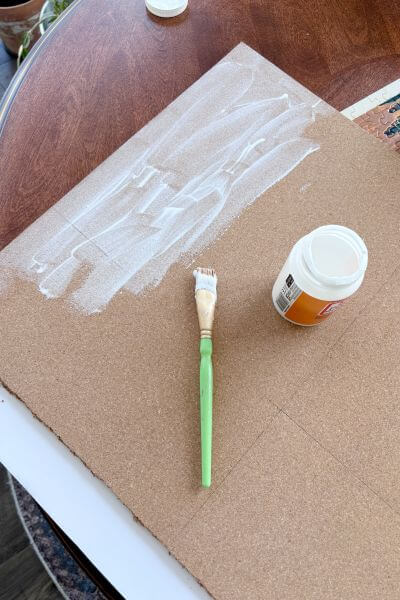
Slather the mod podge all over the cork board. I initially tried to apply it to one side and then stick one side down first. This did not work. At. All.
Just work quickly and apply the mod podge all over the cork!
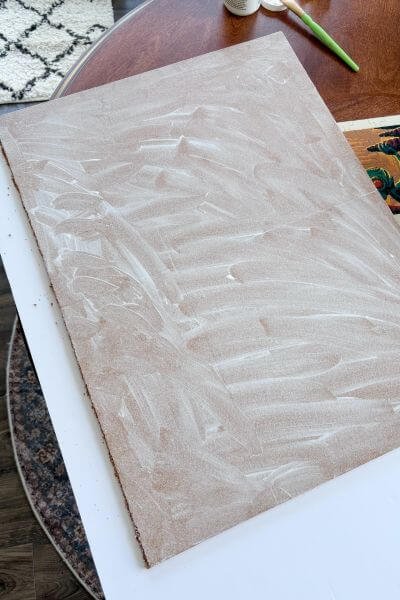
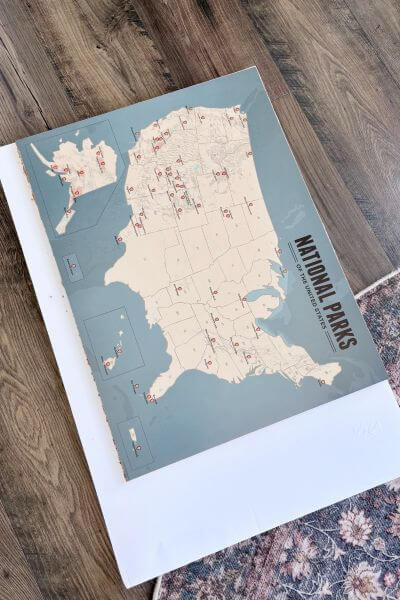
Place the map onto the mod podge, lining it up as best you can with the edges of the cork.
You’ll probably still have to trim it up later around the edges with the exacto knife.
Allow this to dry. I placed some books on top to help the map to dry completely flat.
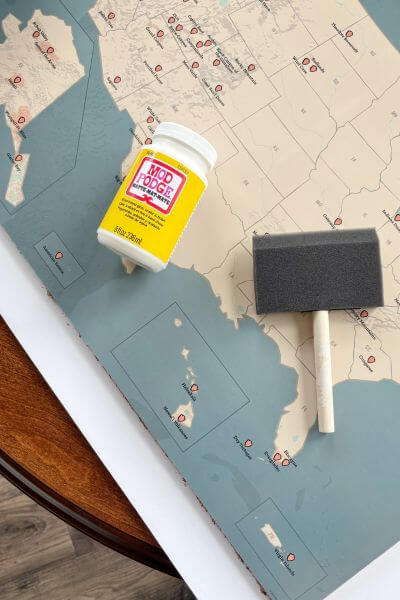
Coat Top of Map with Mod Podge
Since you’re not placing glass over top of this map, you’ll want to apply a few coats of mod podge over the top of it.
This will produce somewhat of a textured finish on the map. But necessary since you can’t put the push pins in if there’s glass on top.
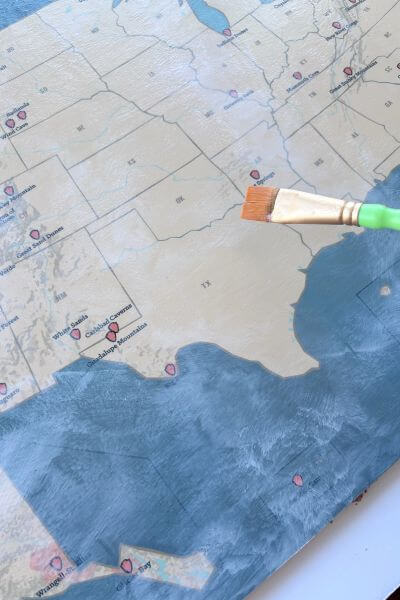
I had never used a foam brush to apply mod podge before but I read that it works, so I gave it a whirl.
Not sold on the foam brush. Here’s how it went down.
You want to place 2-3 thin layers of mod podge onto the map allowing the mod podge to dry between coats.
For this first layer, I felt like the coverage with the foam brush was a bit uneven, but I did my best. I applied it in a horizontal direction (mostly).
One good thing, mod podge is very forgiving.
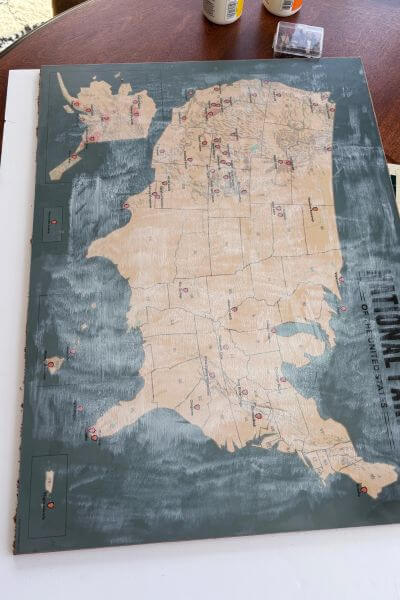
Here’s how it looked after the first coat had dried. I’m wondering if I should have left well enough alone after that first coat.
The rest of the story here is, I let that first coat dry and then applied another layer with the foam brush in a vertical direction.
However, I was blissfully unaware that the foam brush was still wet from rinsing it out. So, I had streaks on the map for the second coat. Do not do this.
Yep, this is how it’s going to go down, I thought to myself.
I let that dry and then applied another coat, this time using a soft bristled paintbrush. Looked pretty decent, since I made sure the application tool wasn’t wet this time.
However, I noticed a little spot that didn’t look like it got the same coverage as the rest after it had dried. I tried to just mod podge that spot with the paintbrush. But guess what, the paintbrush was a bit wet, so it smeared around the spot.
Did I learn the first time? Guess not.
Four coats. FOUR.
The last one I applied with the paintbrush again (dry). I worked it in all different directions that last time.
Moral of the story. It’s really hard to completely mess up mod podge. Thank goodness.
There are some places a bit thicker in spots, but I think of it as my topographical-style map. 😉
Once all your coats are applied, let the map completely dry.
Trim Up the Cork and Remainder of Foam Board
Use the exacto knife to trim up any loose ends of the cork. You may have to trim around the edges to ensure the cork isn’t extending beyond the map.
Do this carefully so as not to damage your map.
The foam board was a bit jagged in the back, so I took a sanding block and sanded the edges. You won’t be able to see it once its hanging though. So, this step is optional.
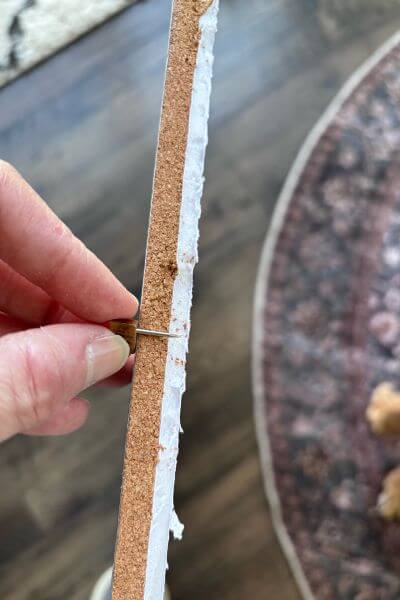
Here’s a top view of the map, cork board and foam board.
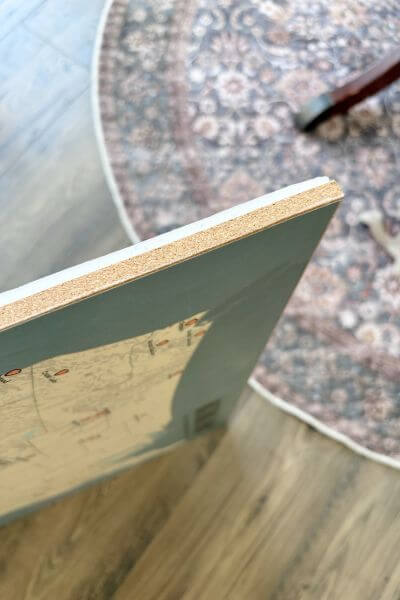
And here’s why I needed to have both the cork board and foam board. The push pin extends beyond the cork board, and I didn’t want it poking into the wall.
Now your DIY push pin travel map is ready to hang!
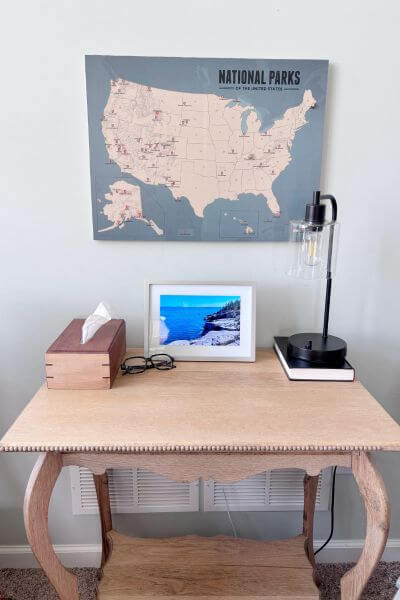
Hang Your Decorative Travel Map
I placed two command strips on the back of the travel map for hanging. One in each of the top corners.
Final Thoughts on this DIY Push Pin Travel Map
Is this DIY push pin map something you’d create for wall decor in your own home?
It’s a fun and decorative way to track your adventures. And you can customize this tutorial depending on what part of the world you are traveling to.
It’s also a meaningful piece of wall art. And those wood tree push pins are so cute!
Mod podge makes this tutorial super easy. It’s hard to make a mistake with that stuff. Mod podge will provide protection for your wall art for years to come.
The cork board works well for the push pins. I do have to say since I used four individual cork boards there is a slight seam when it’s all said and done. I think I’m the only one who notices it, but if you want to avoid that you’d need to find one large cork board piece instead of the four 12×12 ones.
All in all, I’m pretty pleased with the final result!
The next step is to make a DIY frame for this push pin map. So stay tuned for that tutorial!
Now pick a map and grab some push pins, cork board and foam board and create your own DIY push pin map to track all your exciting adventures!
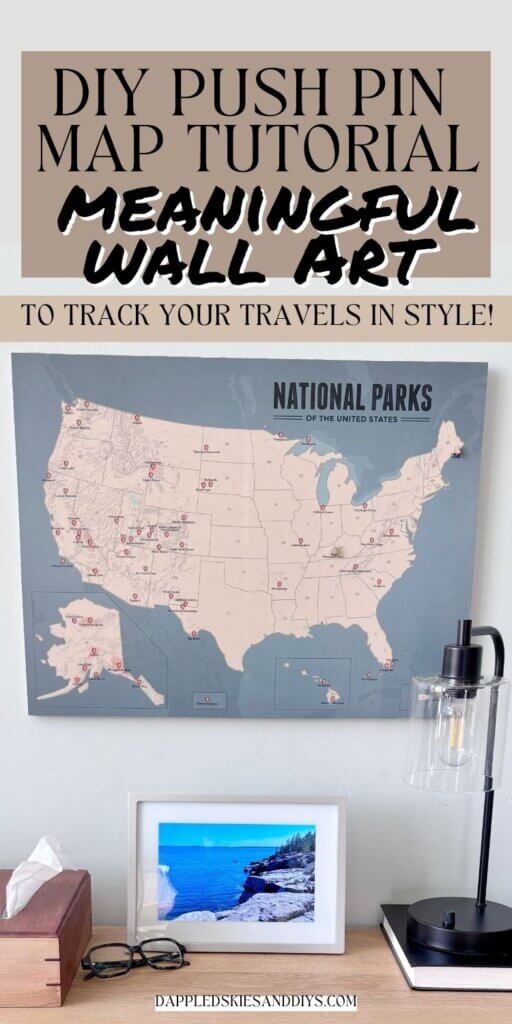
Pin me on Pinterest ⬇️
Please consider subscribing to my email newsletter for more DIY ideas straight to your inbox 👇