

Today, let’s create easy handmade hot packs (that can also be used as cold packs) which are cheap and great for gift giving! People just love them!
Have you ever made hot packs for yourself or to give as a gift for friends and family? Well, if you haven’t, then stick around because that’s what we’re making today!
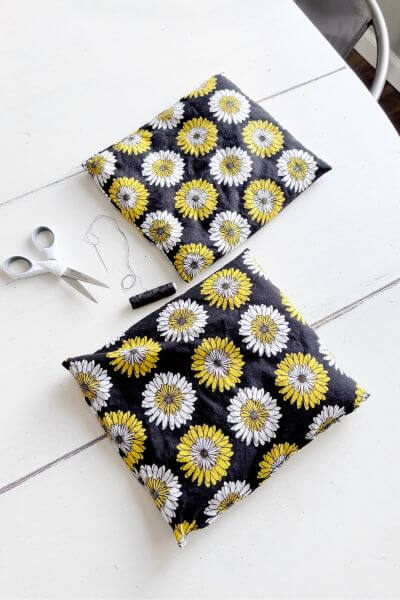
These hot packs are made from fat quarter fabric which can be found at Walmart for a buck or two. Grab a sewing kit and add inexpensive rice and you’ve got yourself a reusable hot or cold pack.
This is a very beginner friendly tutorial. If you’ve never sewn a stitch before you’re in the right place!
Why You’ll Love These Easy Hand-Sewn DIY Hot Packs
First this is a relatively simple and budget friendly DIY that is useful too! You can make two hot packs from one fat quarter of fabric.
Even better is that you don’t have to own a sewing machine! I’ll show you how to hand sew these hot packs with a stitch that is sturdy and doesn’t rip easily.
These can double as hot or cold packs. You can use them for injuries or illnesses, but we even like to use them in the wintertime on cold mornings for warmth. I sometimes heat them up for my kids before they start their school day!
Best part is, with a little time and patience, you can make one for under 5 dollars. Fat quarters range from 1-2 dollars, a 2 lb. bag or rice is about 2 dollars, and a small sewing kit will only cost you a buck or two.
Now let’s list the supplies!
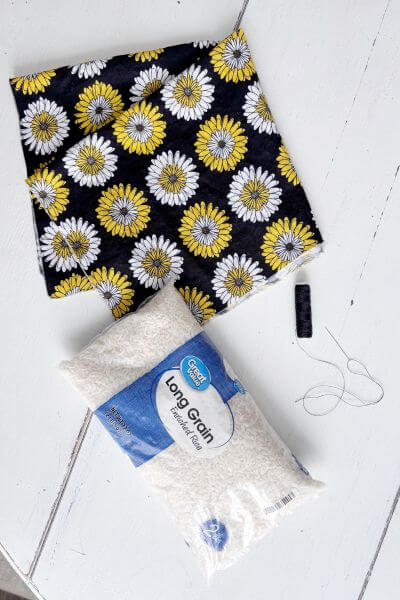
Supplies Needed for Easy Hand-Sewn DIY Hot Packs
*All supplies used were found at Walmart.
- 2 lb. Bag of Rice (not instant)
- Fat Quarter of Fabric
- Needle and Thread
- Scissors (not pictured)
How to Make DIY Hot Packs by Hand (Step-by-Step Tutorial)
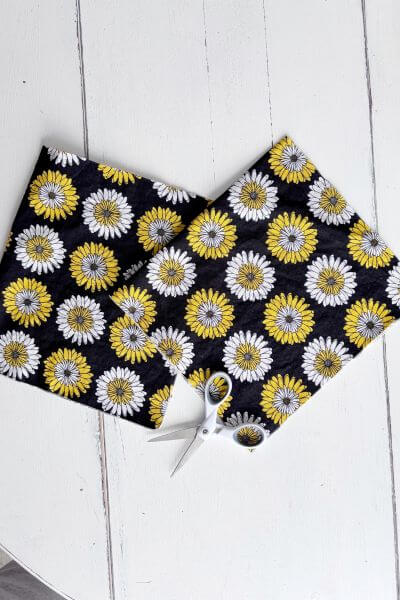
First cut your fat quarter of fabric into two equal pieces.
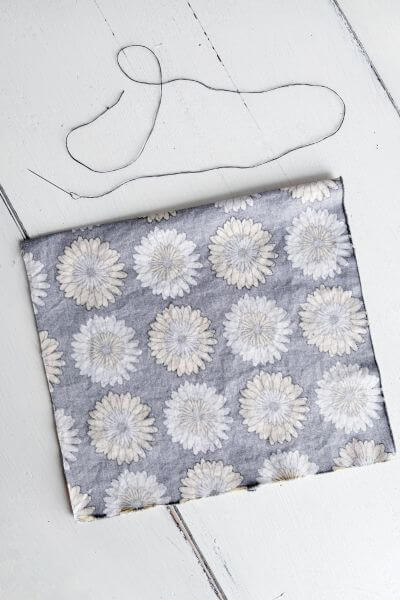
Take one of your pieces and turn it inside out.
Pick a thread color and thread your needle. Make a double or triple knot at the end of the string.
Hand-Sew the DIY Hot Pack
We’re going to sew two open sides of the fabric. Then we’ll turn it rightside out and fill it with rice.
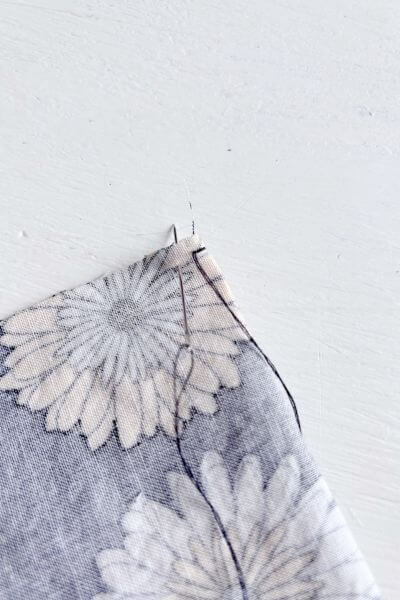
At the bottom of one open side take your needle through the fabric.
Make an anchor stitch (at least that’s what I call it). Loop your thread around the fabric and take the needle through the same hole.
Now, we’ll start the back stitch. This is a sturdy stitch great for heat packs!
Push the needle through the fabric a short distance away from the first anchor stitch.
Smaller stitches don’t allow the rice to escape!
Take your thread all the way through the fabric.
On the other side, push the needle back through that first stitch hole.
Pull it through and then continue on.
Make the next stitch a short distance away.
Pull the thread through to the back.
On the reverse side, push the needle back through the previous hole. Hence the name back stitch.
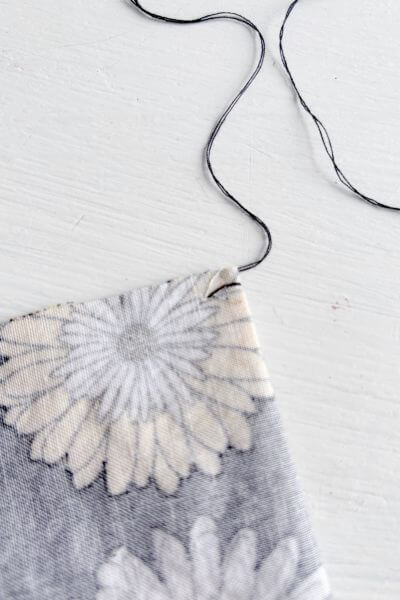
Complete the backstitch.

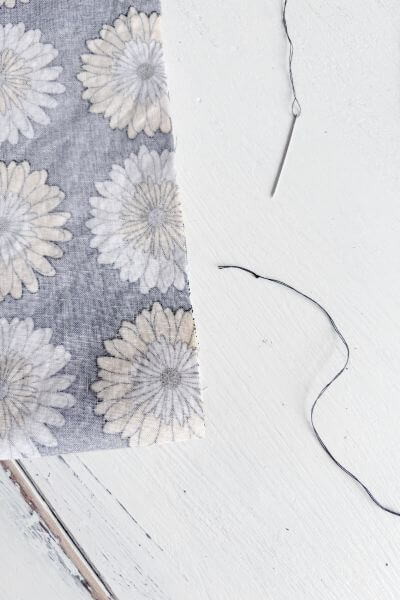
Continue on backstitching until you almost reach the corner.
Leave a bit of fabric at the top of the hot pack because we’ll be folding that over to close it up in later steps.
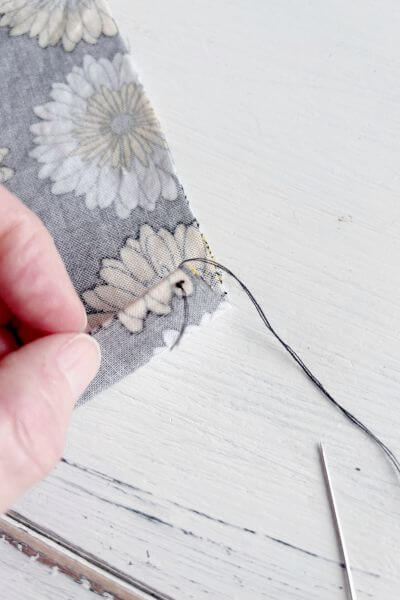
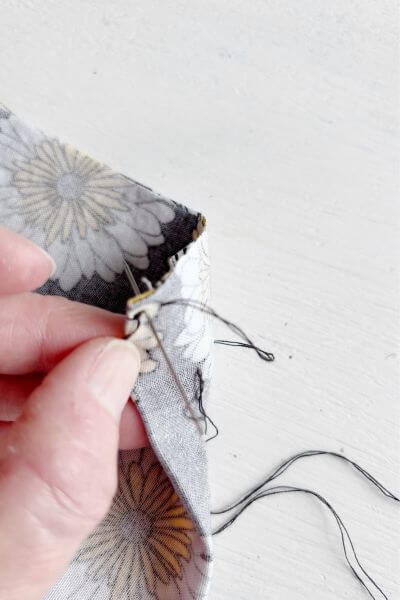
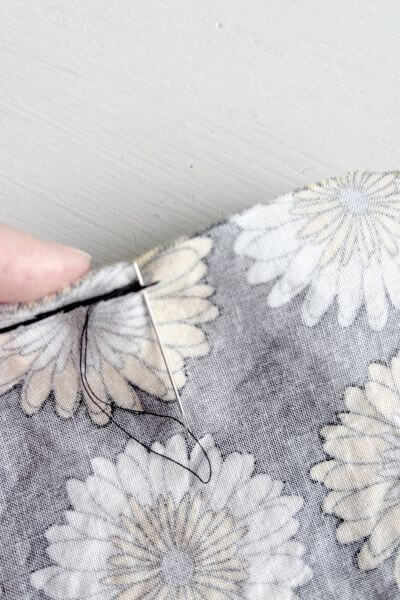
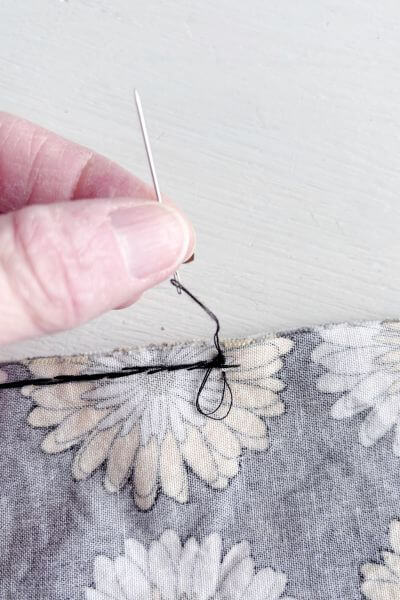
How to Make a Knot to Secure the Thread
When you reach the end of the thread, this is how to make a quick knot. My mom taught me this when I was a kid.
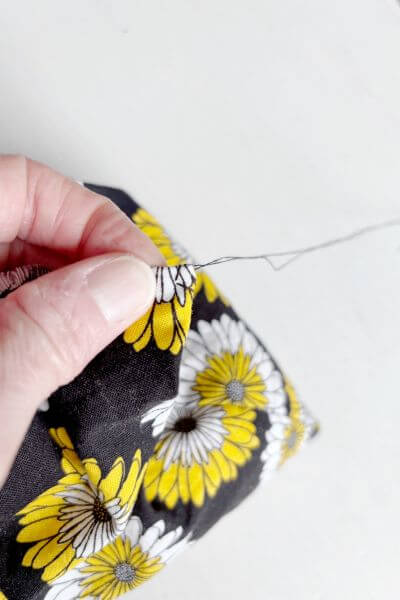
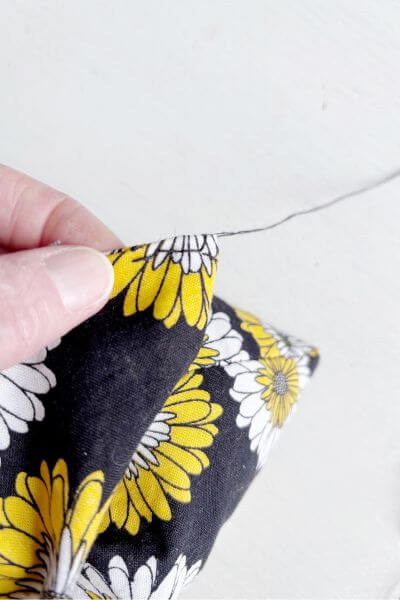
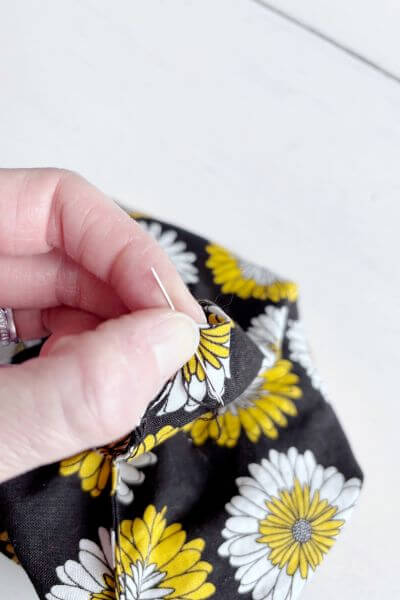
Push the needle part way through the fabric where you’re making the knot.
Make three loops of thread around the upper portion of the needle.
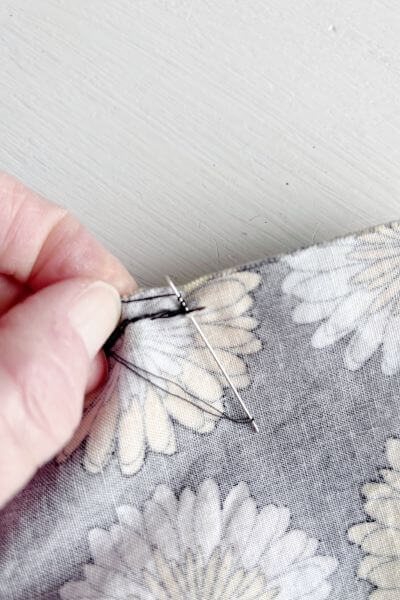
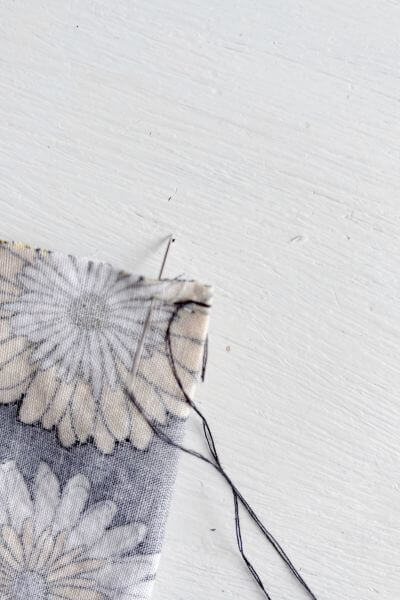
Push the loops down toward the fabric.
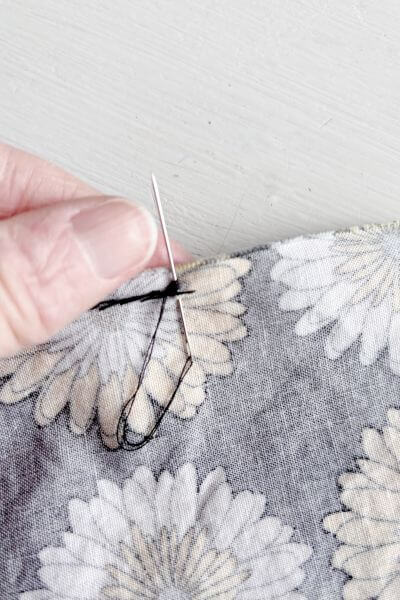
Hold down the loops with your thumb.
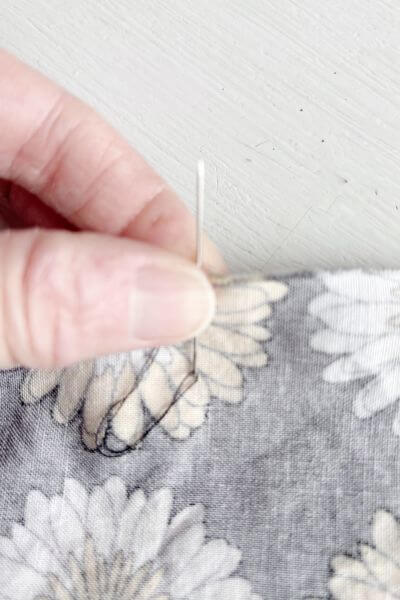
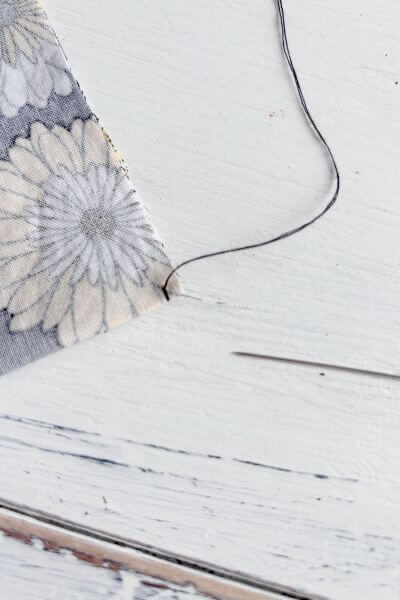
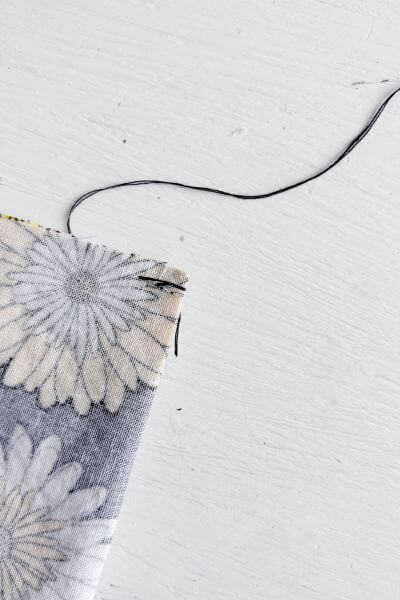
Pull the needle through making the knot.
This is how the heating pad should look so far with two sides sewn up and knotted.
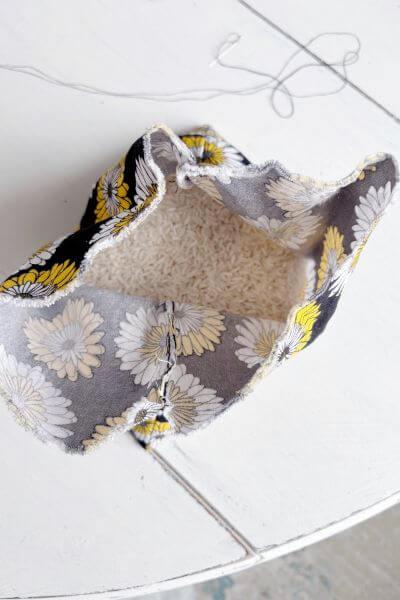
And now just turn the heating pad right side out again.
Add the Rice to the Homemade Heating Pad
Now it’s time to add the rice before sewing the heating pad shut.
Pour in 2 pounds of rice.
Sew the Top of the Homemade Heating Pad
I guess if there is a tricky part to this tutorial, then this is it.
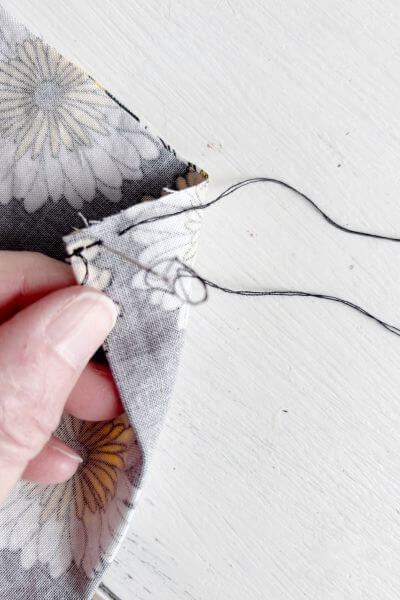
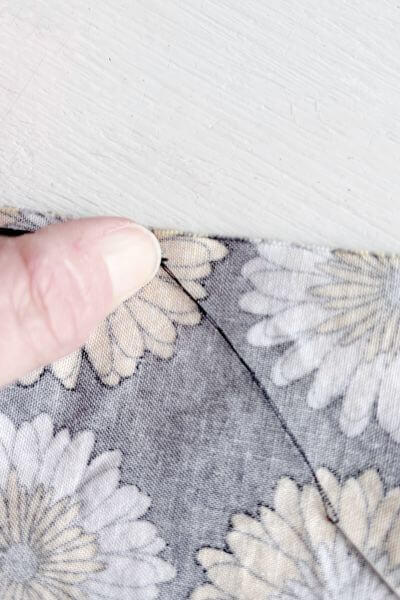
If you want to hide your knot and the end of the string place your thread through the inside of the hot pack before pinching it closed at the next step.
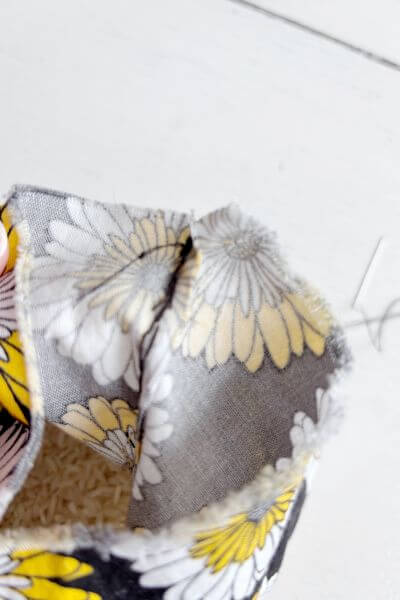
Fold down a bit of the heating pad fabric on both sides so there isn’t a raw edge and pinch it with your fingers.

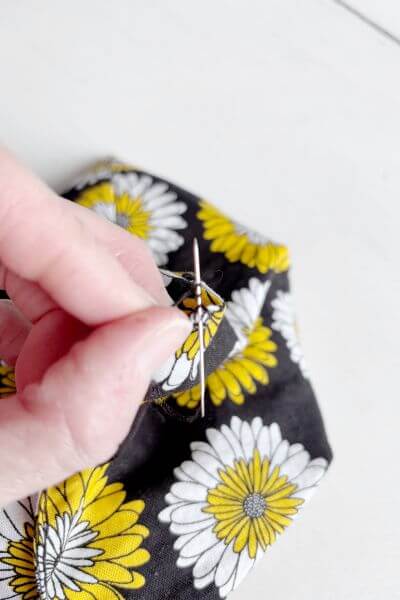
Make an anchor stitch or two.
Continue on with your backstitching while holding down the flaps of the hot pack on either side.
When you get to the end make the knot. Here are the steps in pictures one more time.
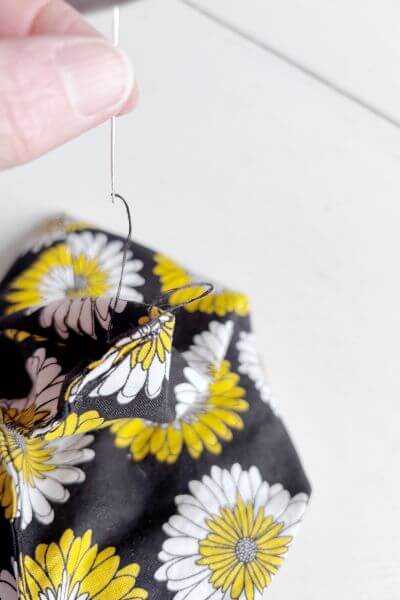
I sometimes do a few knots just to be sure that the hot pack stays intact.
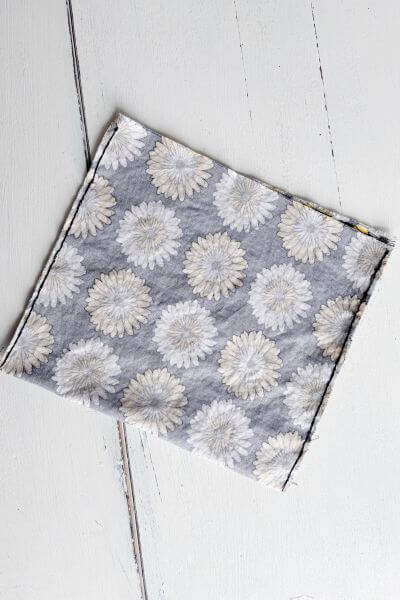
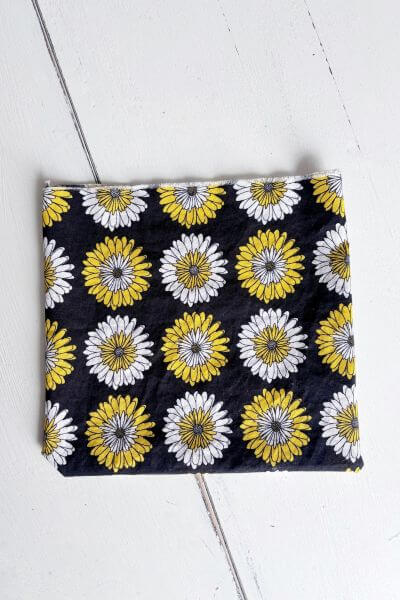
Clip the excess thread. And you’re done!
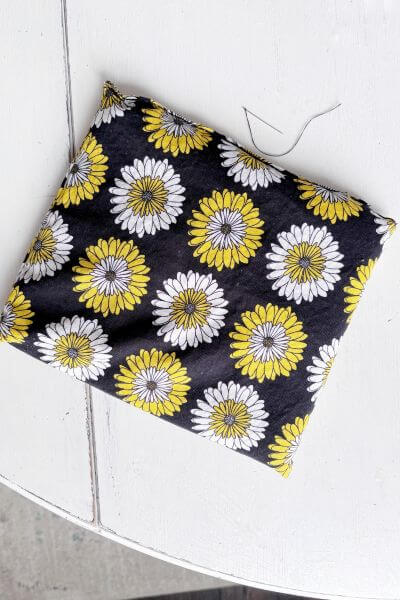
And you can make two from each fat quarter of fabric.
How Long to Microwave a Rice Hot Pack?
The time it takes to heat the hot pack varies depending on your microwave’s power and how hot you like your heating pad.
We microwave ours for 1 and 1/2 minutes, however I’d start with 1 minute and see how hot the heating pad gets. Then add more time if needed.
Once you microwave your hot pack a few times, you’ll know the number of minutes to achieve that perfect warmth.
Can you Freeze them for Cold Therapy
Yep, you absolutely can leave them in your freezer to take out when you need an ice pack.
However, if you decide to keep them in the freezer to use as cold packs, then you’ll have to microwave them for a bit longer to heat them back up!
Finishing Up this Homemade DIY Heating Pad Tutorial
Well, it’s time to wrap up this DIY hot pack tutorial. Is this a project you’d like to try?
People we give these to seem to love them! They are great to make at Christmas time for family members and friends.
They also make great end of the year teacher gifts!
Walmart has a variety of different designs in their fabric section, so you can pick the perfect pattern.
And being under 5 dollars in cost makes these a super budget-friendly gift idea.
Any questions, please post them down below. And, as always, thanks so much for reading!
Now it’s time to grab that needle and thread, rice, and fabric to make your own homemade DIY heating pad that also makes a great gift!
Pin me on Pinterest ⬇️
Please consider subscribing to my email newsletter for more DIY and craft ideas 👇🏼